
DIY Fabric Headboard Canopy
Adding a fabric headboard canopy behind any bed creates an interesting focal point and dials up the cozy factor. They might seem intimidating to make, but this tutorial breaks down the whole process and gives you the step-by-step instructions so you can DIY your own fabric headboard canopy with confidence.
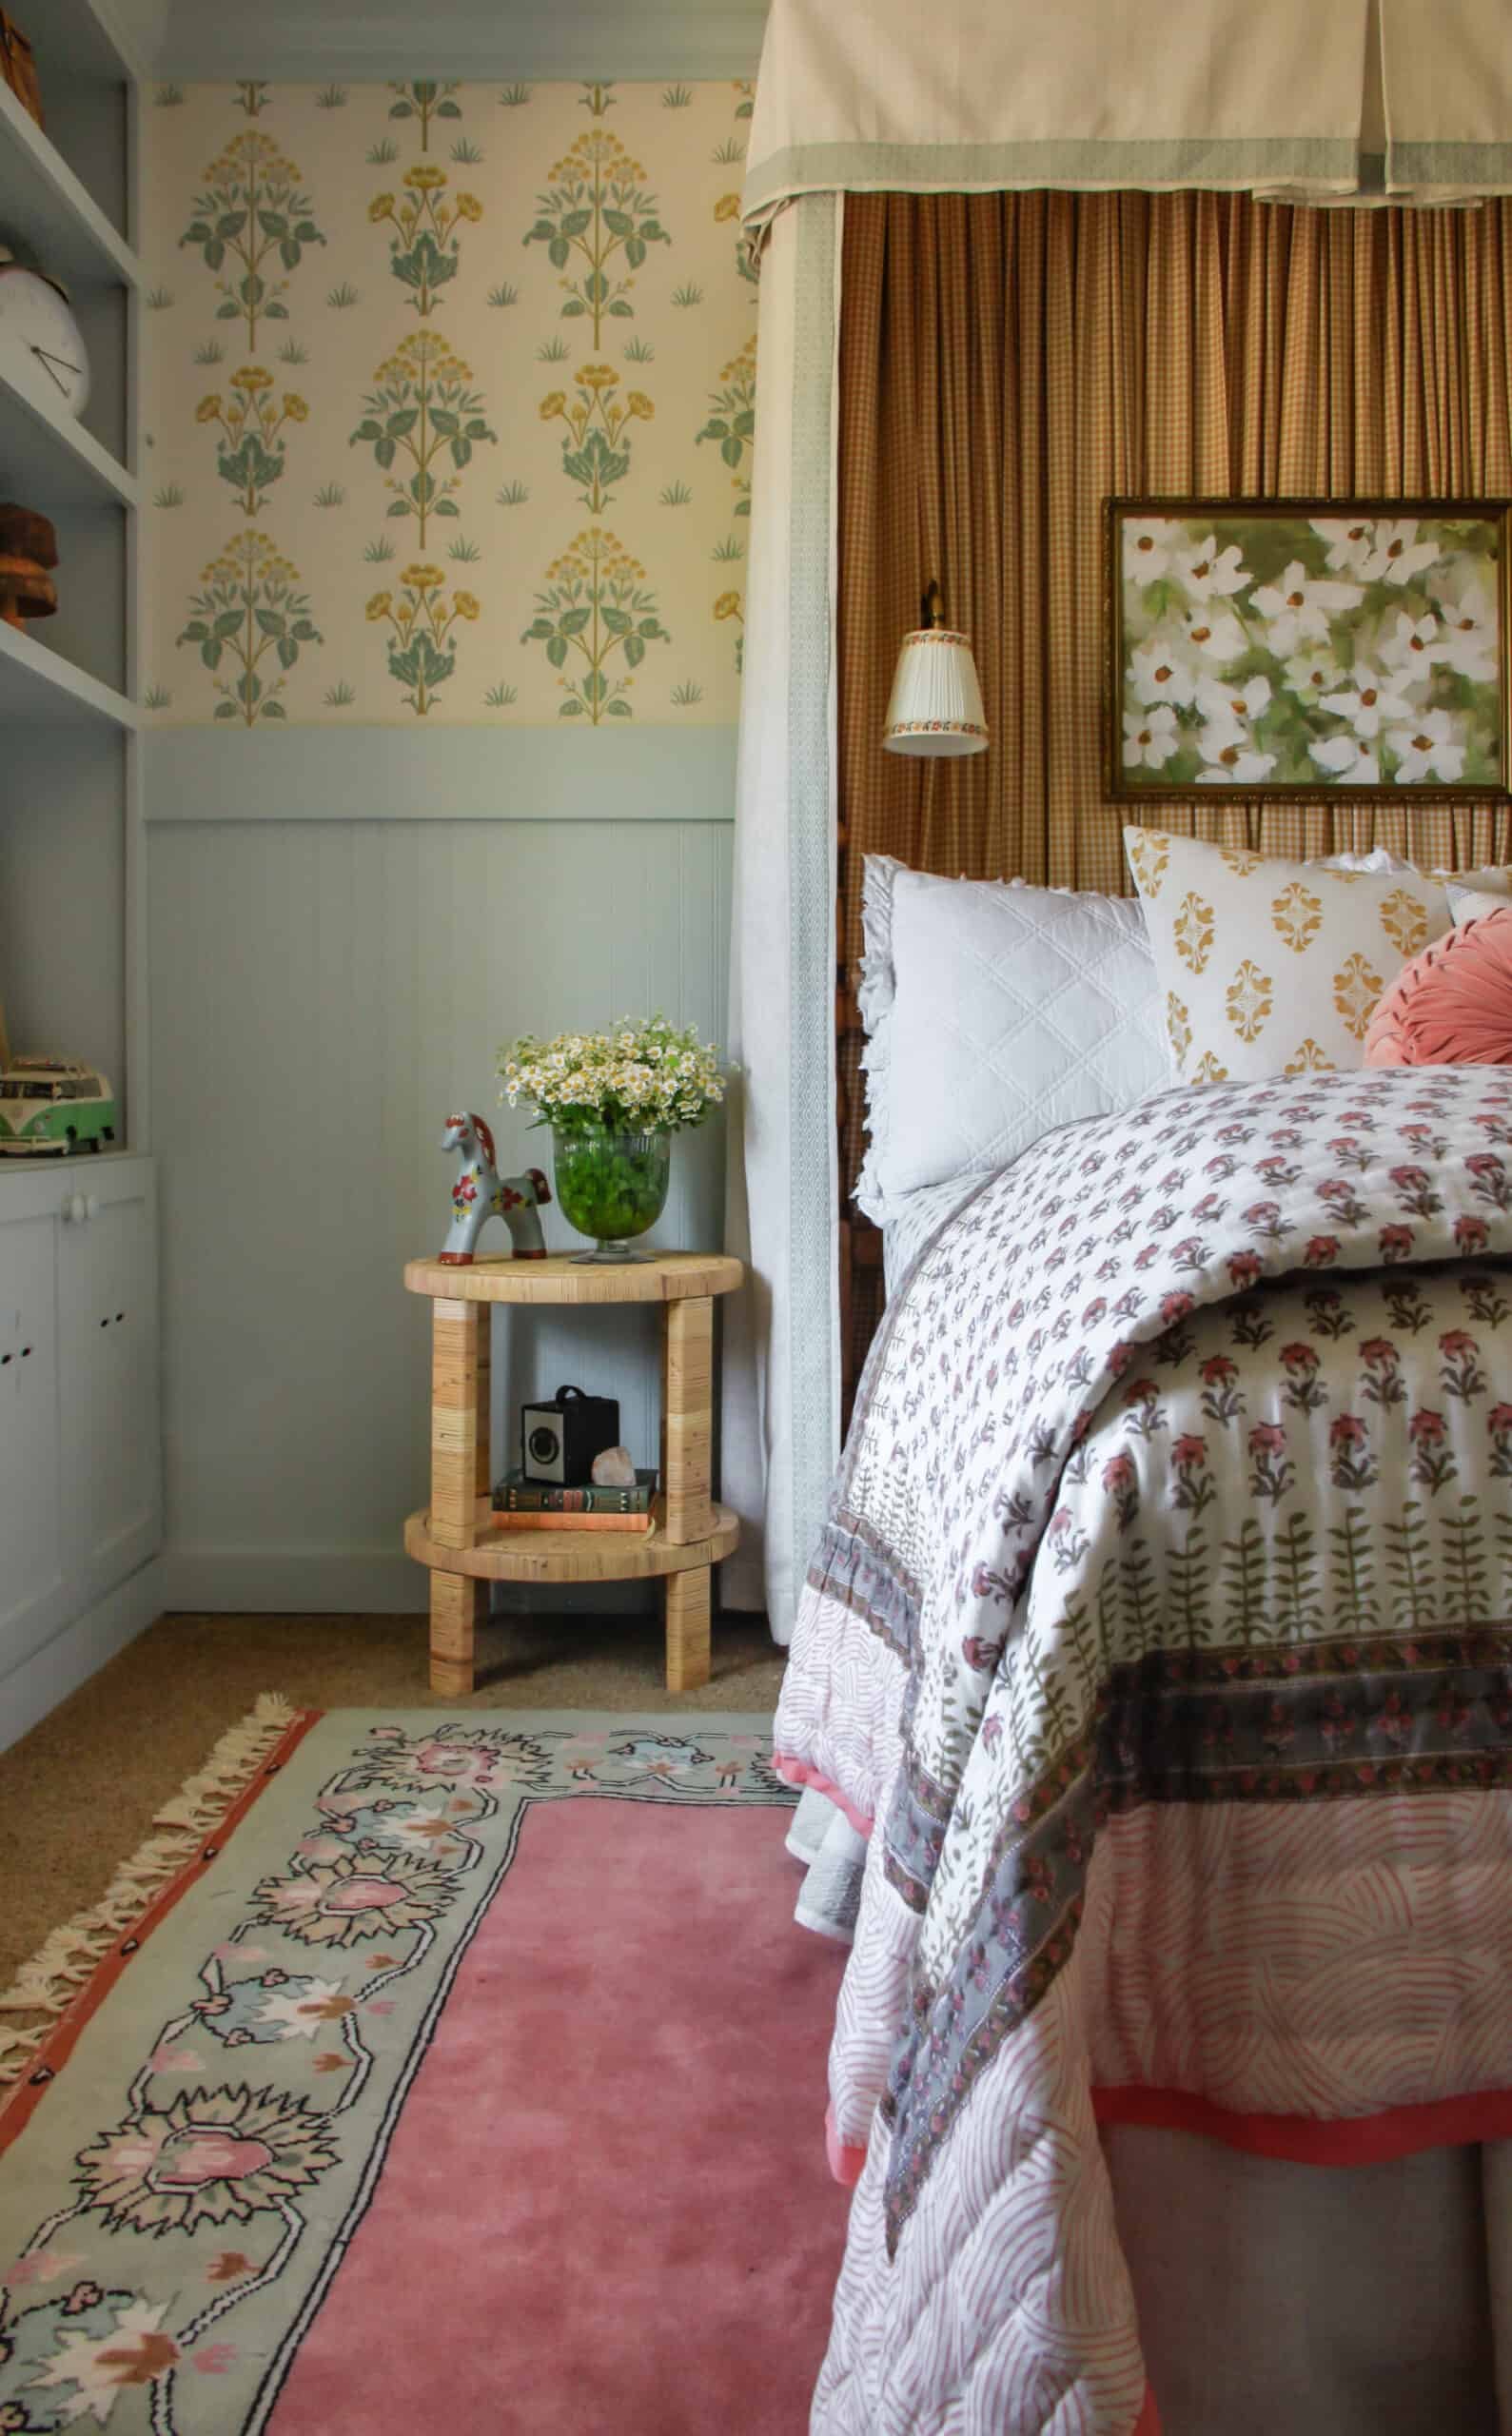
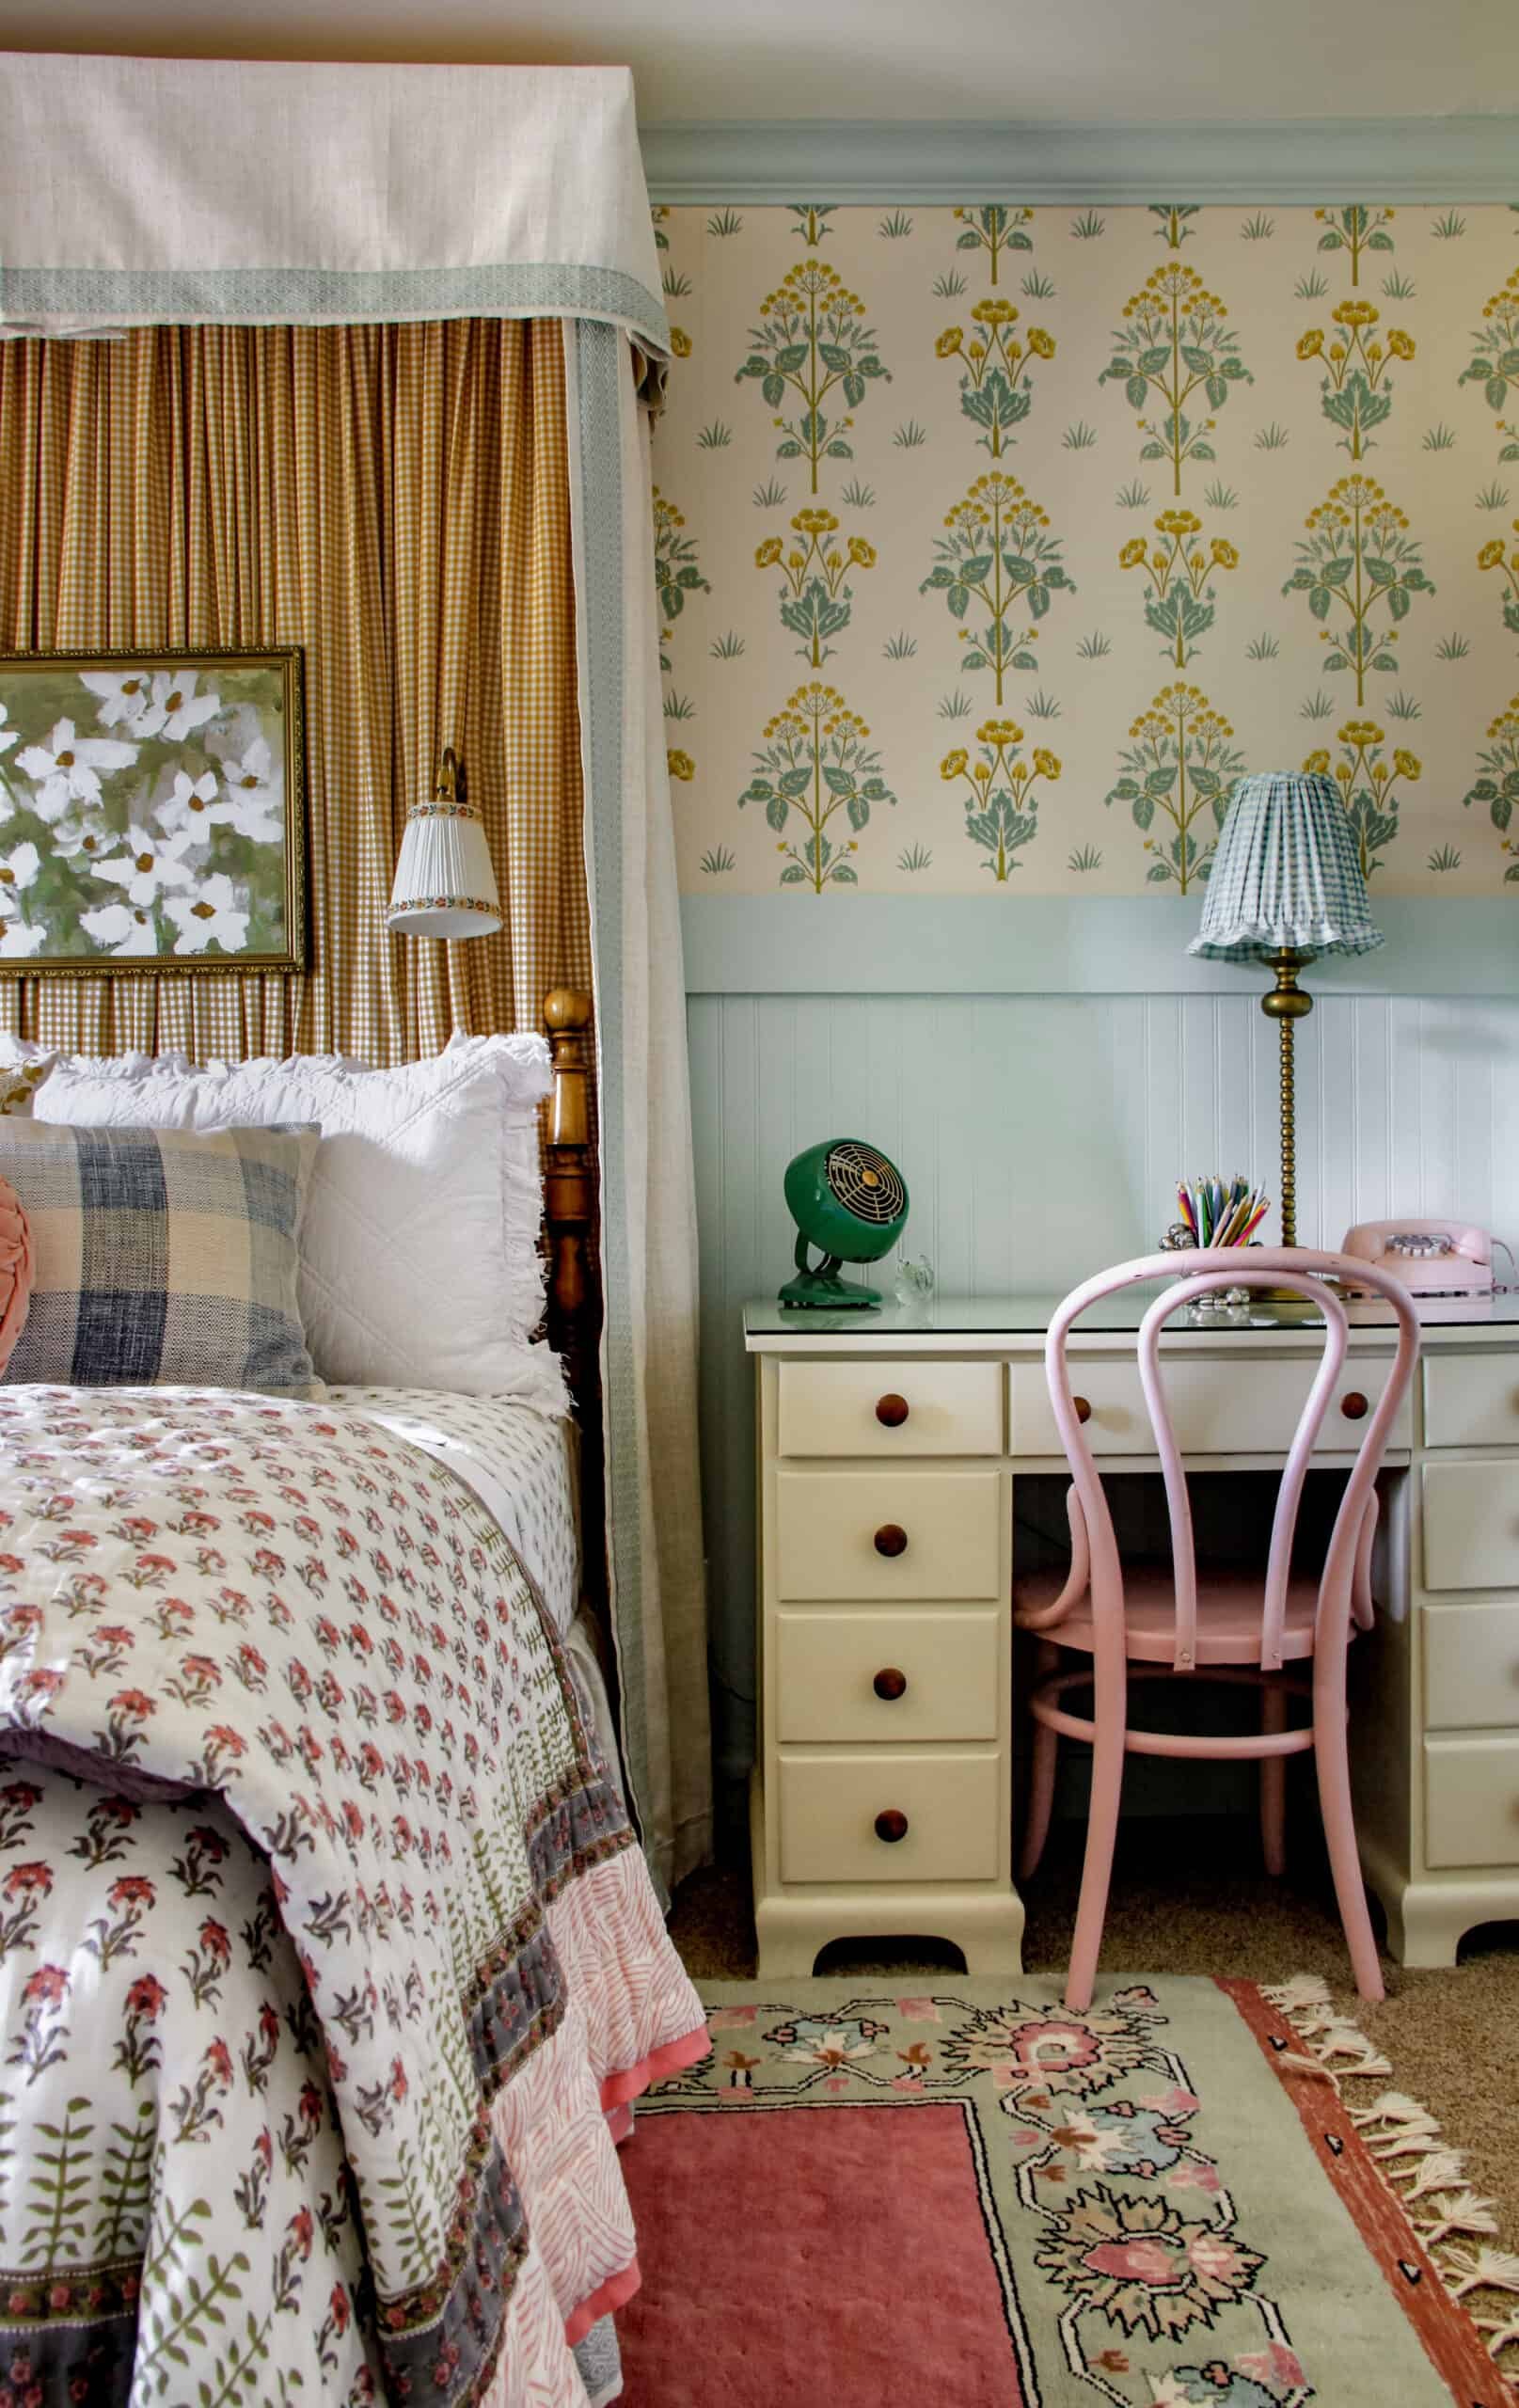
I have always been enamored with the look and feel of a fabric headboard canopy. They're cozy but not invasive, and they add so much warmth and interest. So, when the idea to make one for Noelle's Cottage-inspired bedroom popped into my head, I was so excited and got to work figuring out how to DIY it.
I've had many requests for this tutorial, and I'm thrilled to finally be able to share the process with you.
Before I get into the step-by-step details though, I wanted to share with you a Veranda article I found on the different styles of bed canopies, including their proper names. It was interesting to learn the history of bed canopies and that this particular style of headboard canopy is called a "half tester." Who knew there was so much history behind this design!
Okay, onto the tutorial...
Table of Contents
- Materials and Tools Needed
- Step-by-Step Instructions
- 1 | Measure and Mark Where You'll Hang the Headboard Canopy
- 2 | Build the Canopy Frame
- 3 | Attach the Canopy Frame to the Wall
- 4 | Measure and Calculate How Much Fabric You'll Need
- 5 | Create the Back and Sides of the Headboard Canopy
- 6 | Create the Valance
- 7 | Attach the Back and Sides of the Headboard Canopy
- 8 | Attach the Valance
- 9 | Cover the Open Top With Fabric
Materials and Tools Needed
Materials
- Fabrics of Choice (Mustard Gingham and Flax were my choices)
- Decorative Trim (optional)
- 1x2s
- Screws
- Coordinating Thread
Tools
- Sewing Machine
- Scissors
- Hot Glue Gun
- Hot Glue Sticks
- Drill
- Nail Gun (optional)
- Chop Saw or Hand Saw
- Staple Gun
Step-by-Step Instructions
1 | Measure and Mark Where You'll Hang the Headboard Canopy
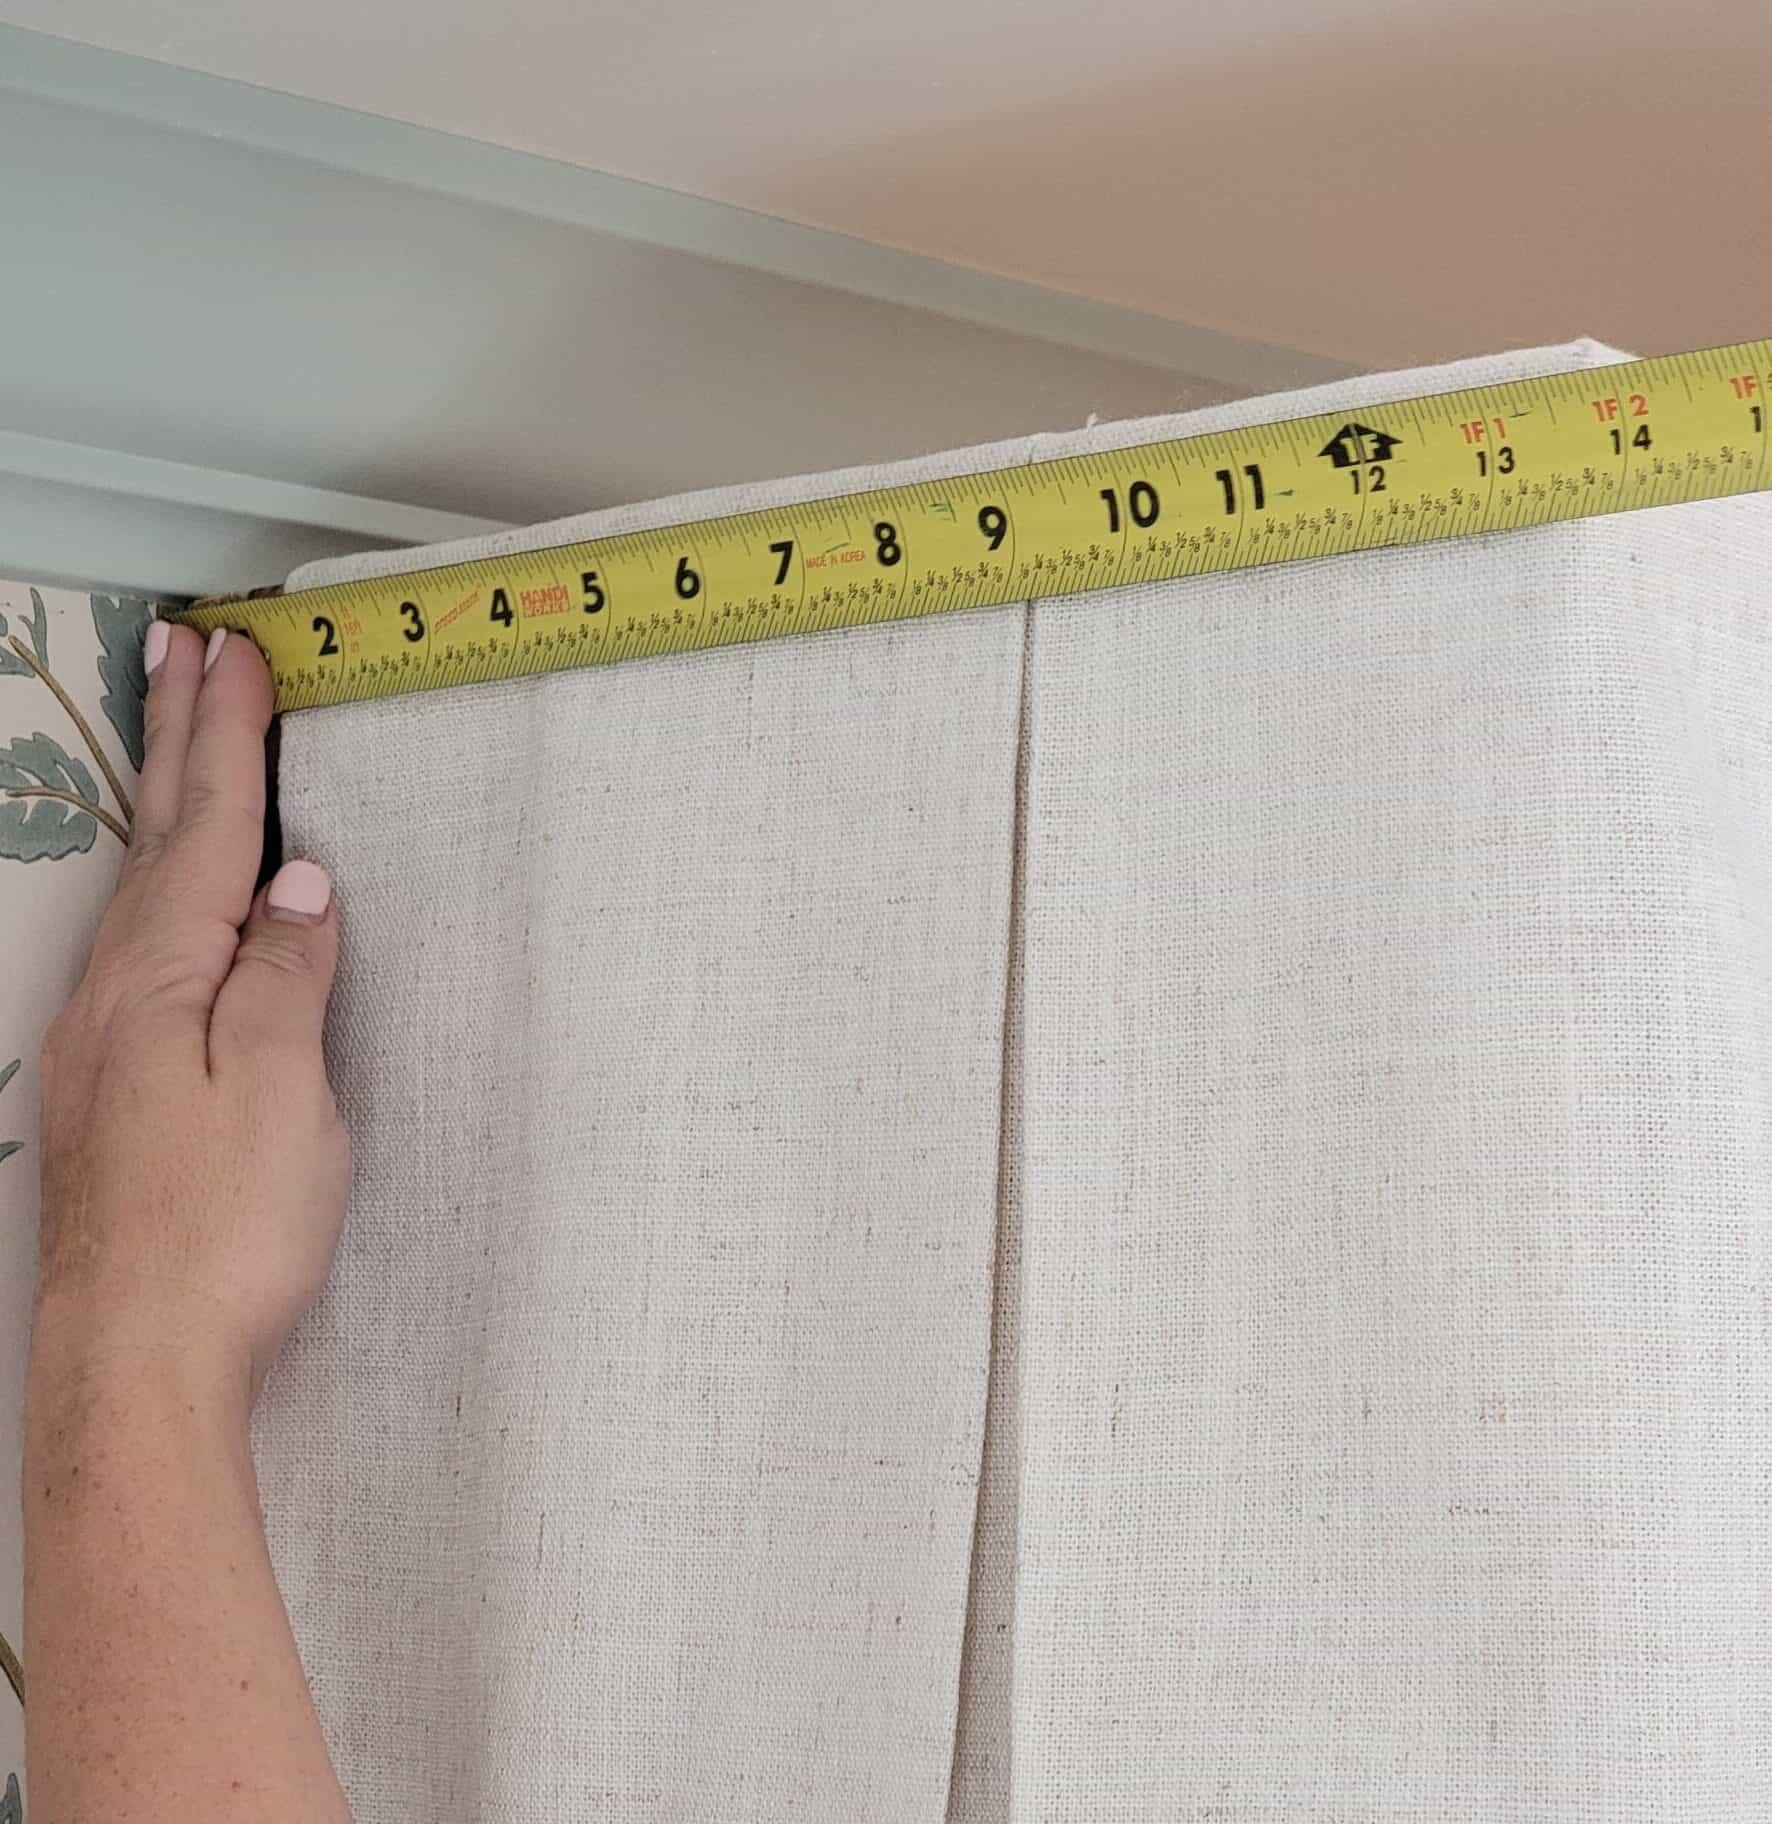
Noelle has a full-sized bed, so I chose to create a headboard canopy that was 62.25" long by 13.75" deep. Depending on the size of the bed you'll be hanging this canopy over, measurements will vary and be completely up to your preference.
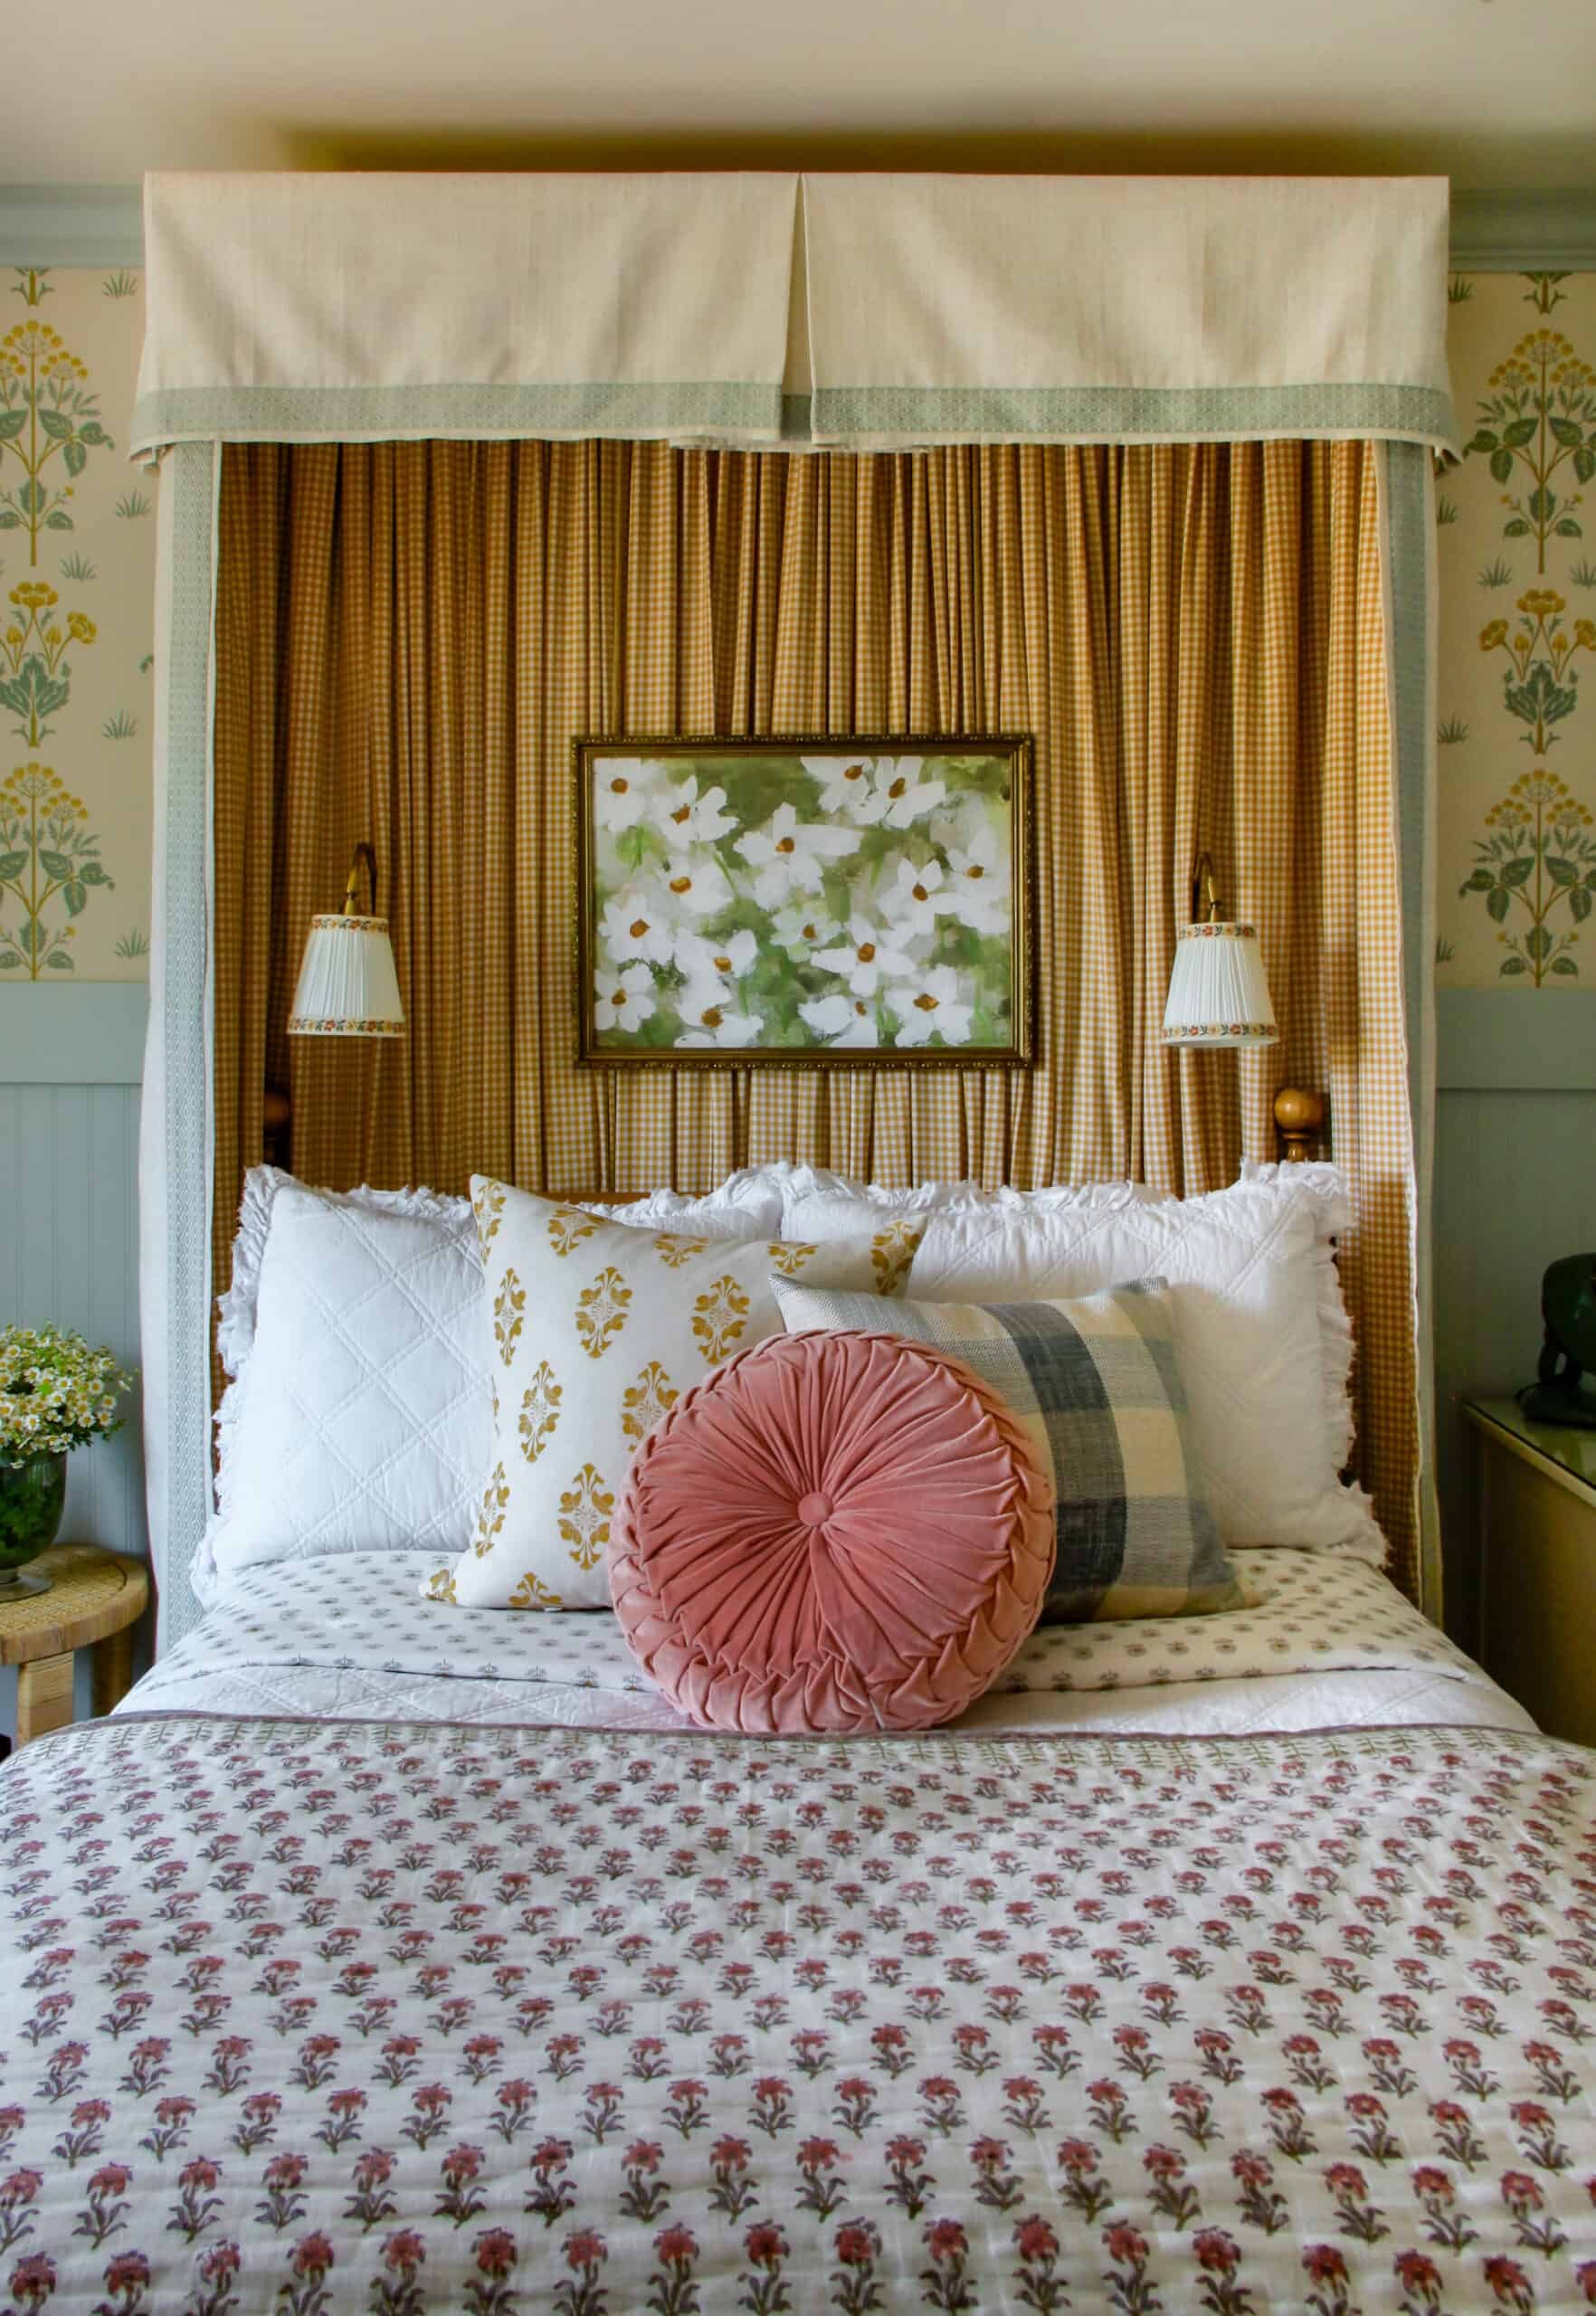
Noelle's ceilings are 8 feet tall, and her headboard canopy sits just below the crown molding. That means that the top of her headboard canopy is 4" below the ceiling. If you don't have crown, you can attach the frame to the ceiling and the wall.
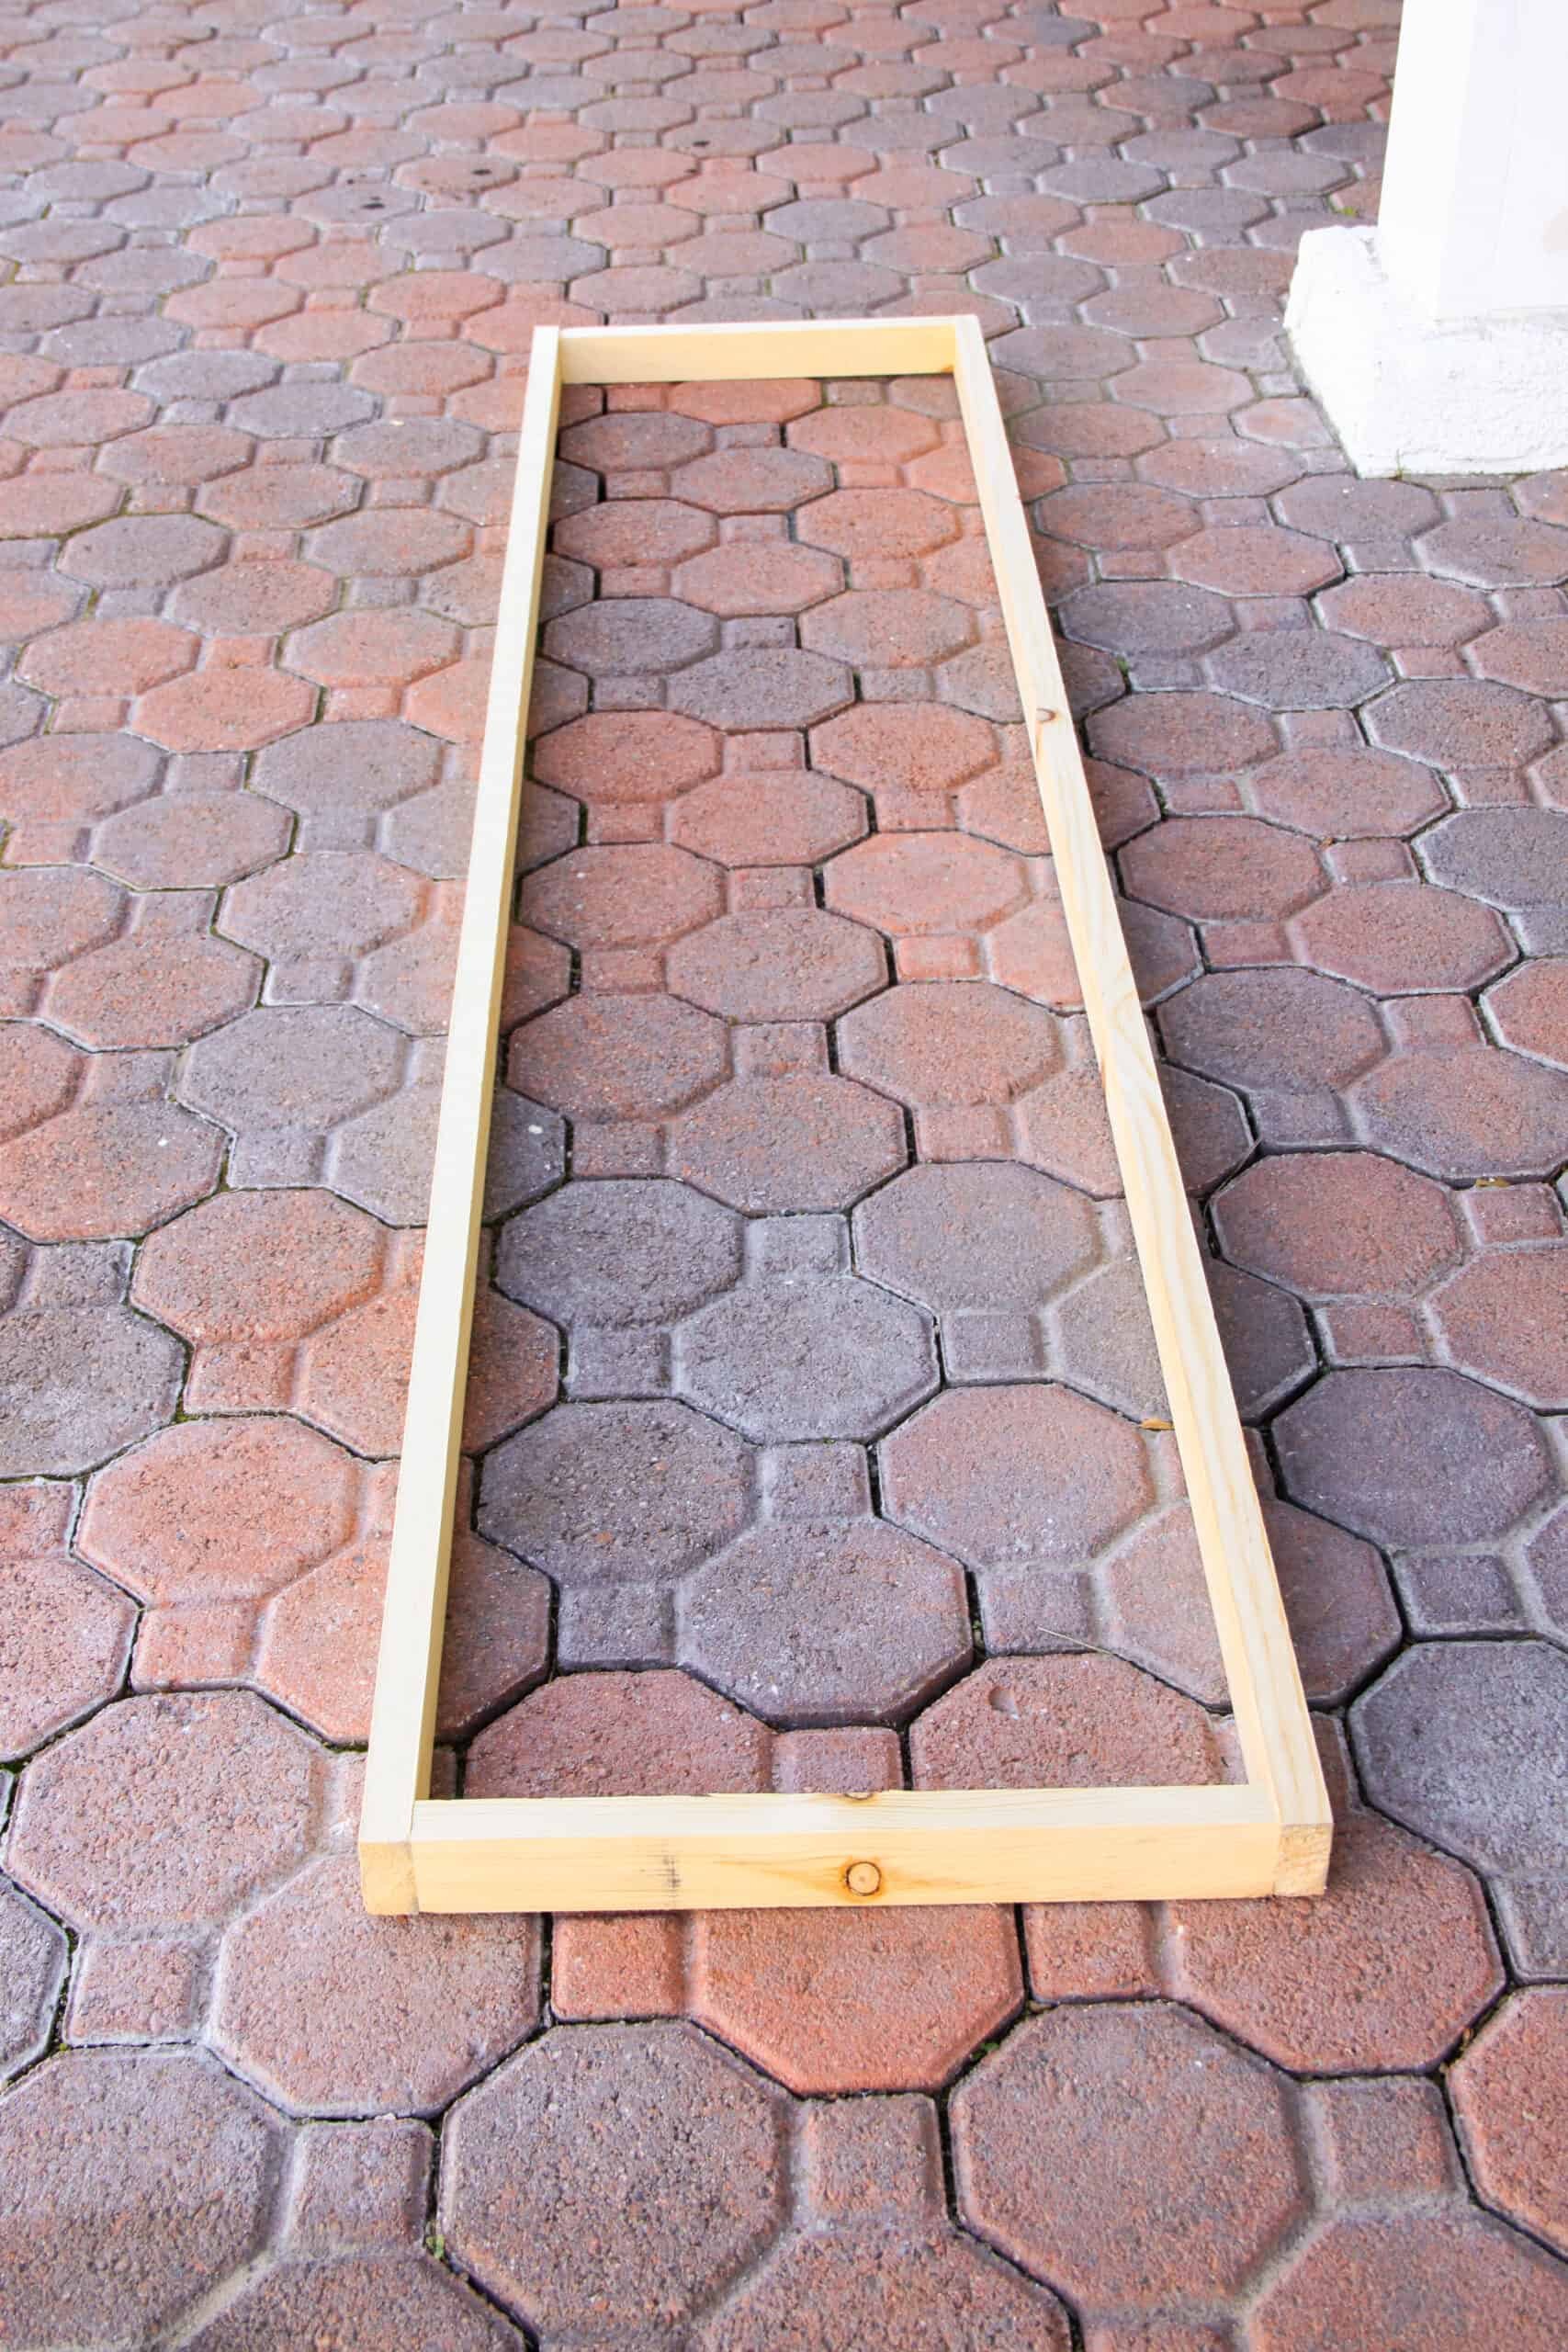
2 | Build the Canopy Frame
This is the easiest part of creating a DIY fabric headboard canopy. You'll use simple pine 1x2s to create a rectangle frame for the fabric to hang from. I chose a depth of 13.75" so that it would be substantial enough to feel like a canopy, but shallow enough to fit the scale of the room and her bed. You can customize the length and depth to whatever works best for your bed.
Once you've cut your 1x2s down to size, simply use screws to secure all four sides together...easy!
3 | Attach the Canopy Frame to the Wall
For this step, you'll want to locate the studs in your wall above the bed. Then, determine how high up the wall you want the headboard canopy to sit. Mark your studs at the determined height, then simply use screws to attach the frame to the wall.
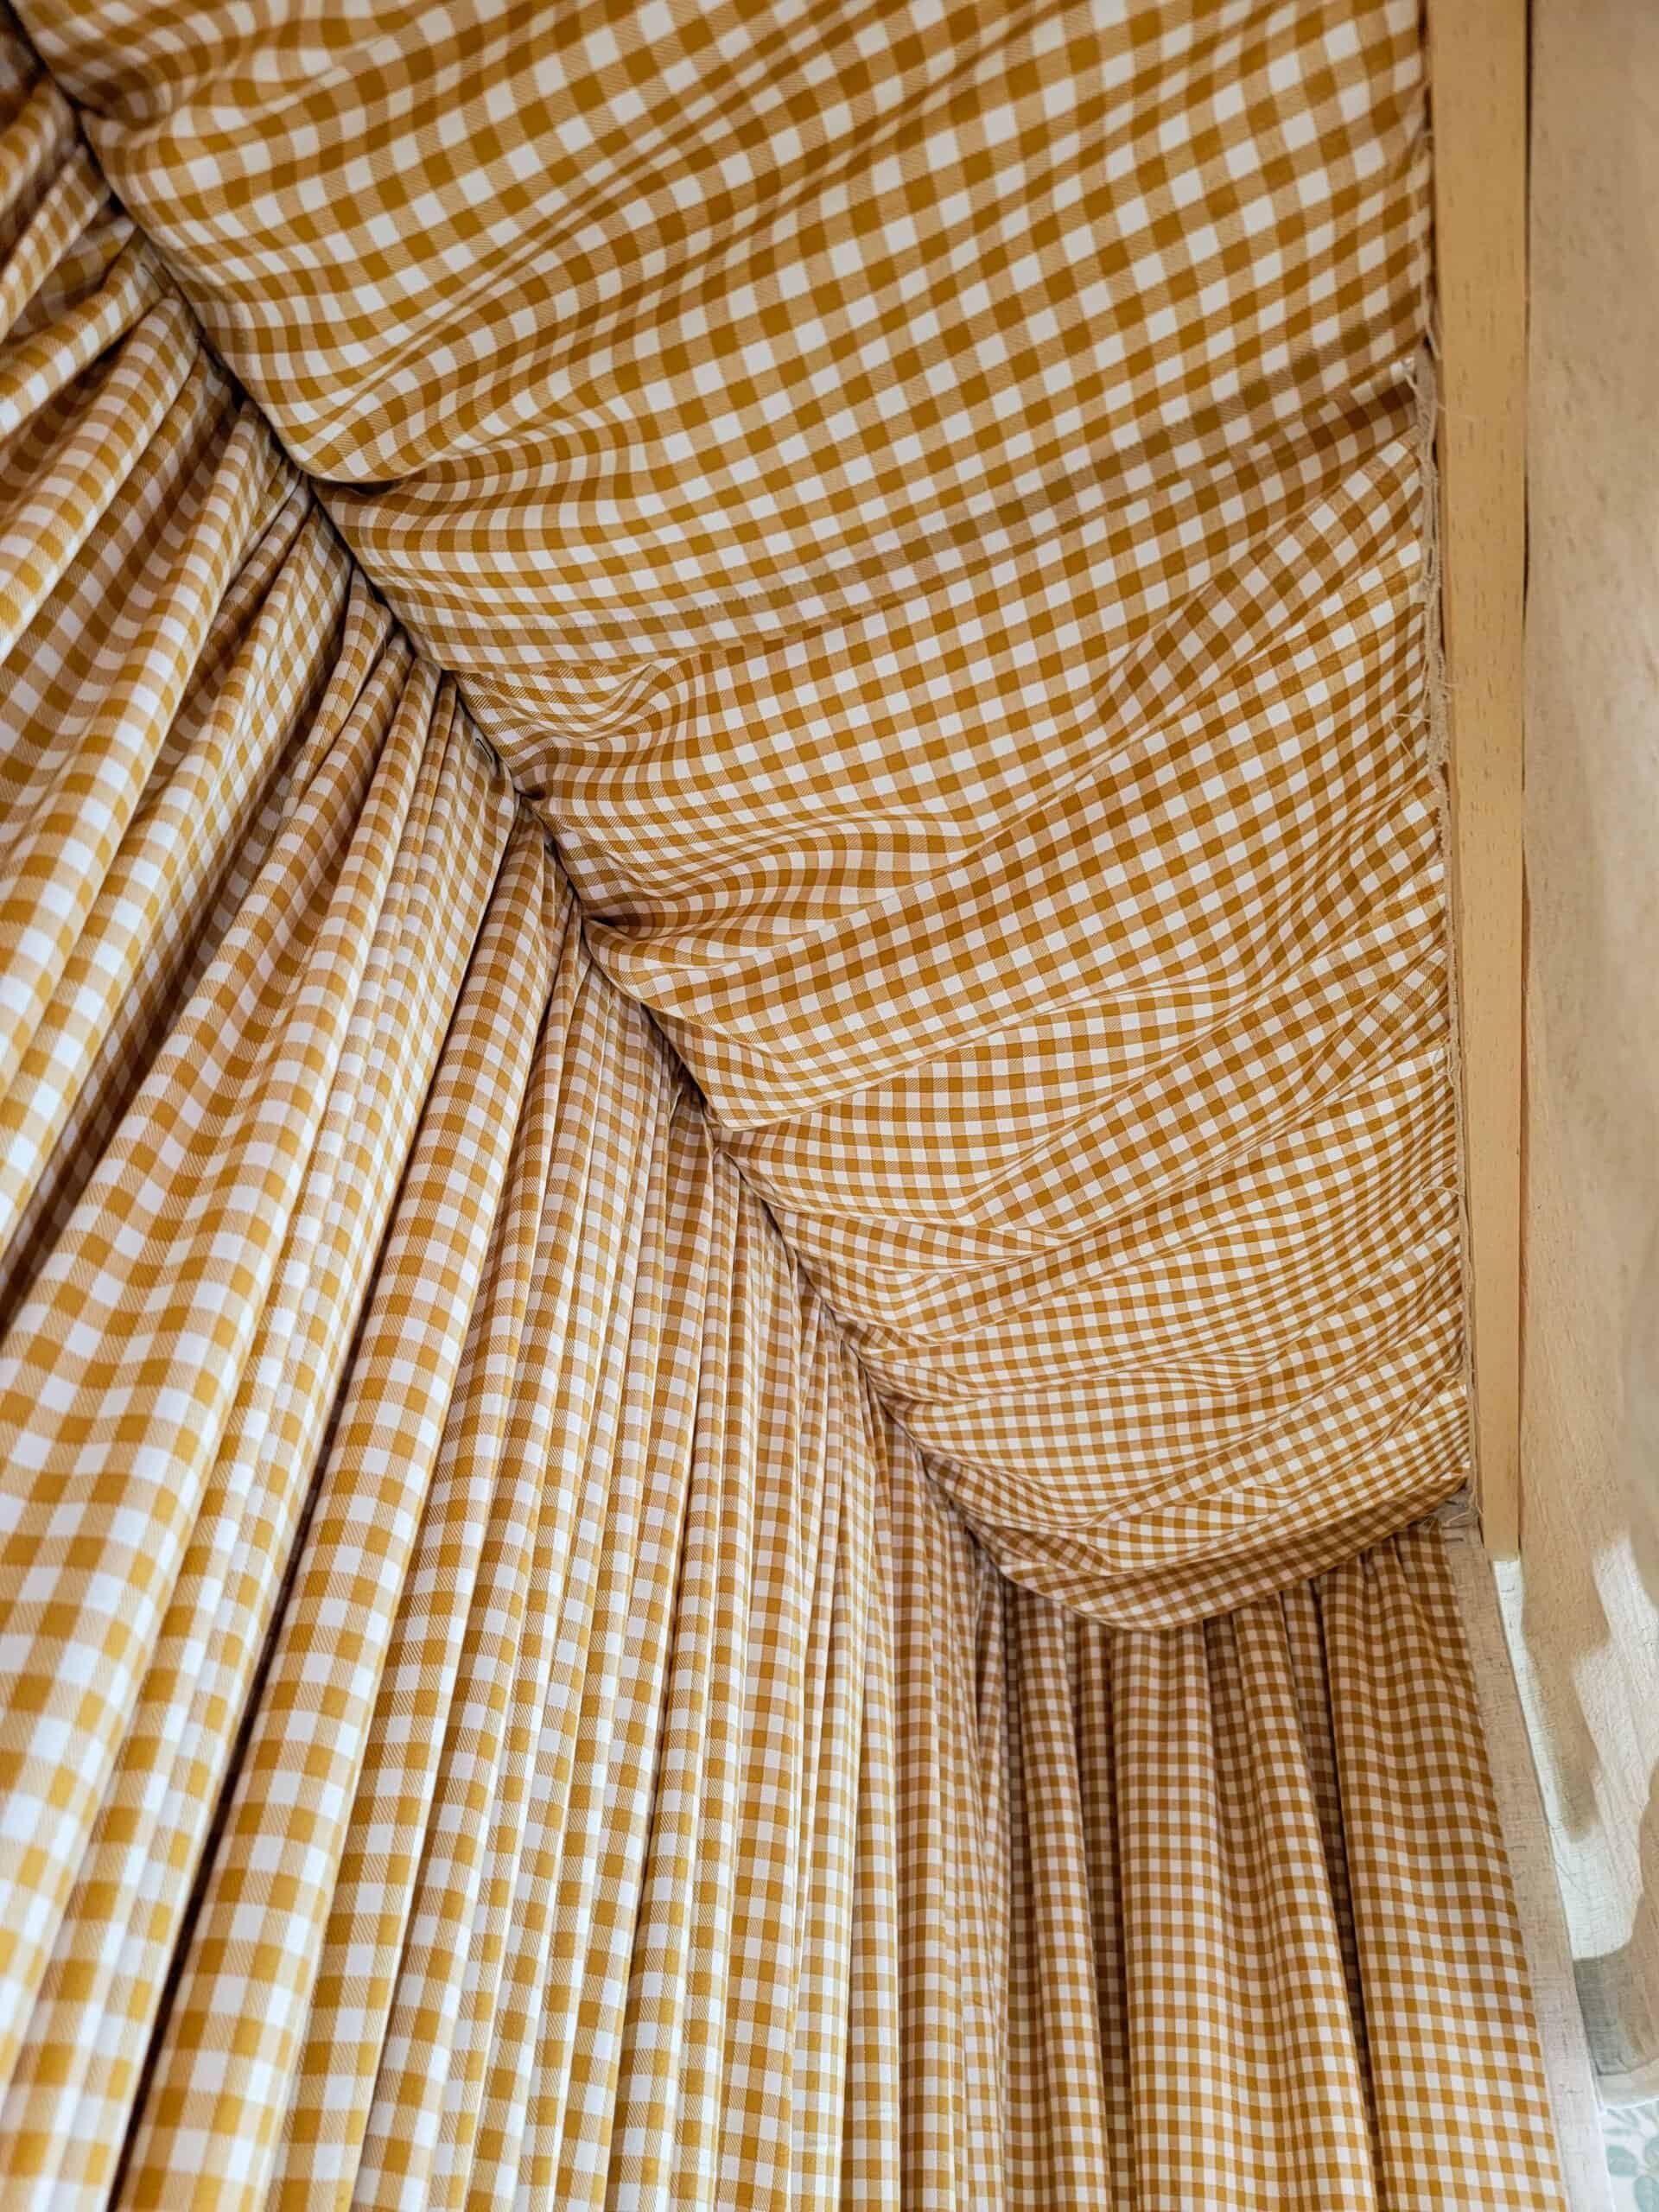
I completely forgot to take pictures of me attaching the frame to the wall, so I did my best to show you the frame, even though there's fabric covering it.
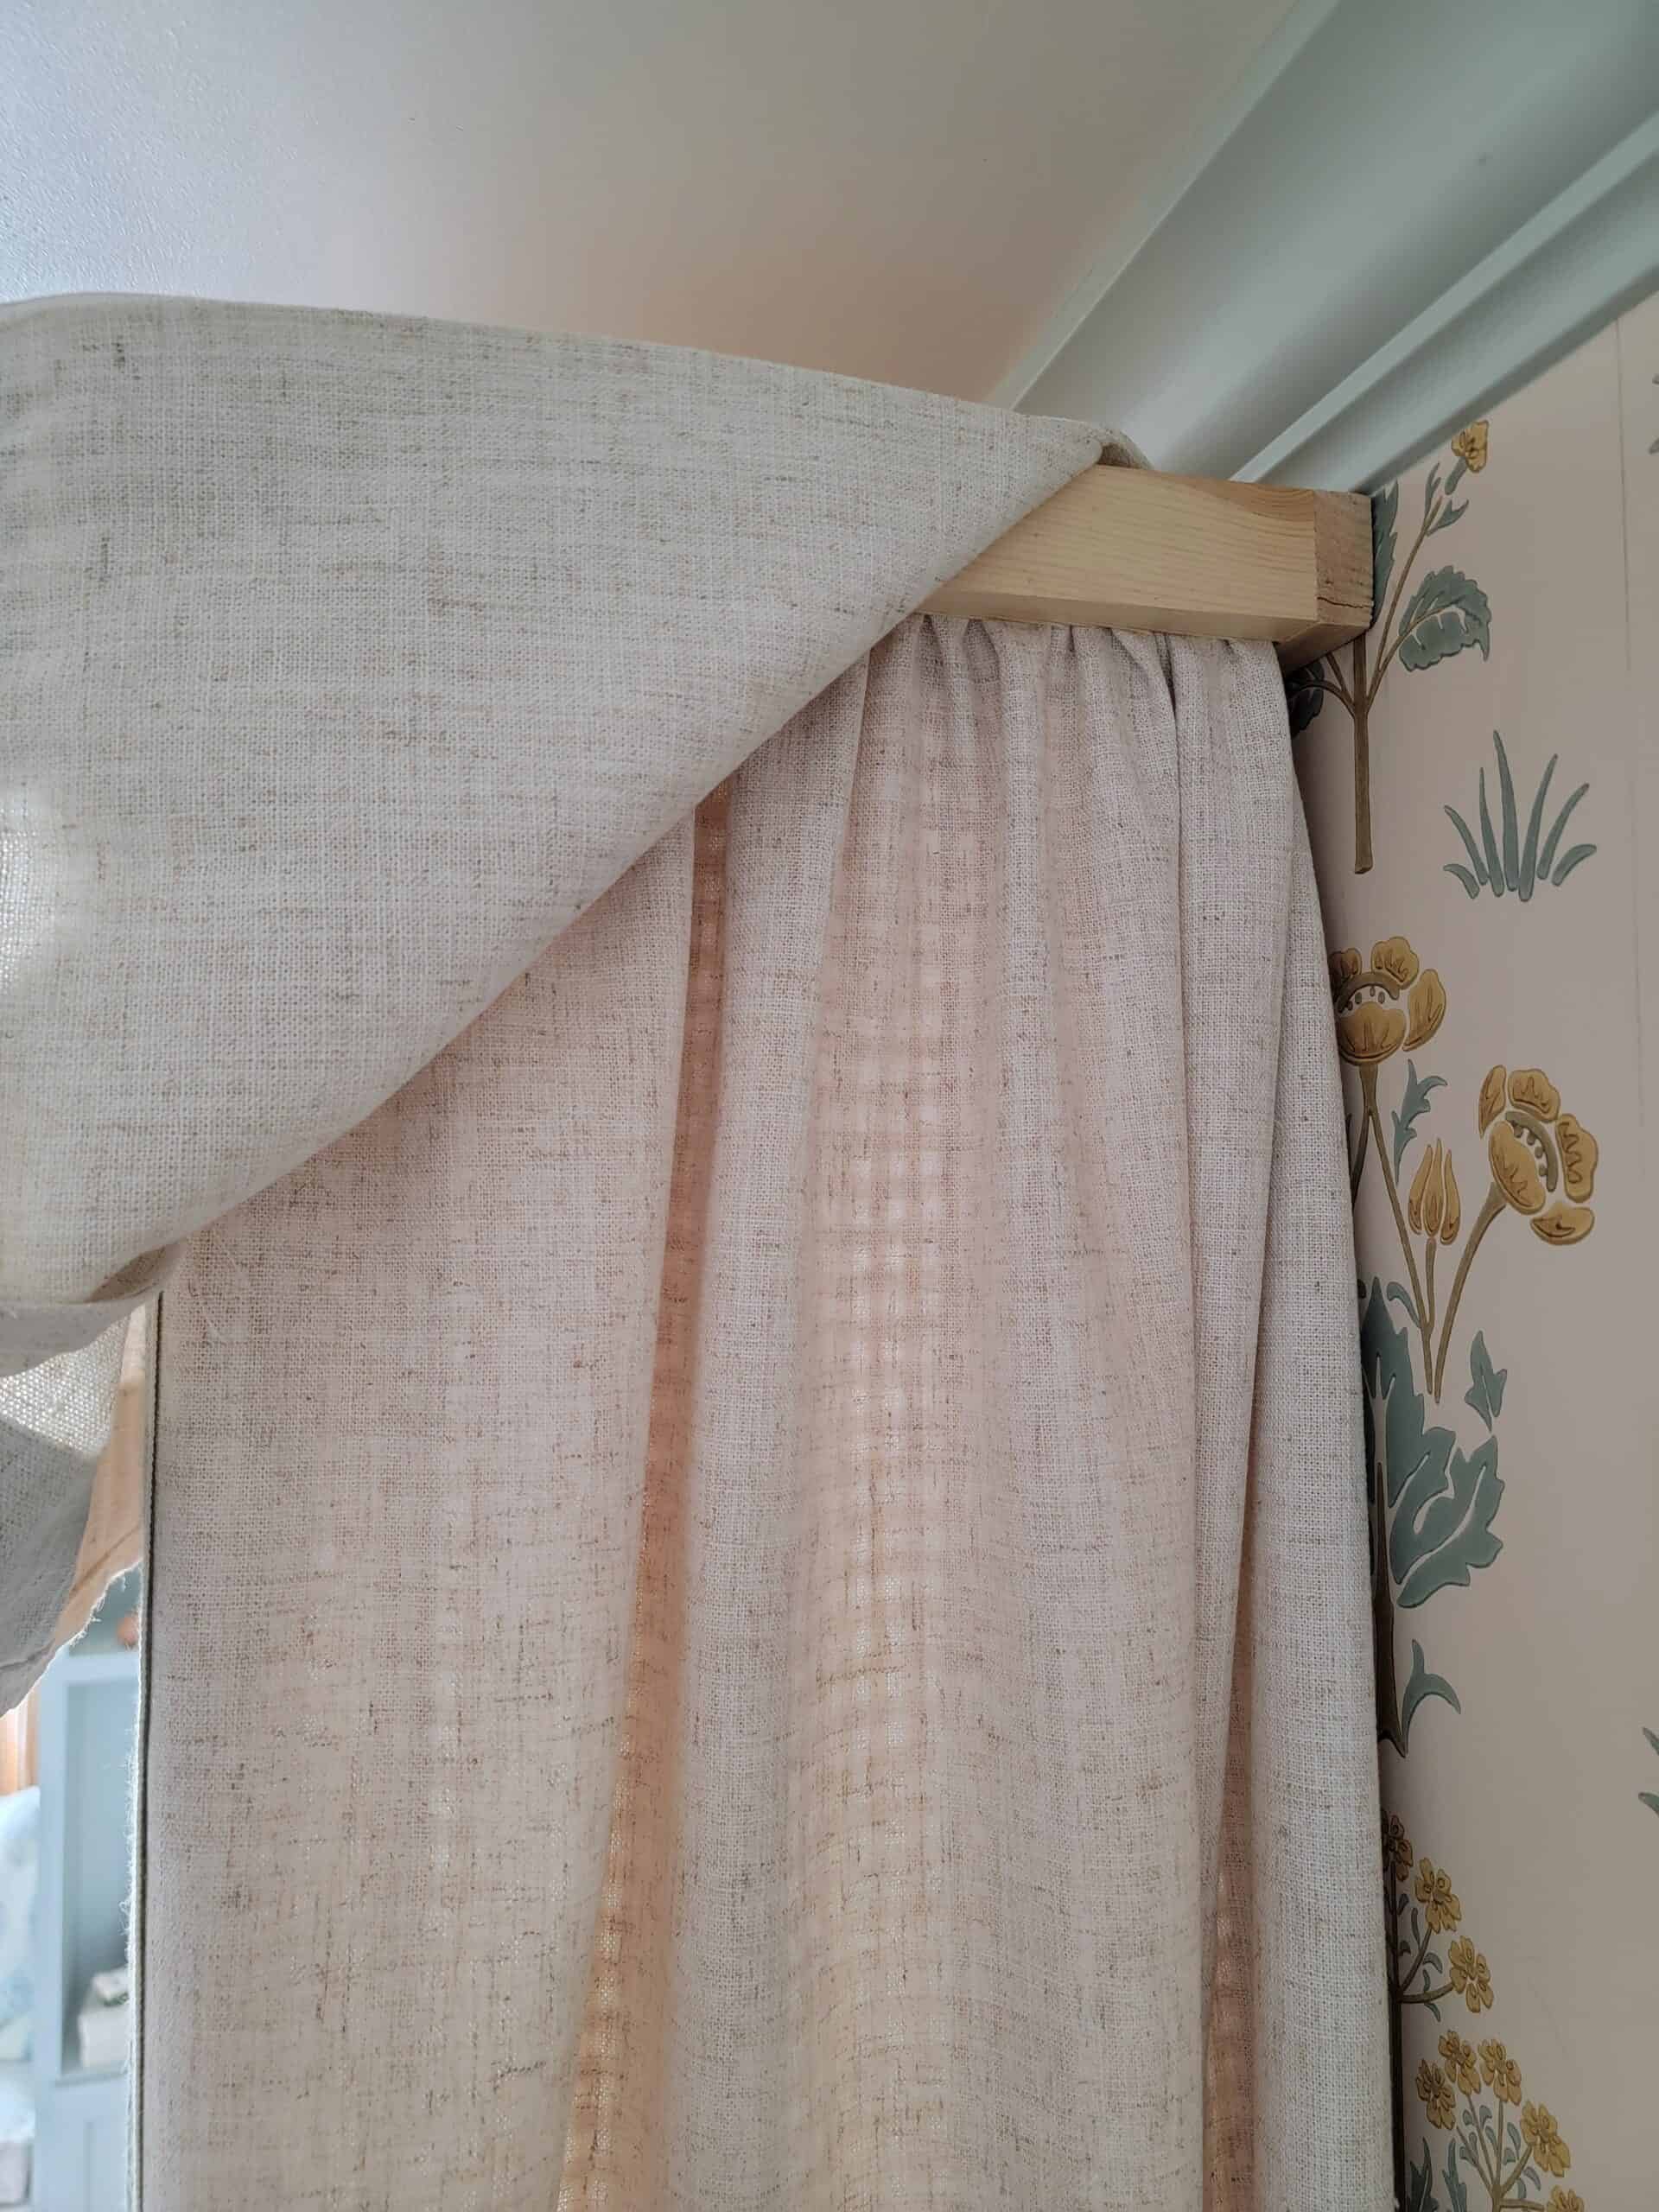
In Noelle's room, one end of the canopy lined up with a stud (pictured above), but the other end didn't. It was still secure because there were three studs along the length of the frame. However, I didn't like that one end wasn't secured to a stud. So, I created a makeshift bracket that made the left side just as secure as the right side, despite not having a stud there.

This bracket sits between the valance and the inside layer of fabric, so it's completely hidden.
Outside layer...
Inside layer...
4 | Measure and Calculate How Much Fabric You'll Need
Measurements will all be custom based on how wide, tall, deep, and full you want your DIY fabric headboard canopy. I did not buy a set amount of yardage. My estimate would be that I used around 12 yards of mustard gingham fabric and 6 yards of flax fabric.
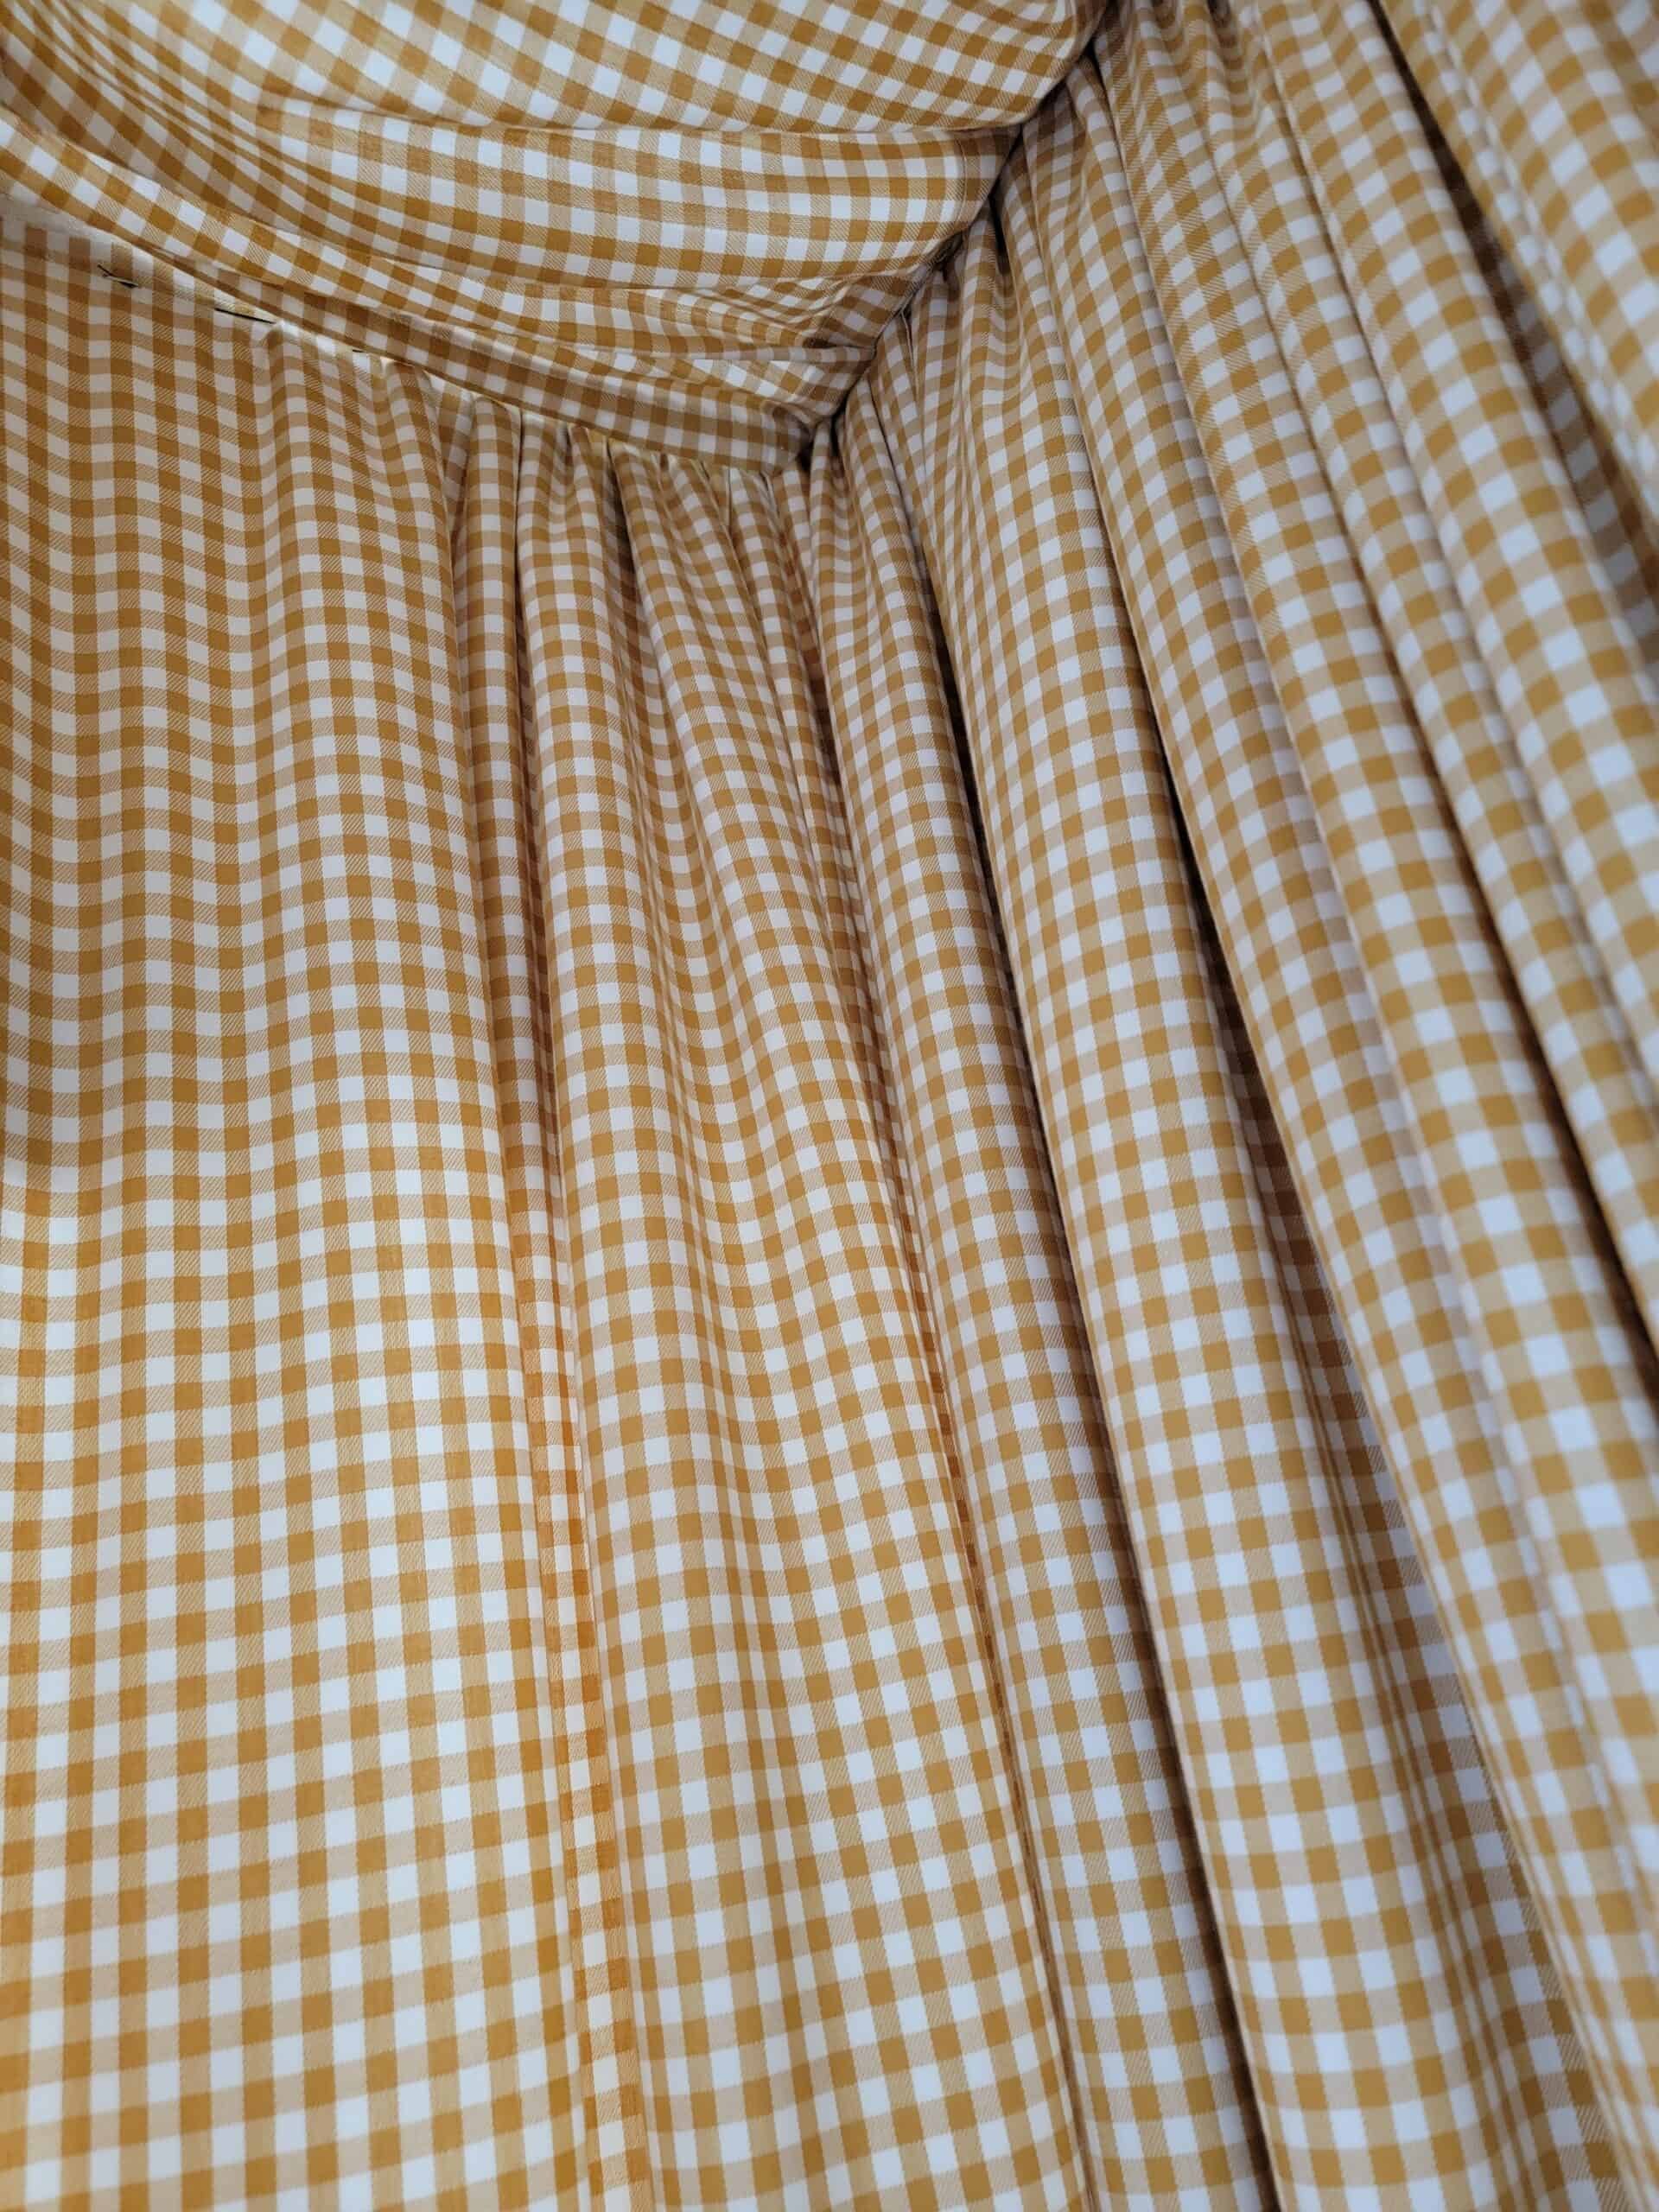
The mustard gingham fabric (interior) is more full and gathered than the outer "shell" of fabric. That's why I used more interior fabric than exterior fabric. Also, the sides are sort of dummy panels, as they do not extend all the way behind her headboard.
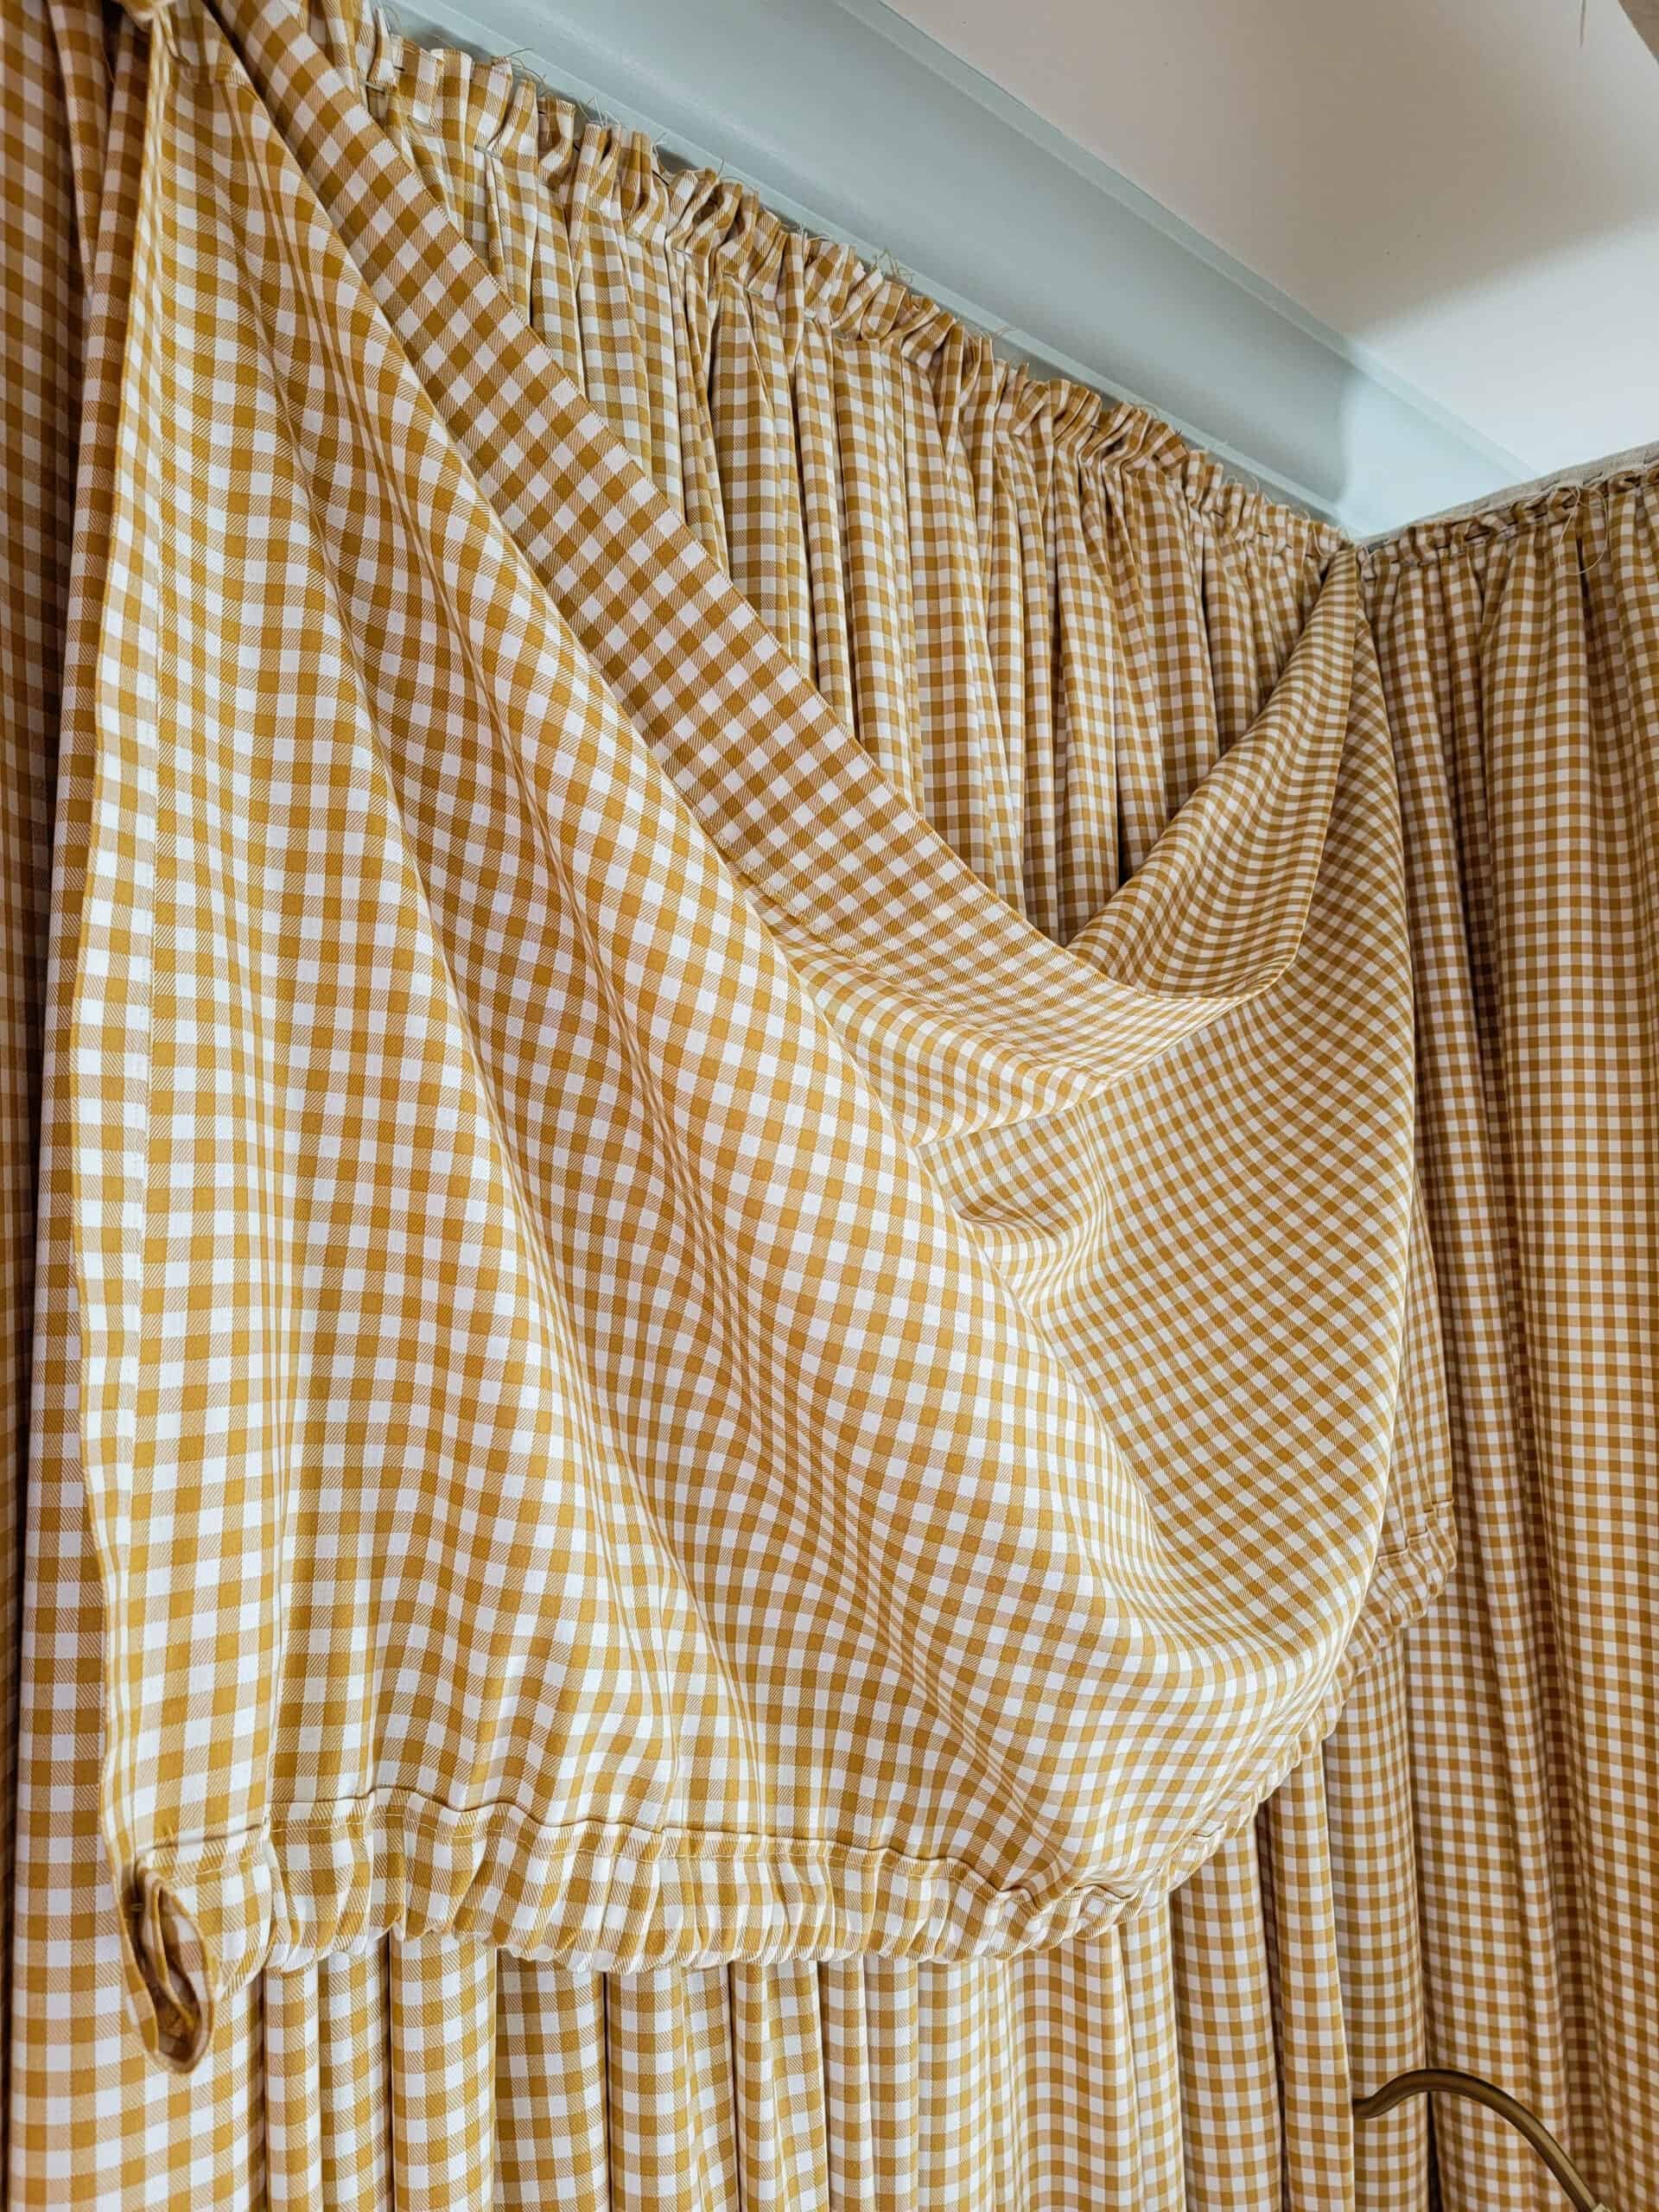
5 | Create the Back and Sides of the Headboard Canopy
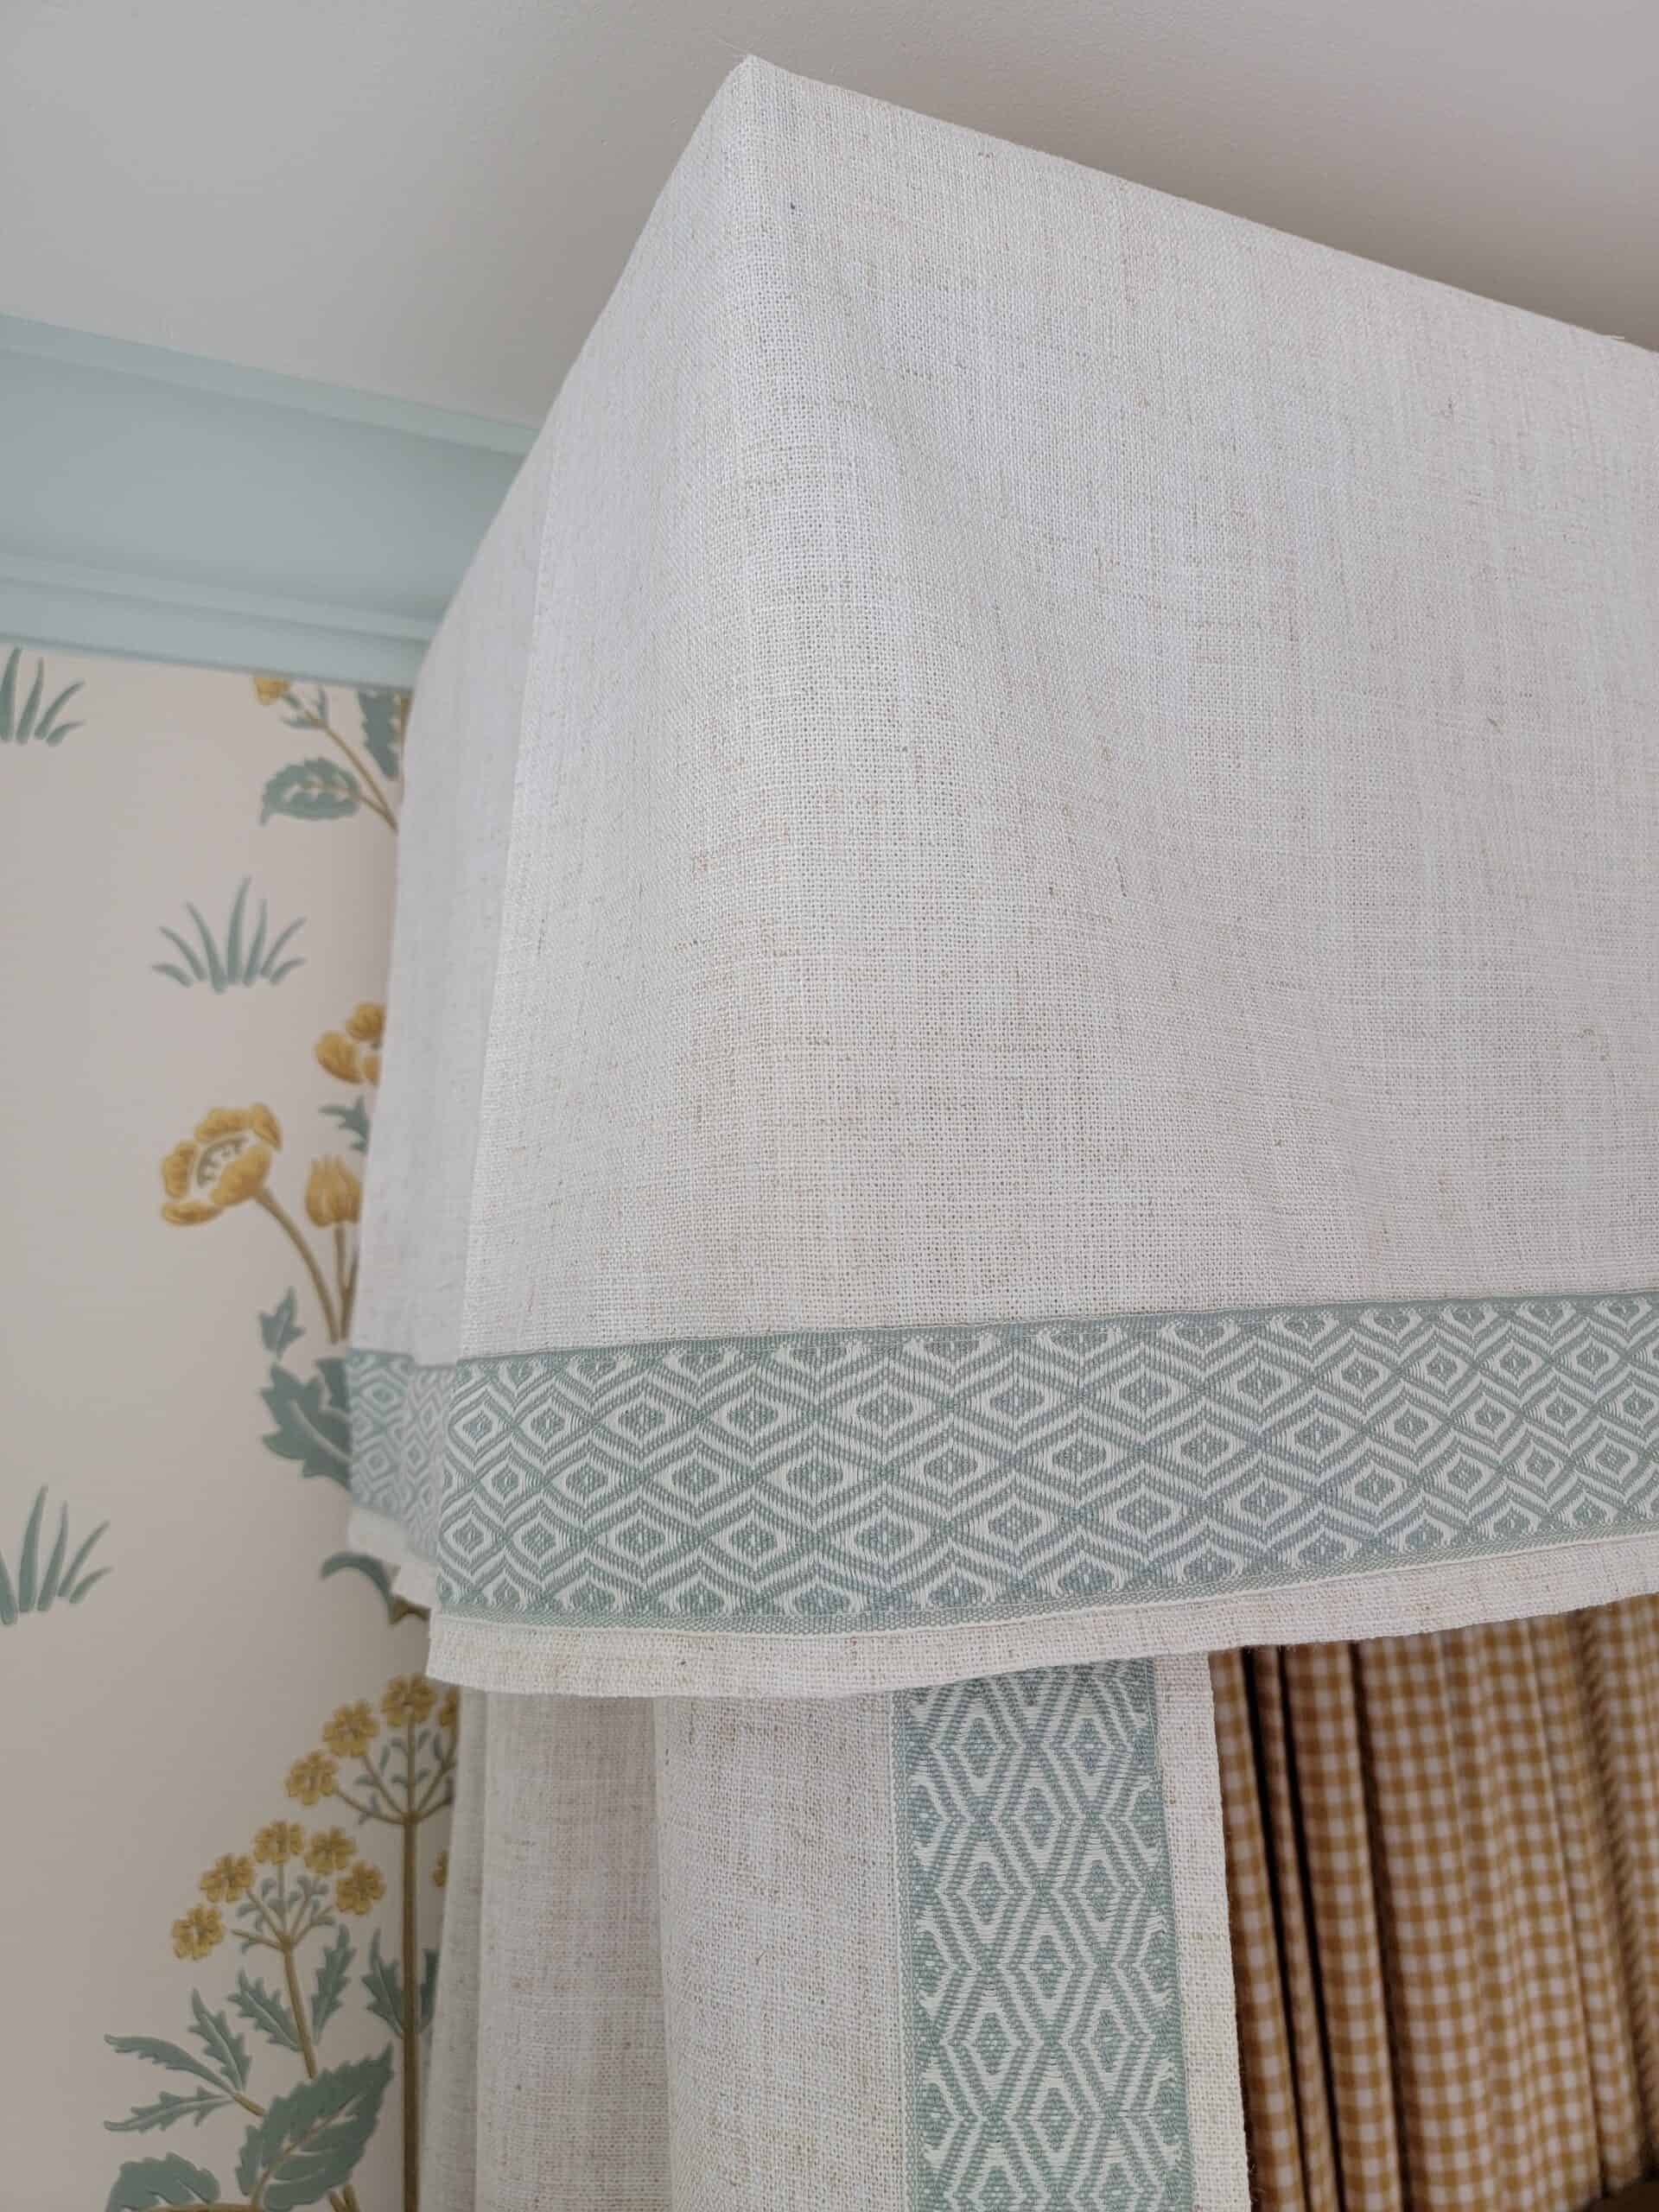
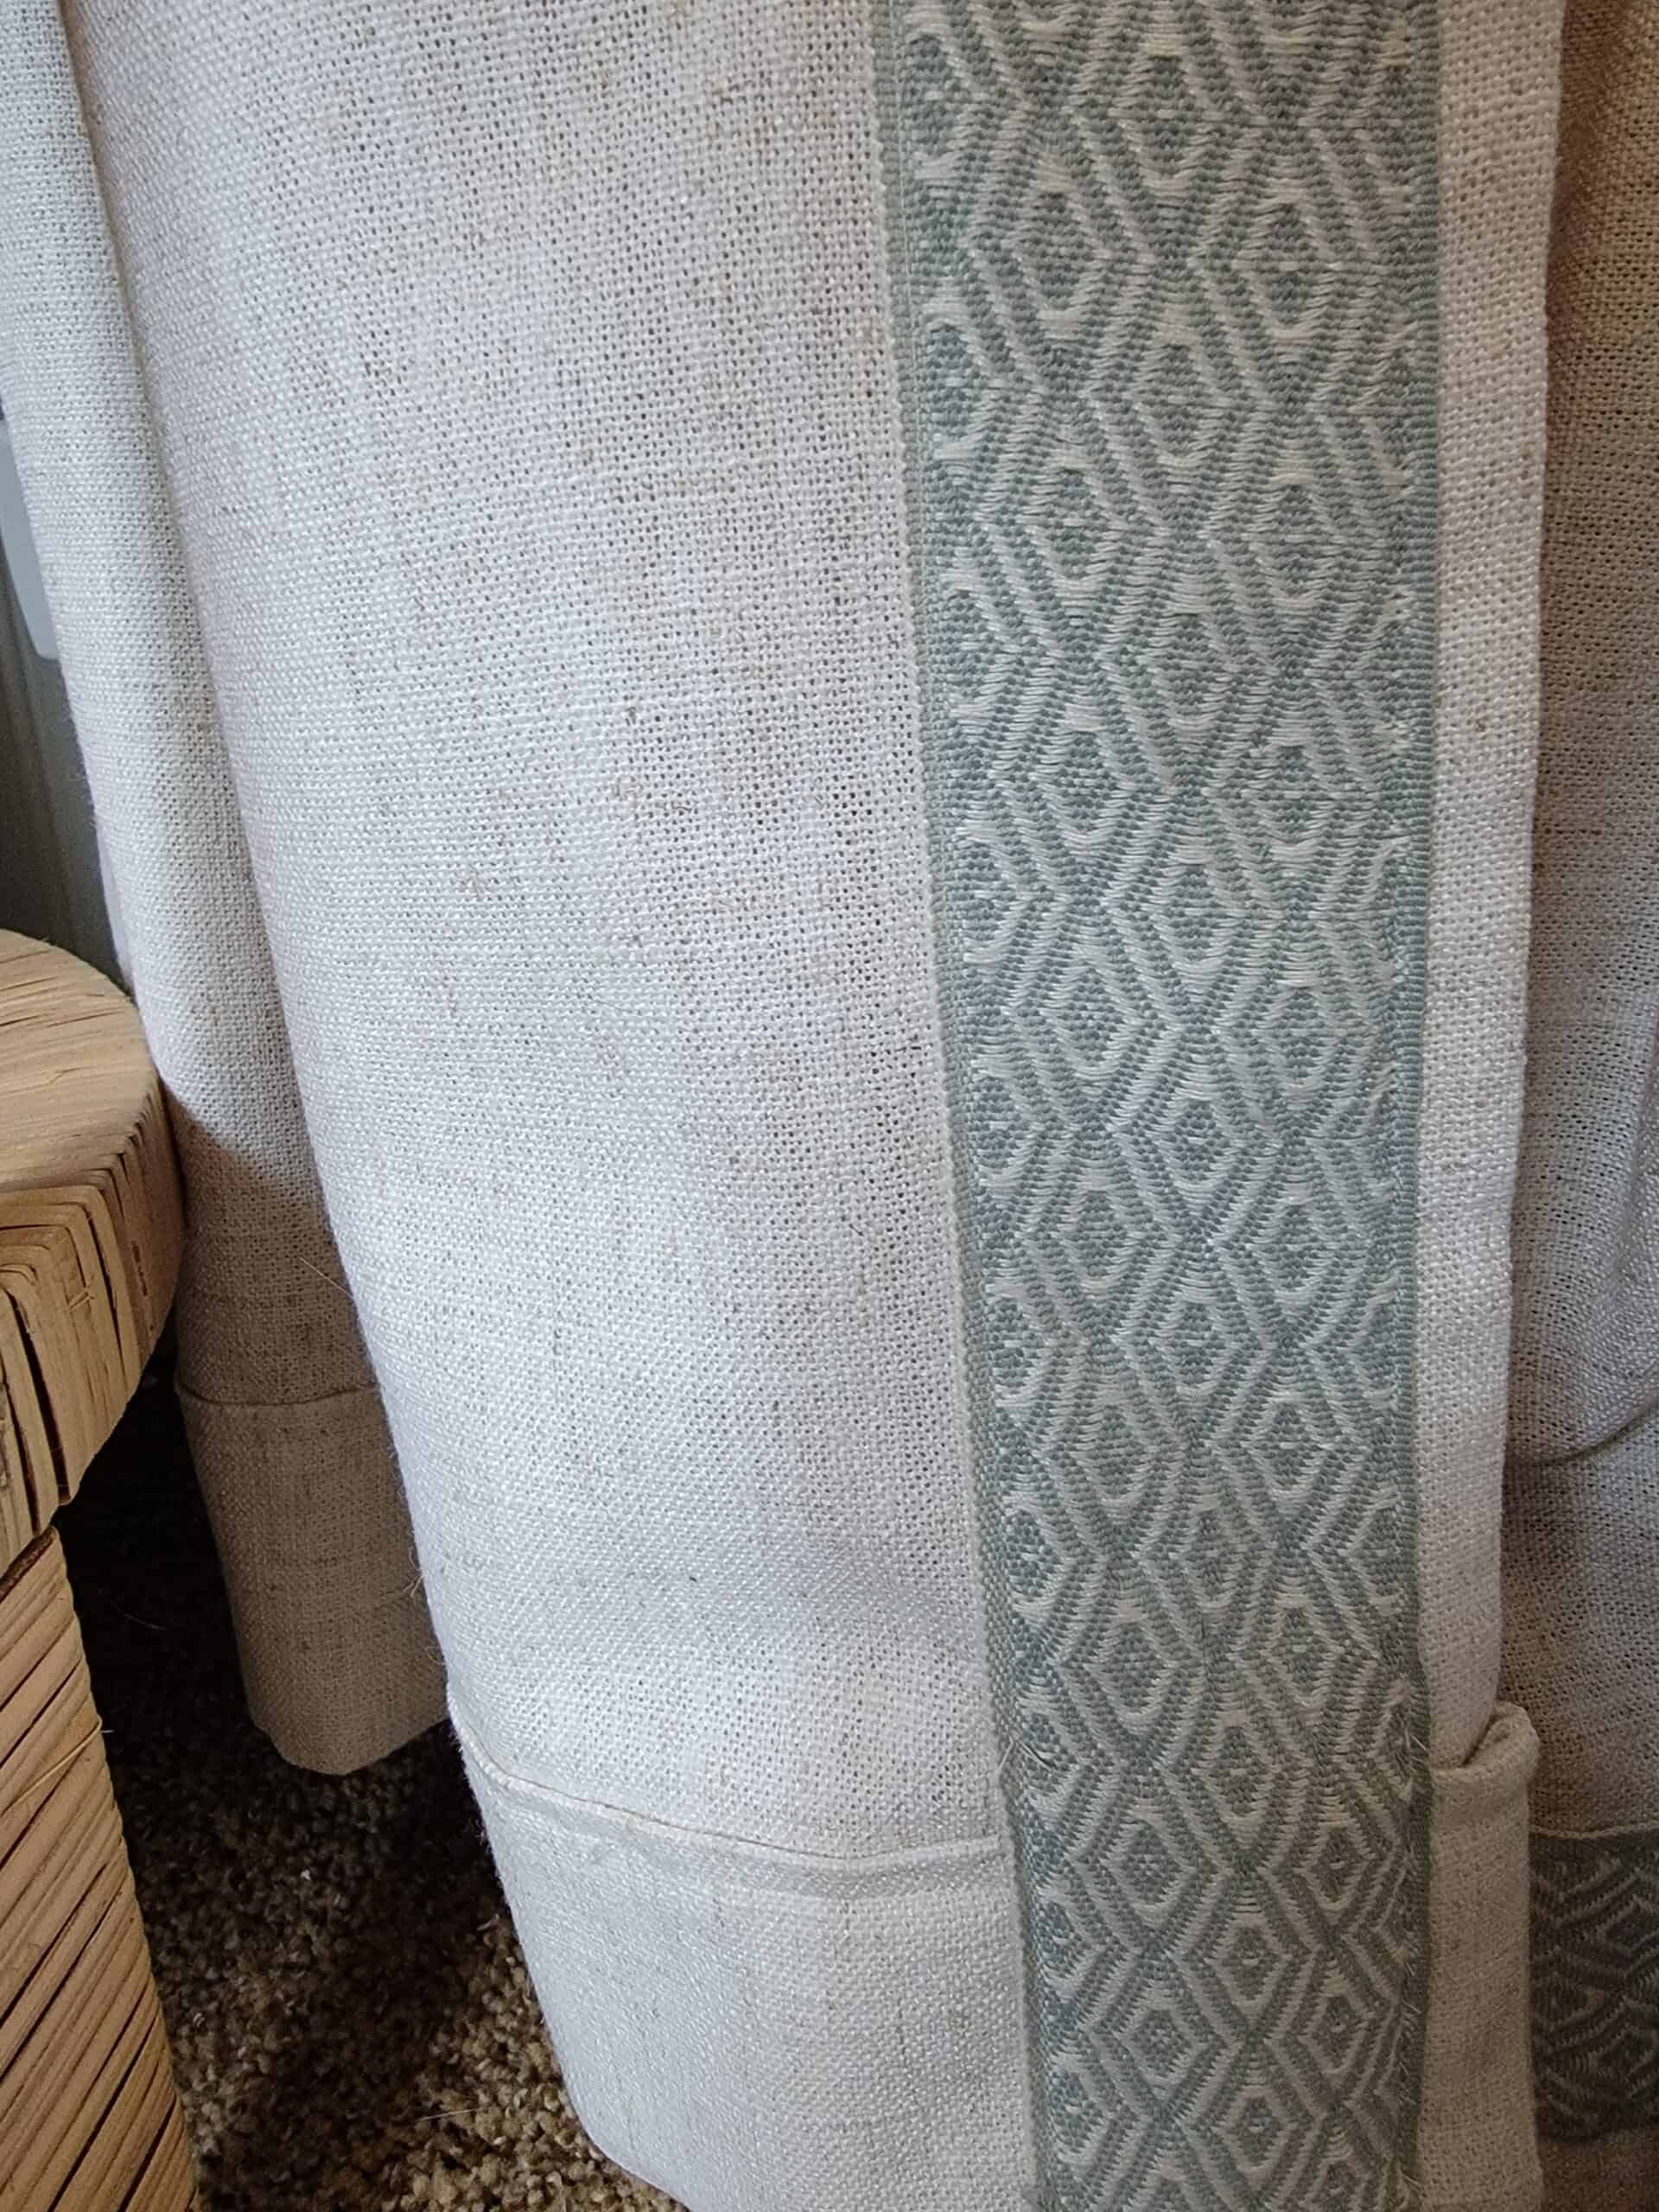
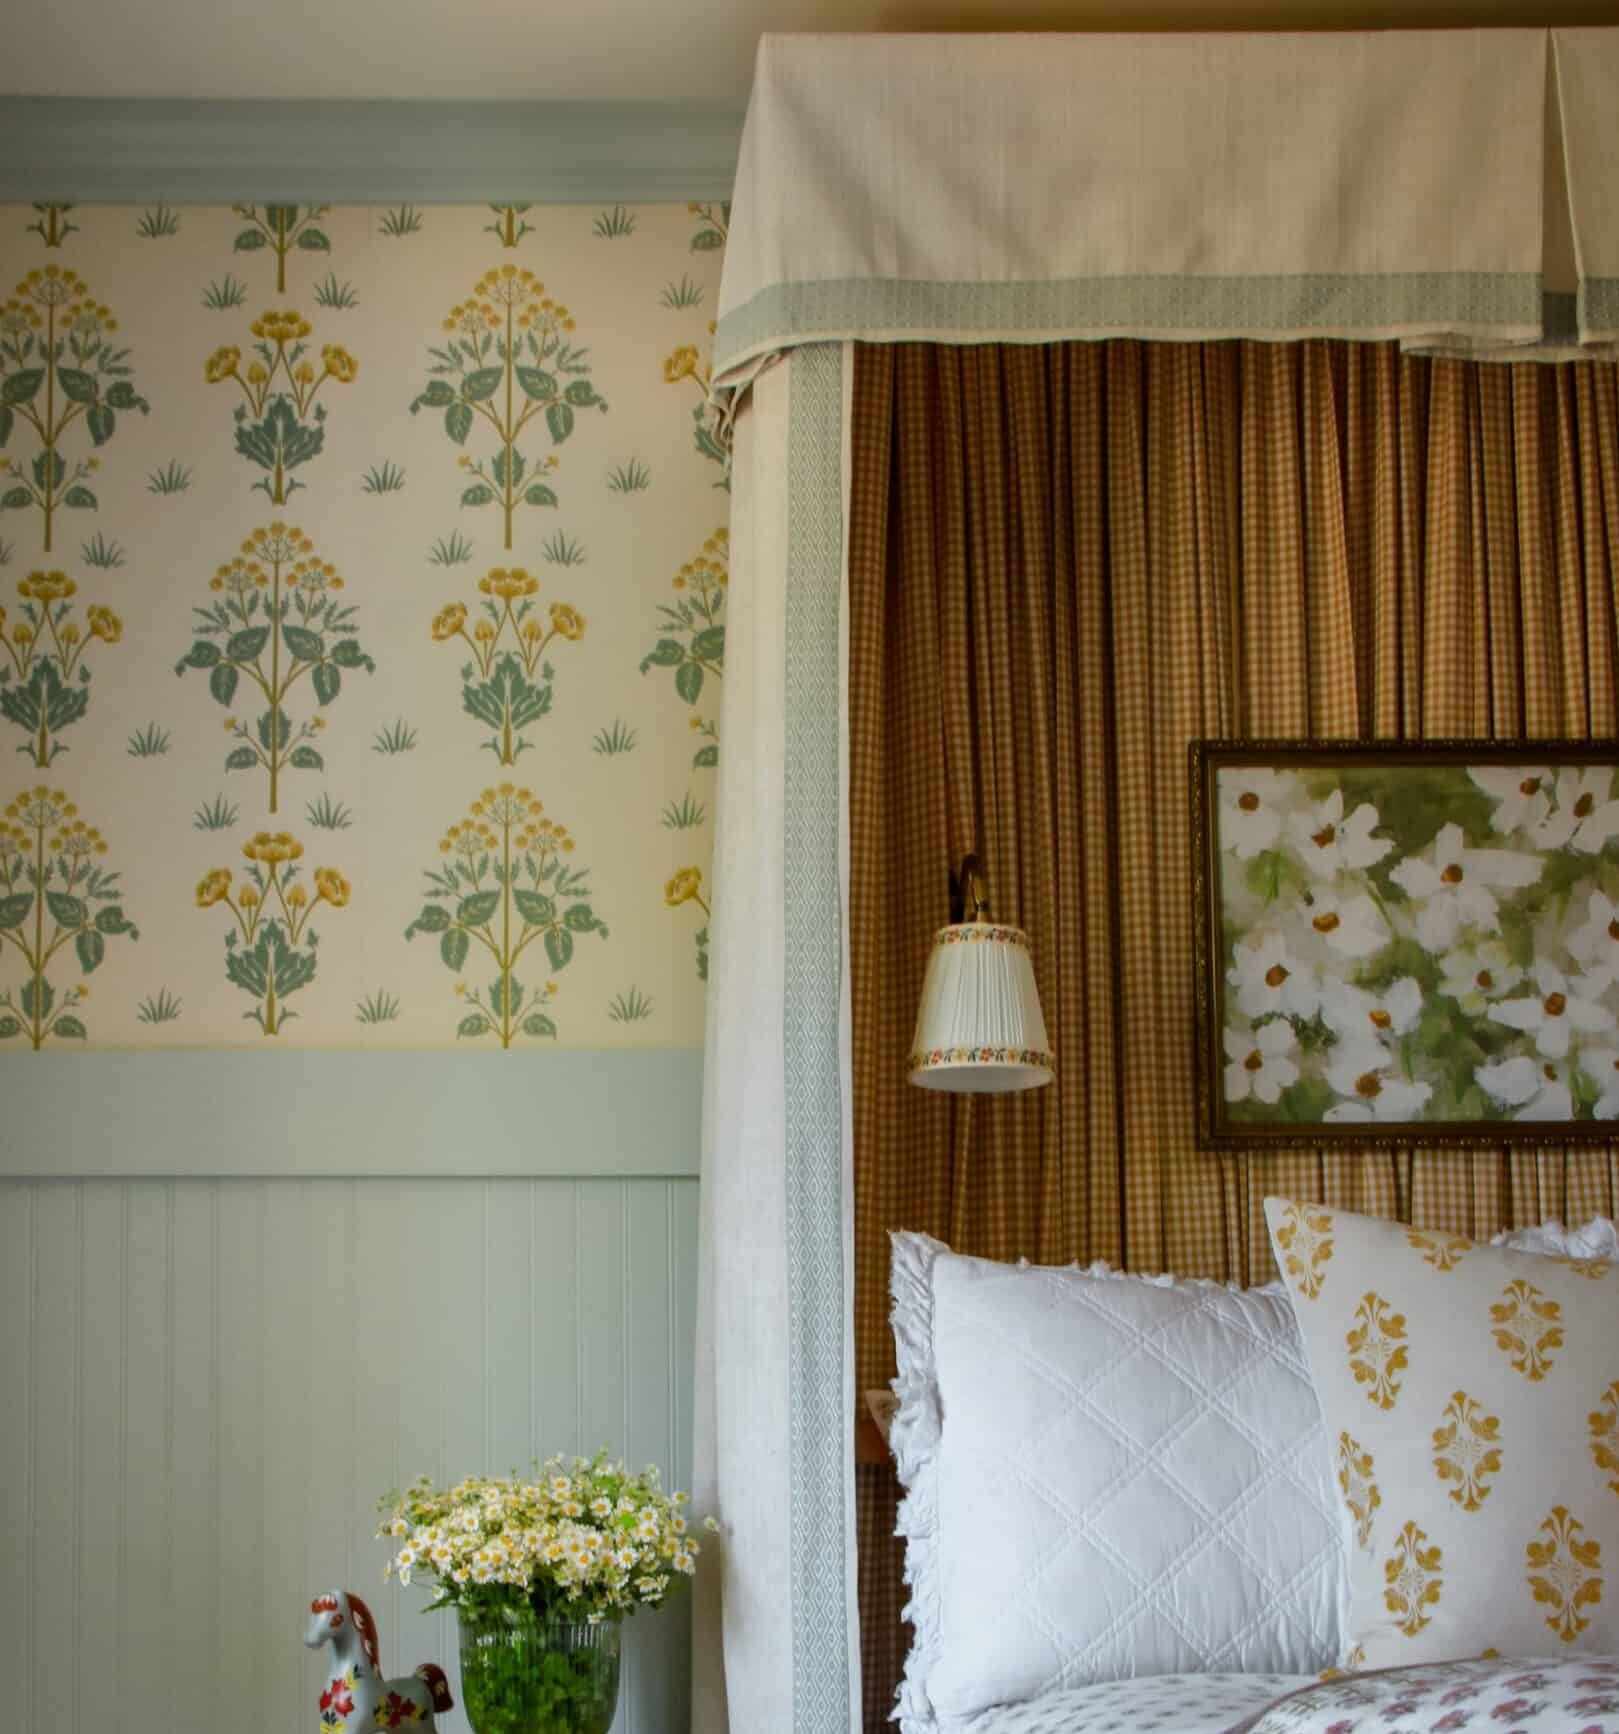
Traditionally, a headboard canopy has one fabric on the inside and a coordinating different fabric on the outside. You can get creative with this step though. If you like the look of all one fabric, go for it! There's no right or wrong way to design your headboard canopy. I chose to go the traditional route, and selected a mustard gingham shirting fabric from Joann's for the inside and an oatmeal flax fabric for the outside.
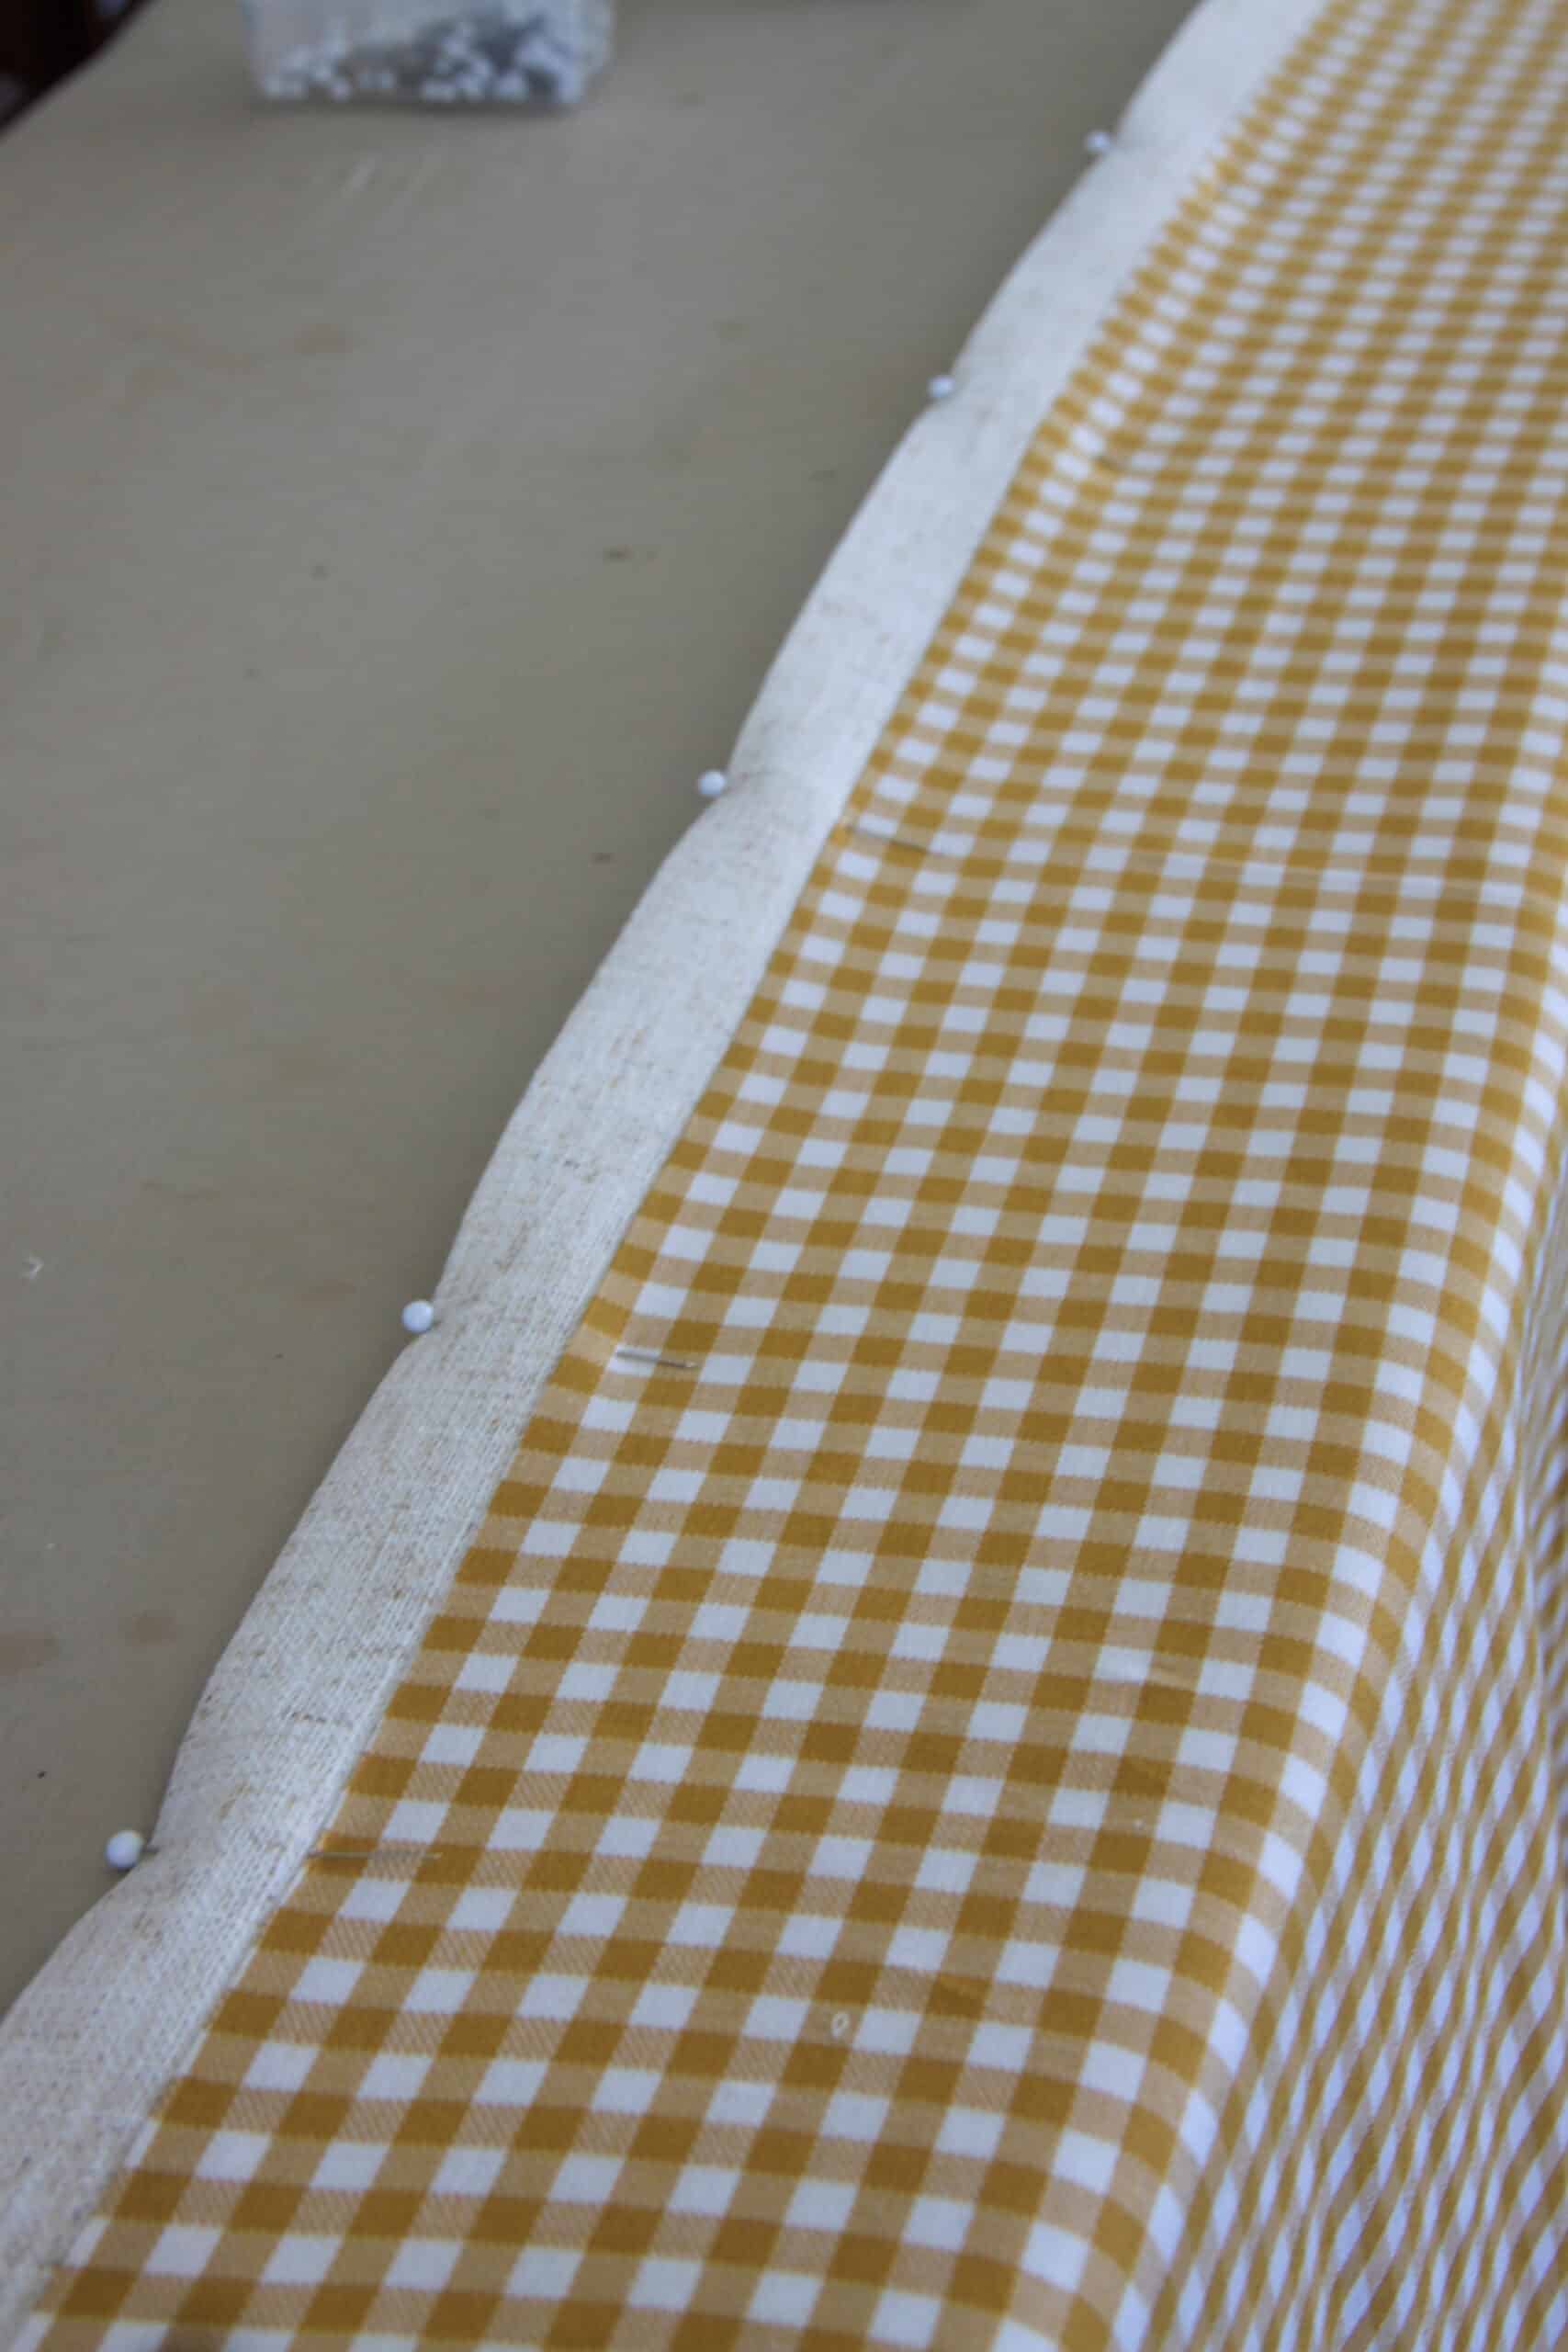
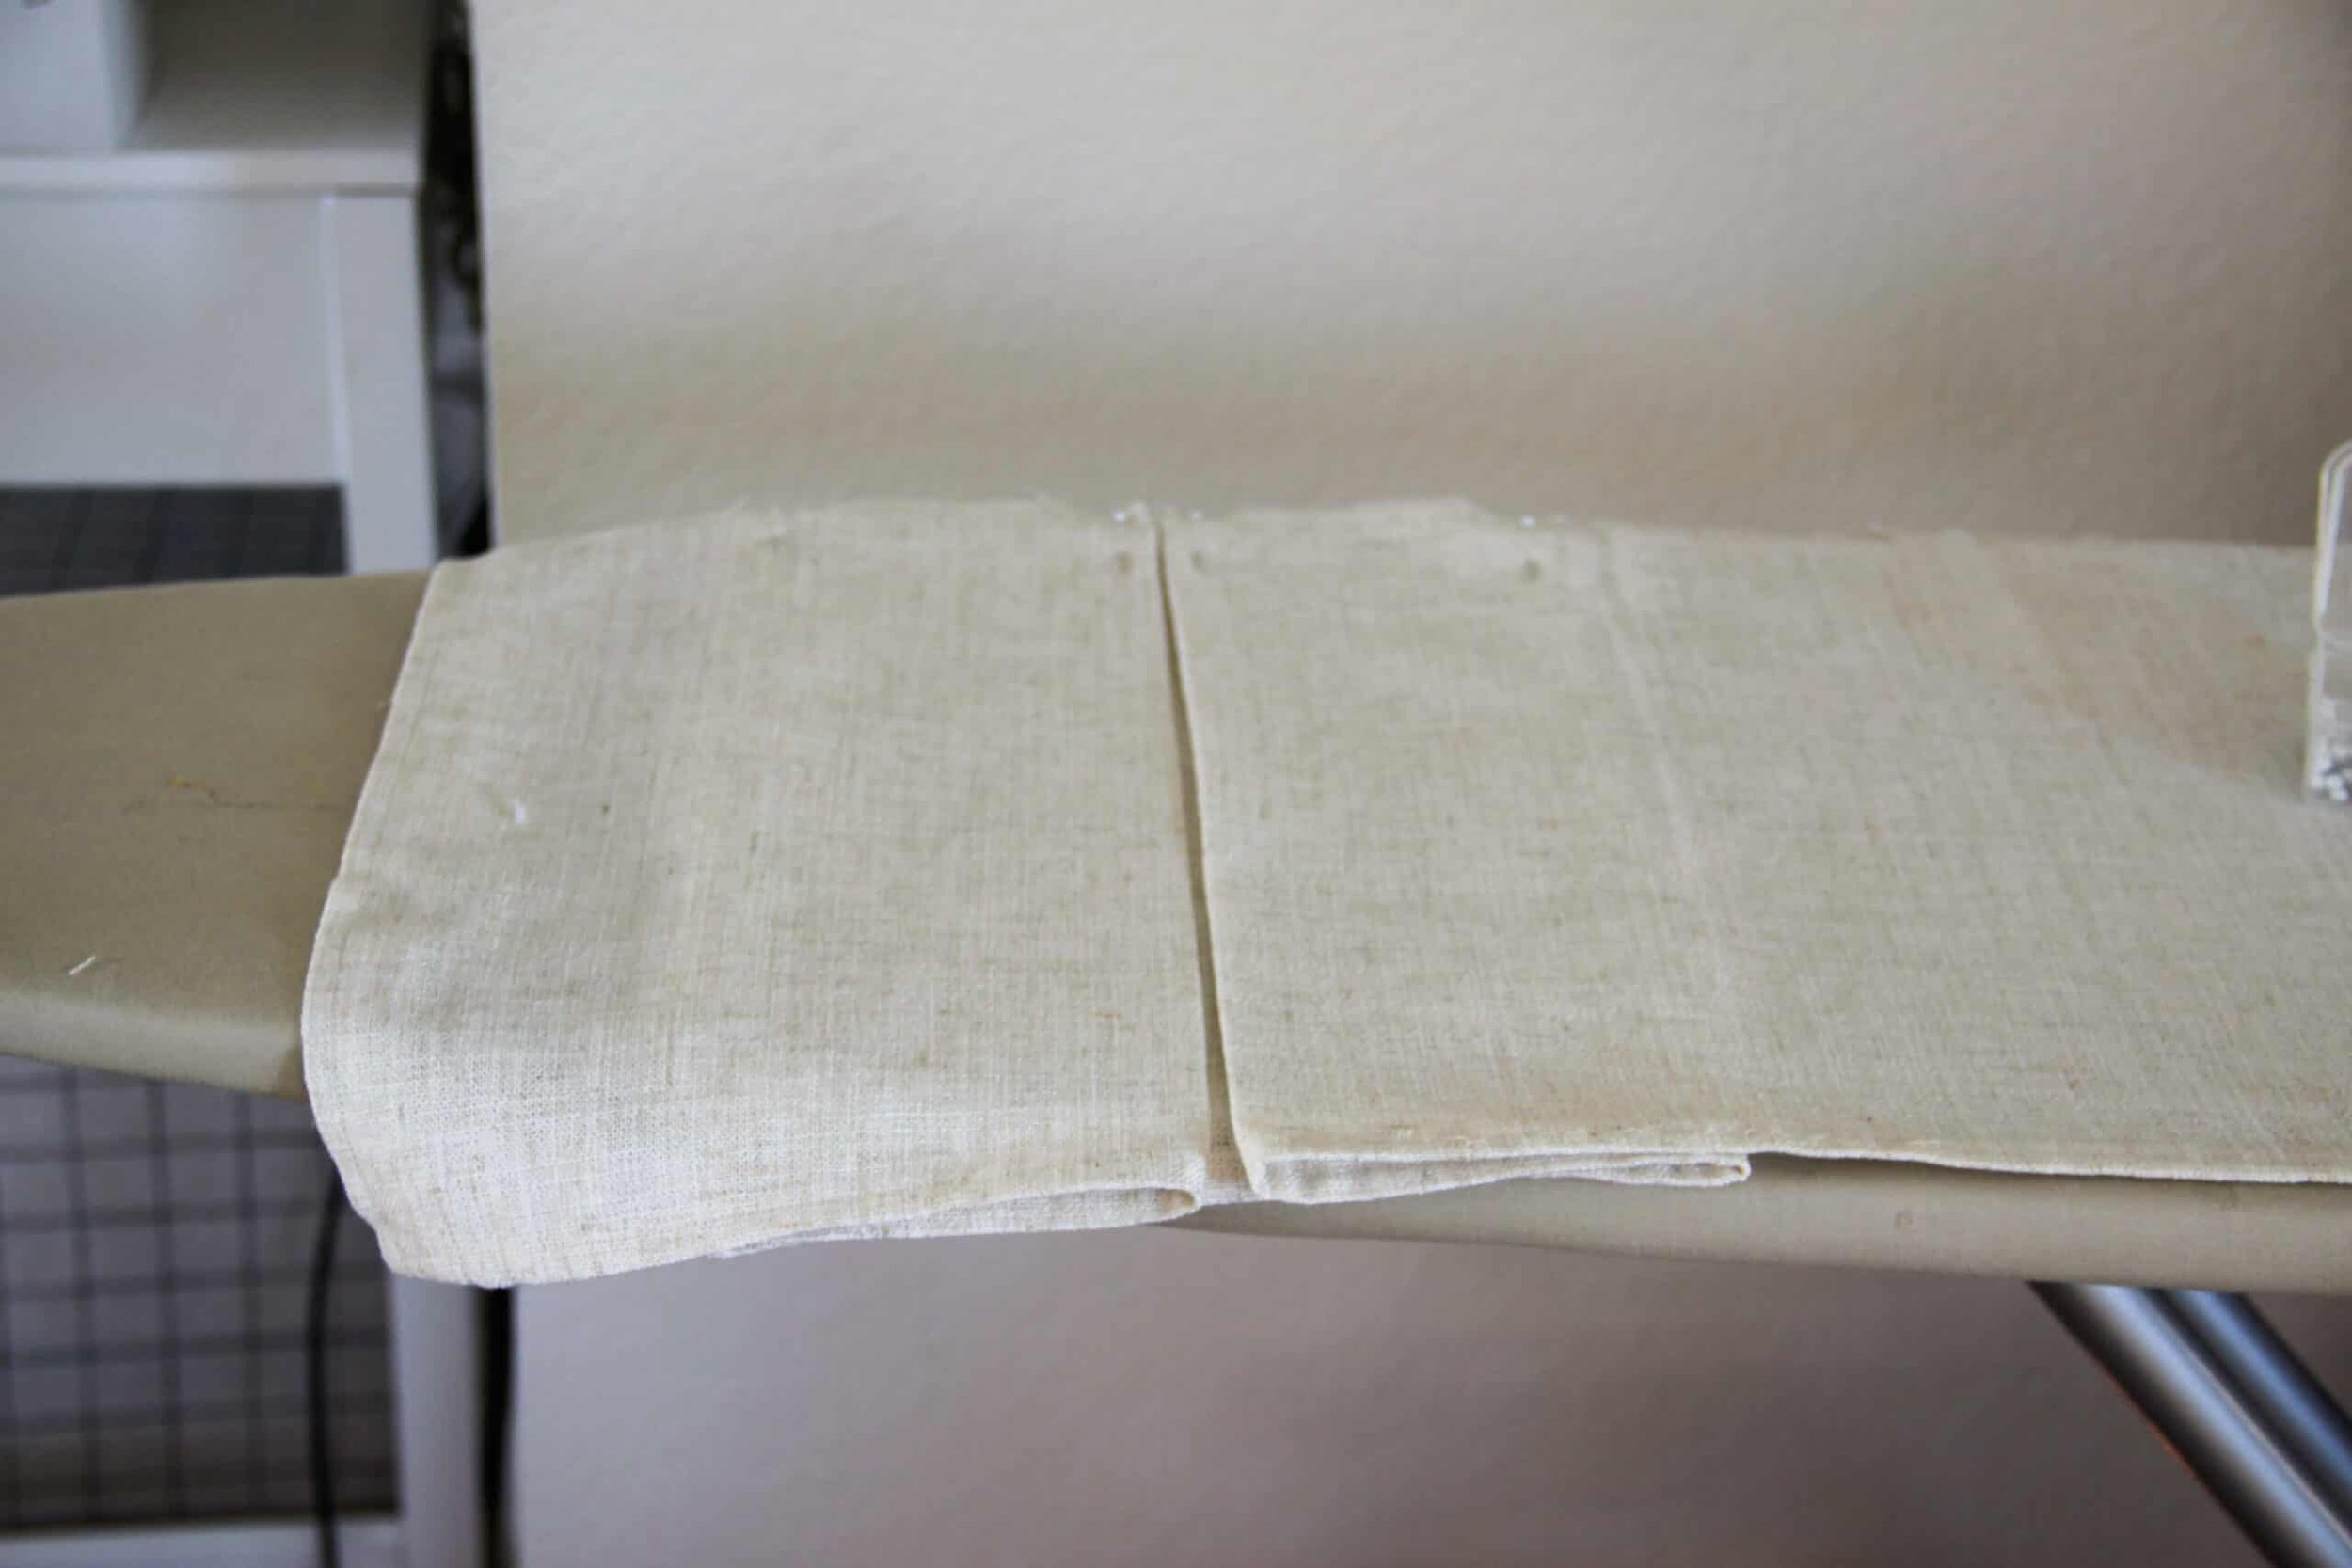
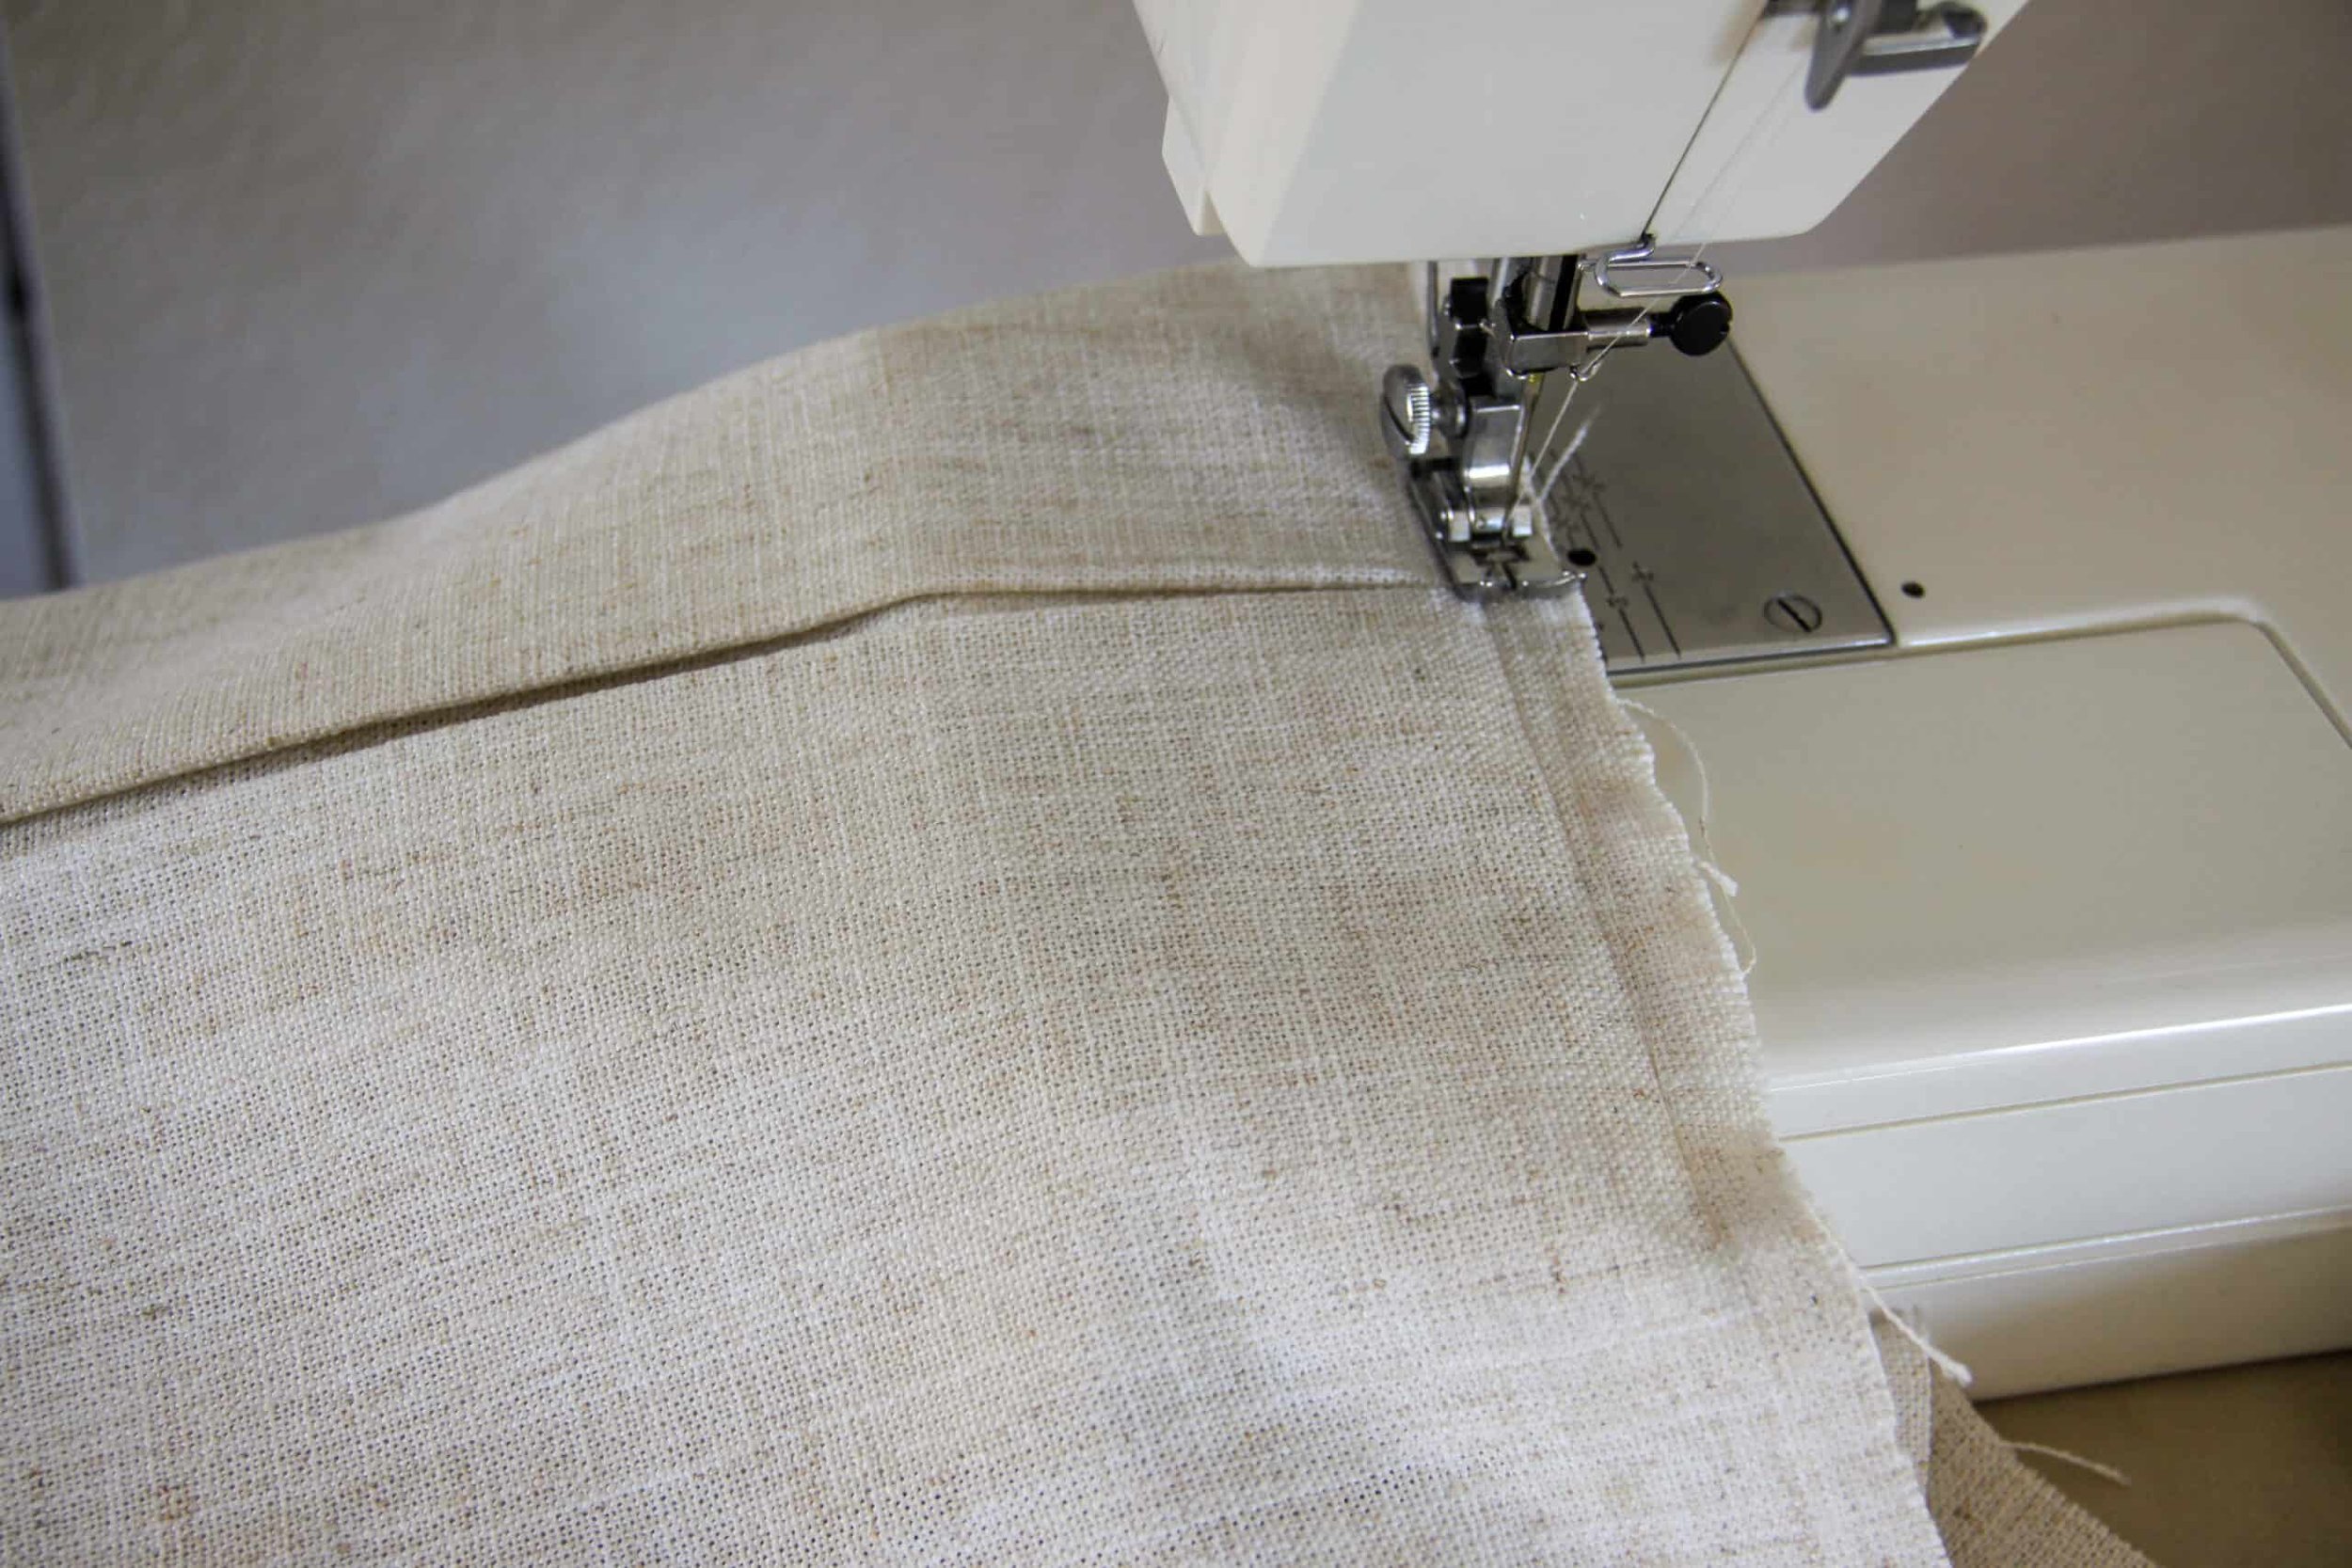
First, I put my fabrics right sides together and sewed down one side. Then, I turned that sewn edge right side out, and ironed it so that the outer fabric created a border along the inner edge (pictured below). I pinned it and sewed along the crease where the gingham meets the flax so it would stay put permanently. This will be one side panel. Repeat this for the other side panel. No need to sew up the top edge, as it will be hidden, and the bottom edge will have a border attached to it.
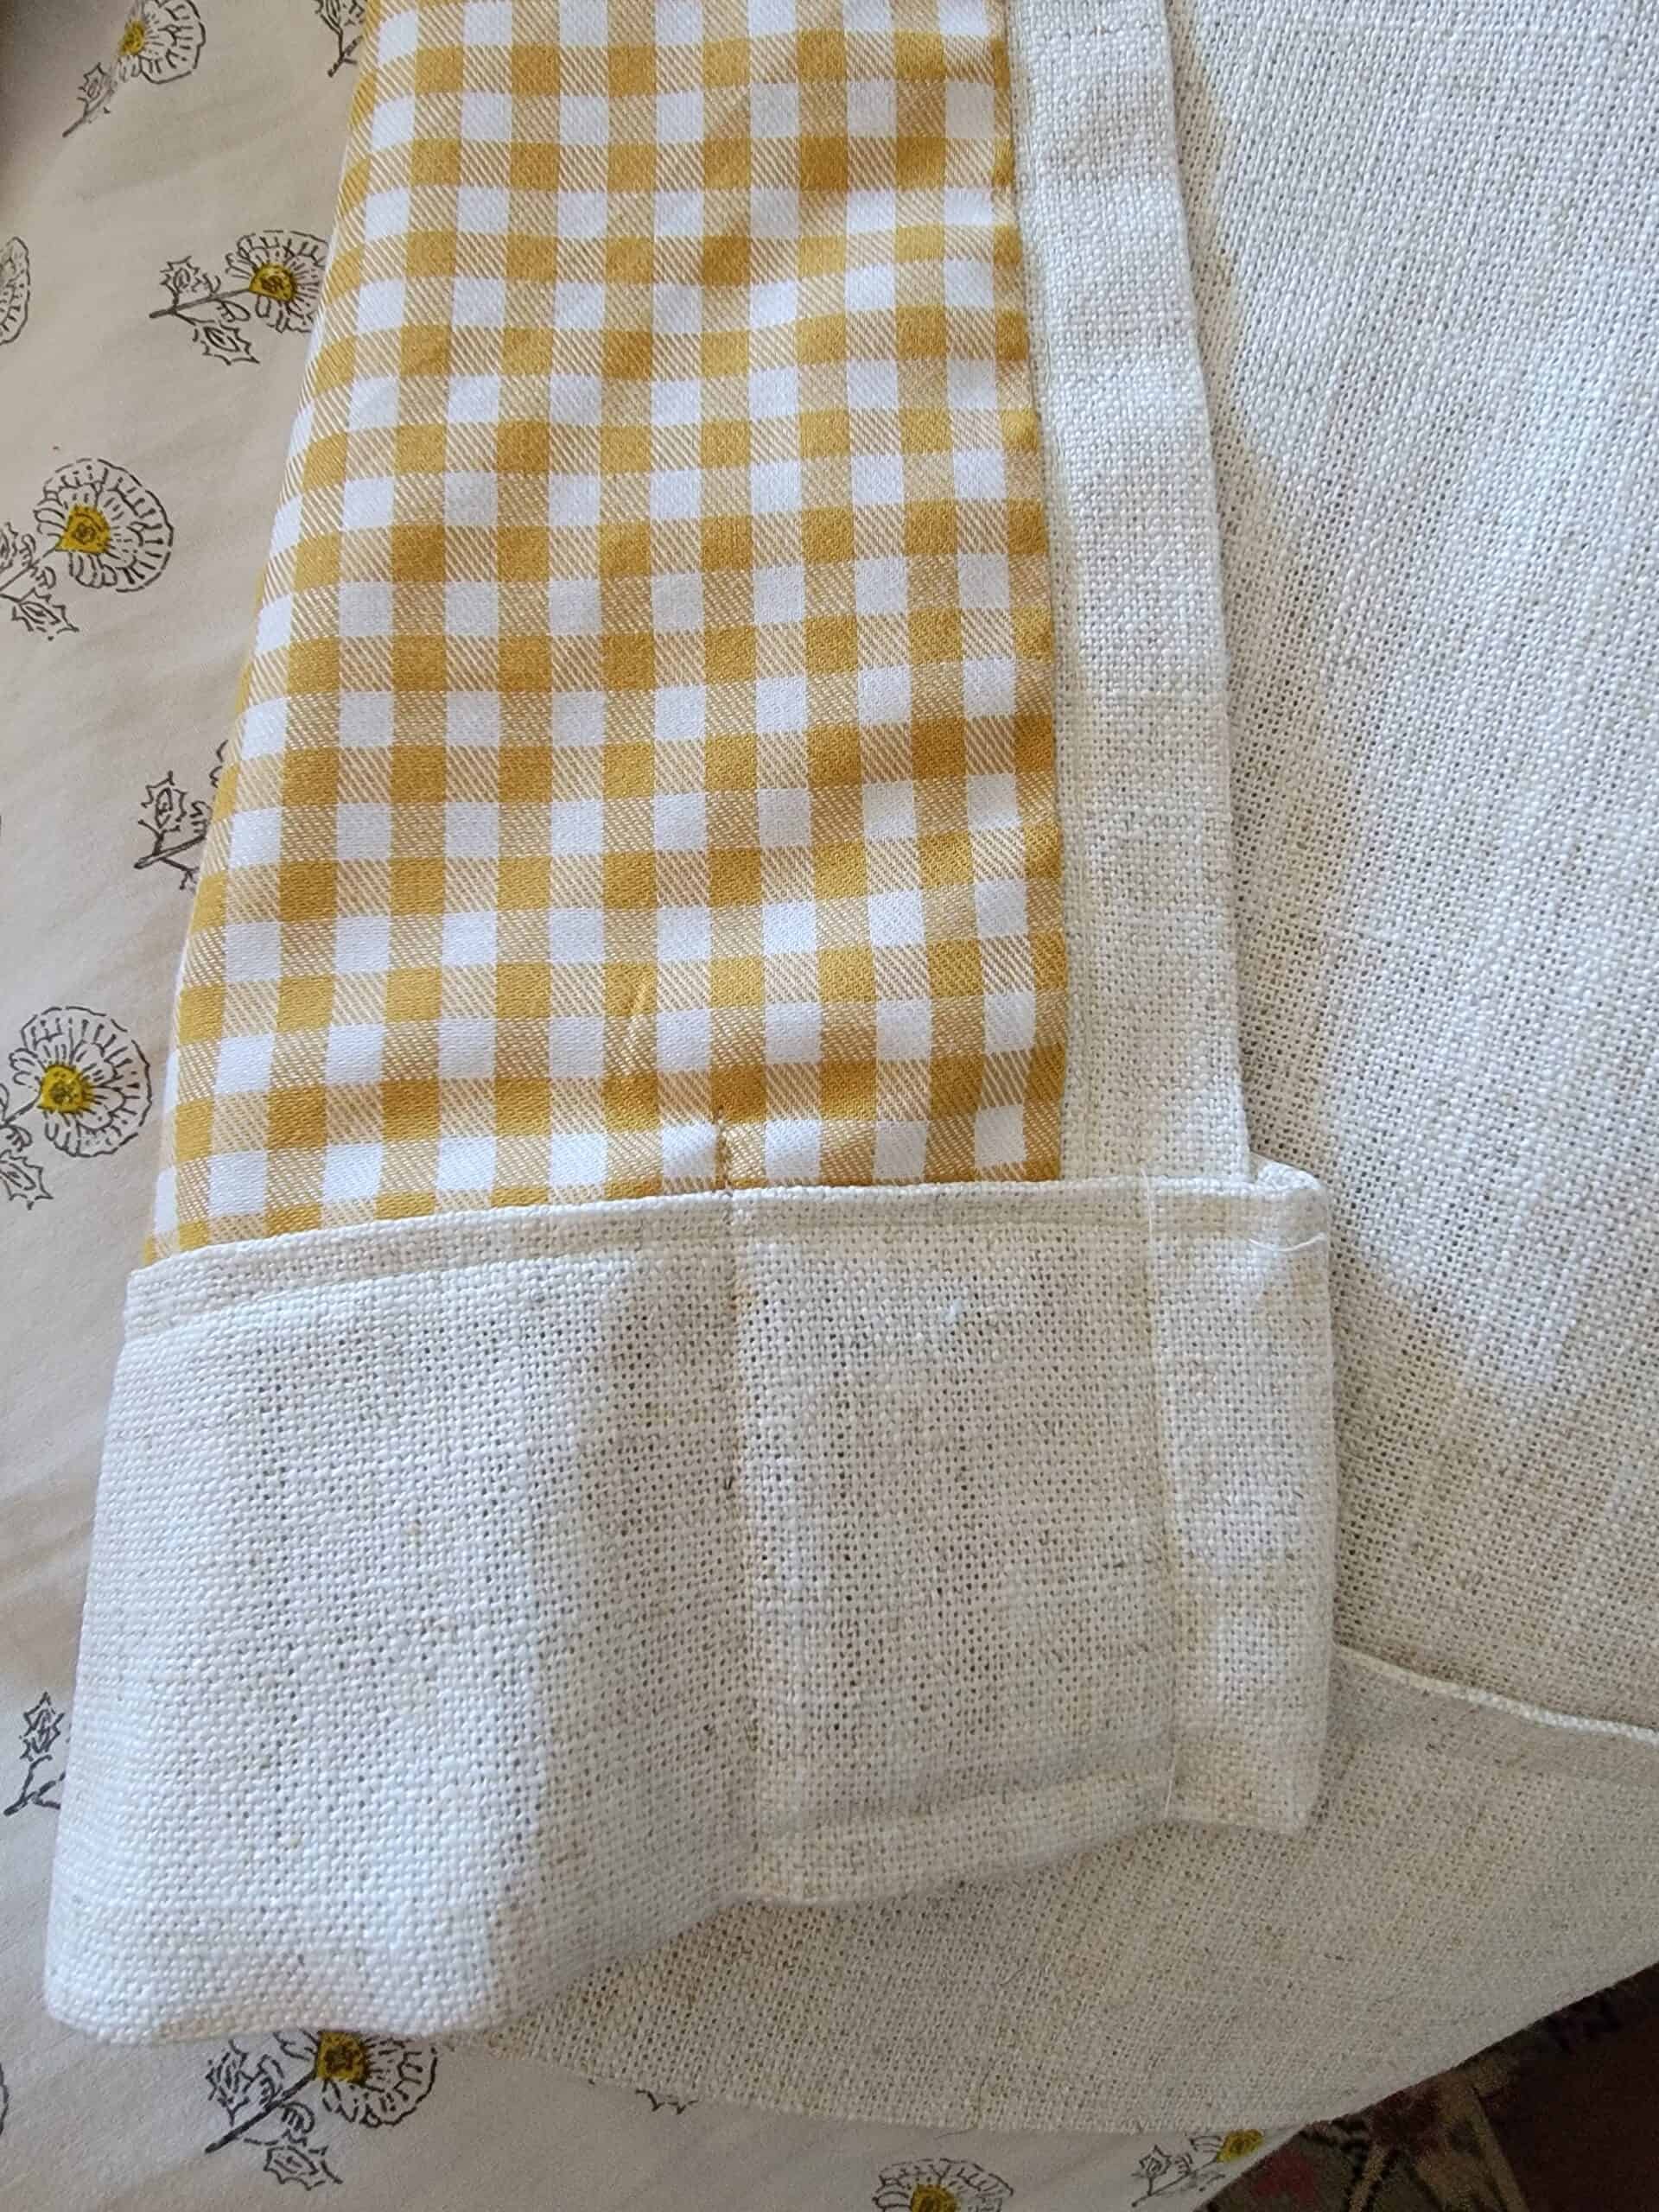
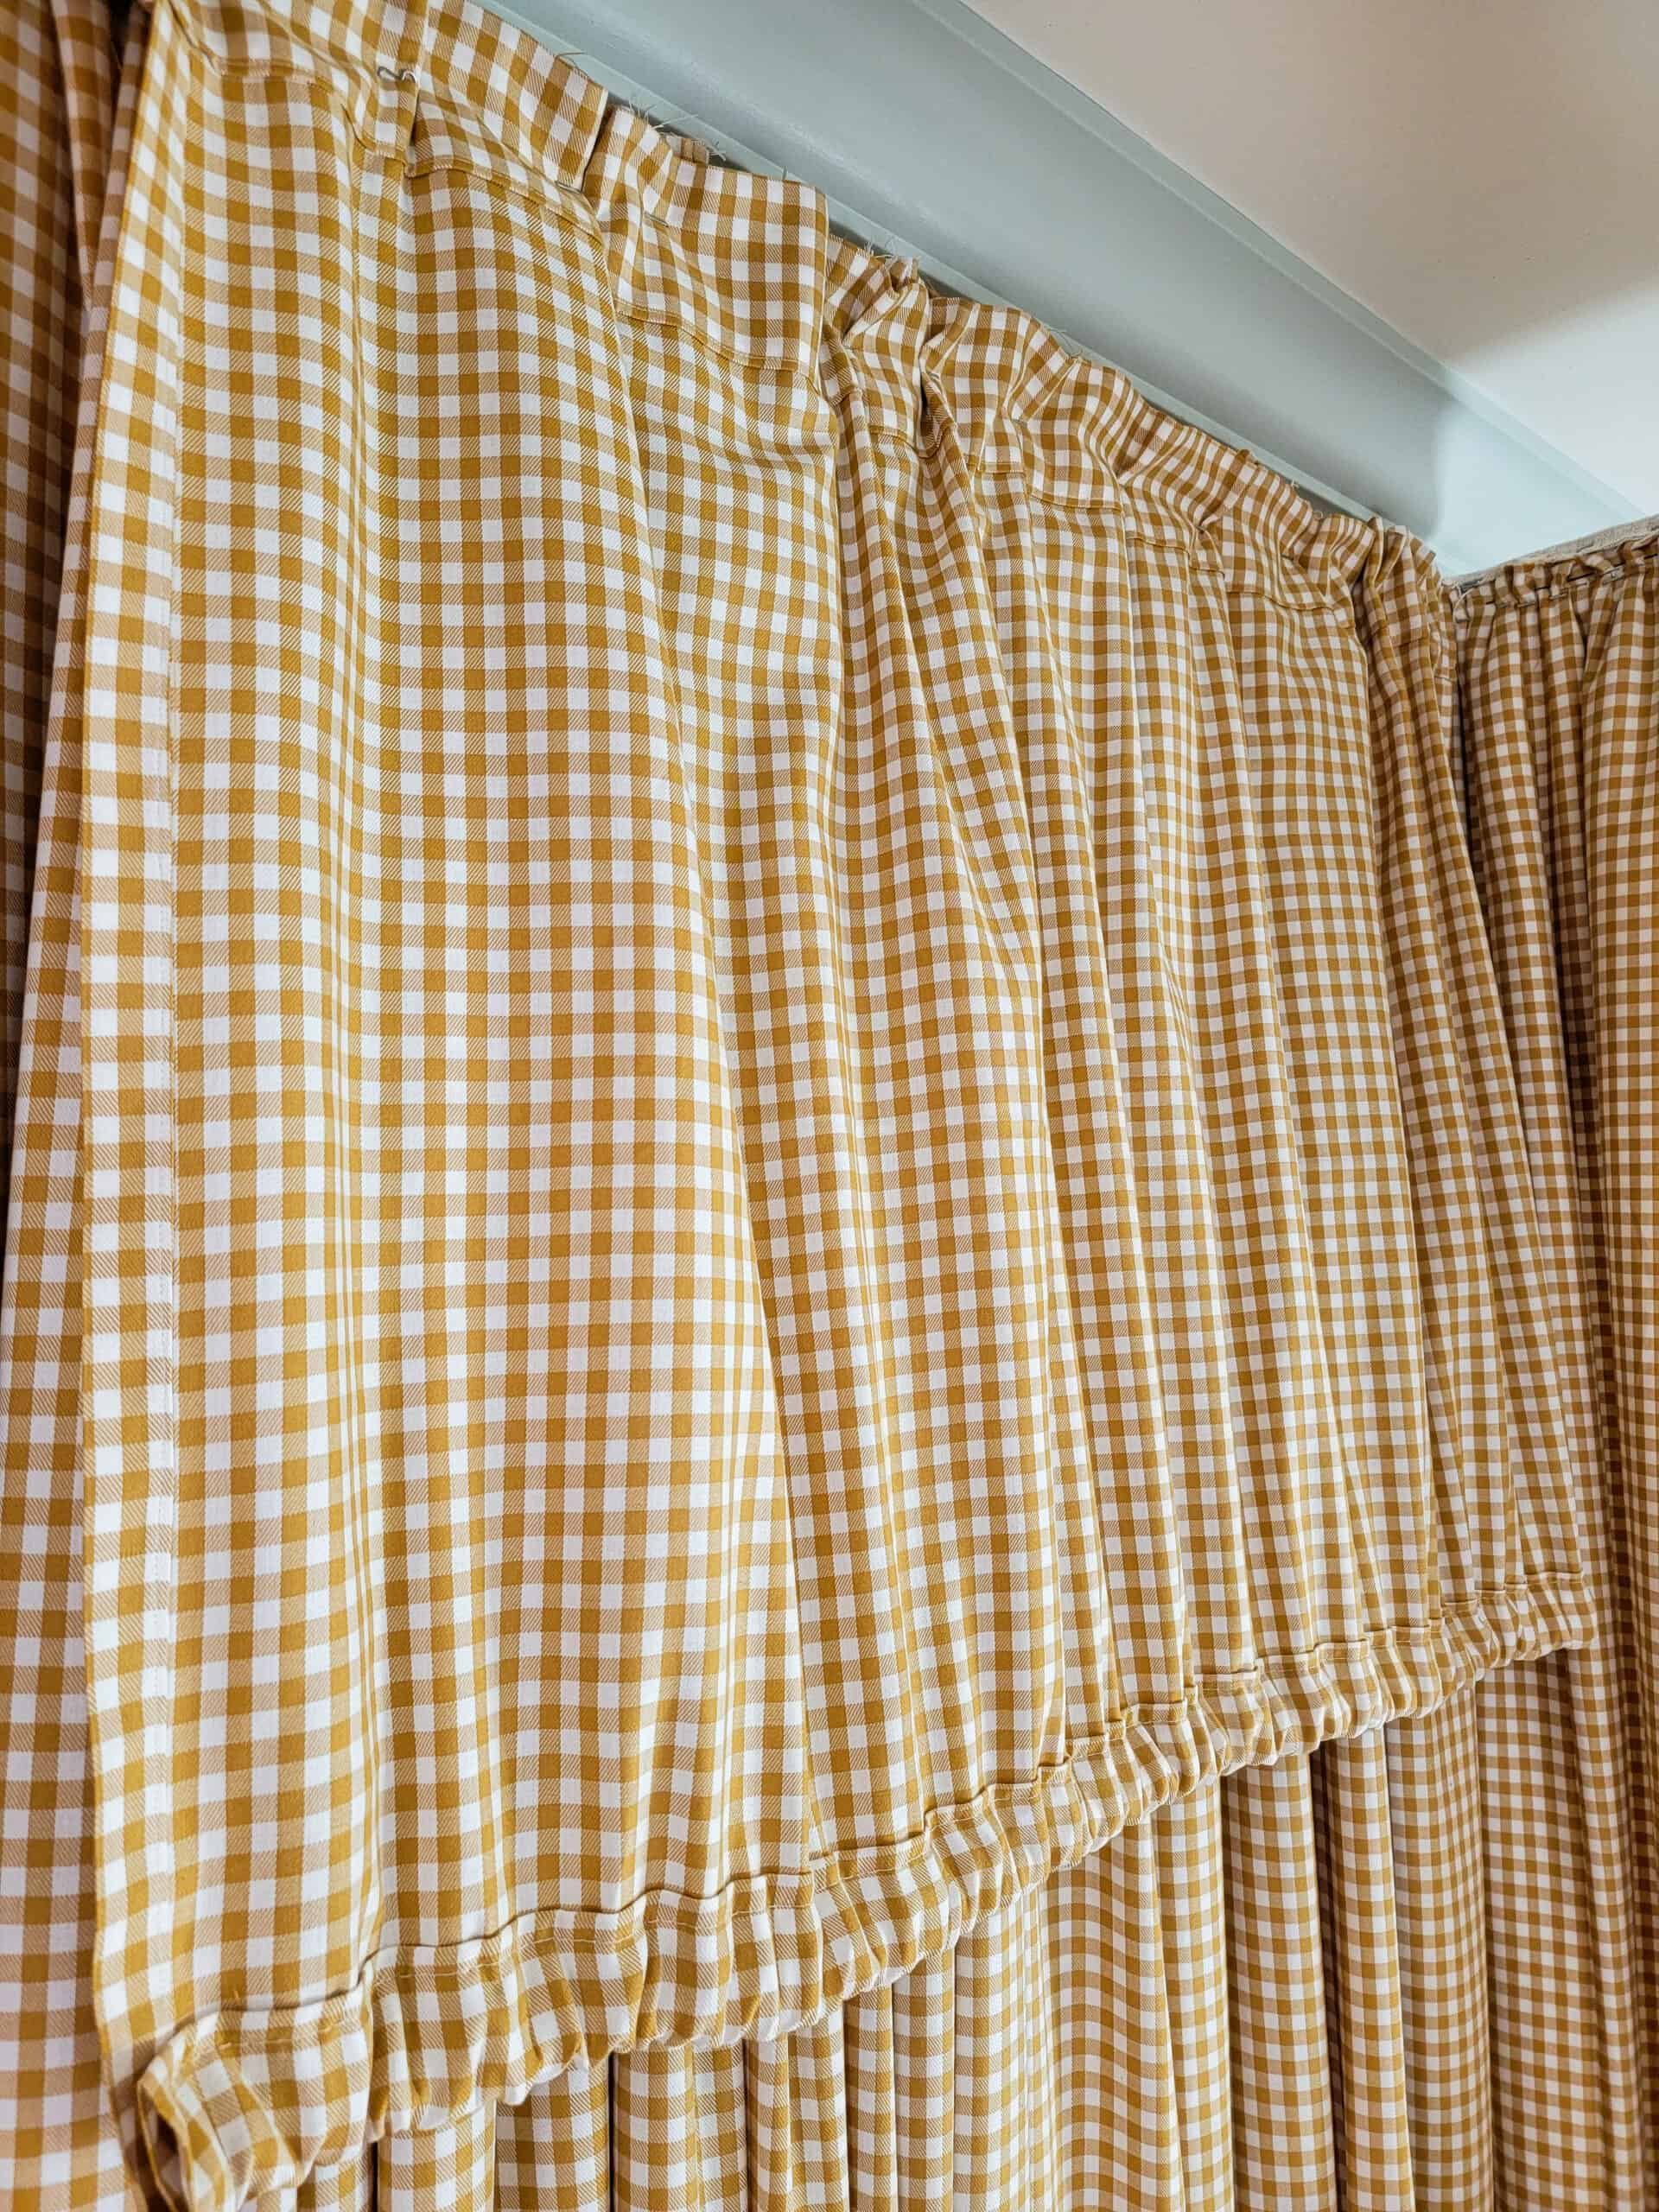
To finish off the bottom edge of each side panel, I simply used some more flax fabric to create a sort of border. You can use wide ribbon for this part, or you can hem it while you're hemming the front edge. It all depends on the look you're going for. I found that simply capping off the raw edge with more flax fabric was the easiest and prettiest option for me.
And here's the inside of that cuffed bottom edge so you can see how I sewed it on.
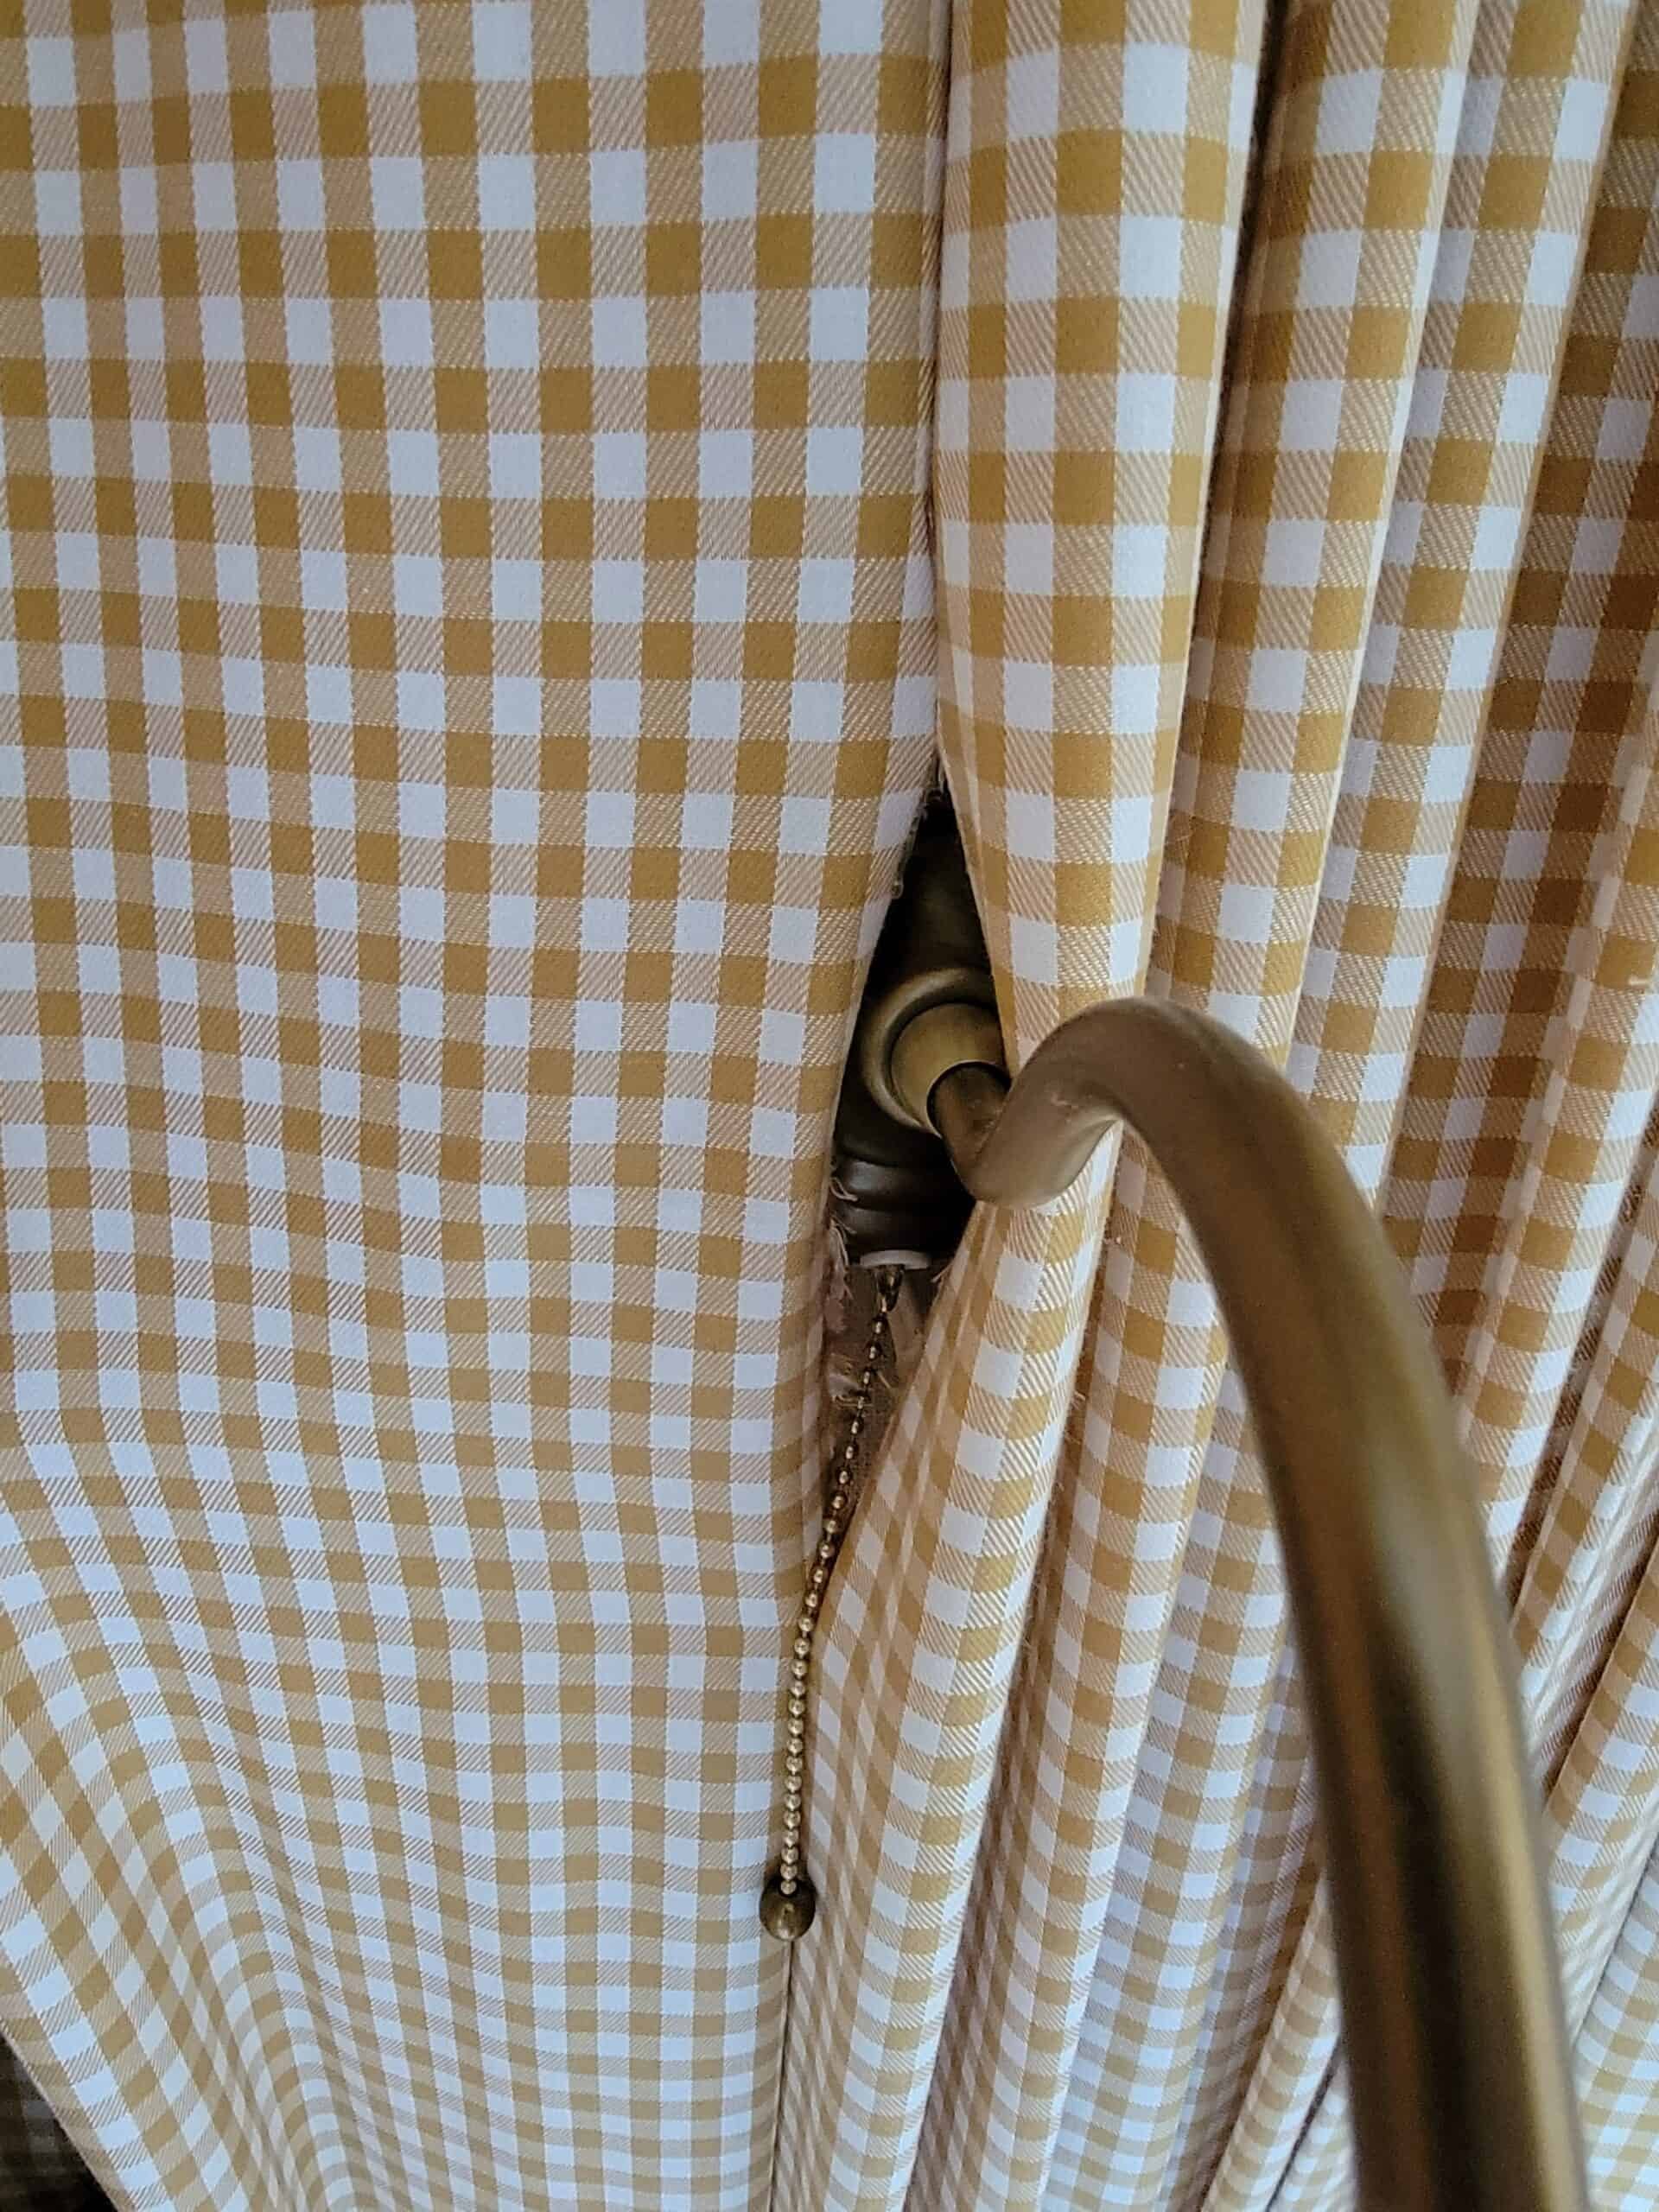
As for the inside edge of each side panel, I simply left them unfinished, as I knew I would be hanging a lot of fabric all together and the edges wouldn't show. I also knew I wanted to be able to access the wall for sconces, so not sewing the interior panels together worked for those purposes. My fabric had nicely finished selvedges though (that fringey edge of fabric), so if yours doesn't, you might need to hem the inside edge.
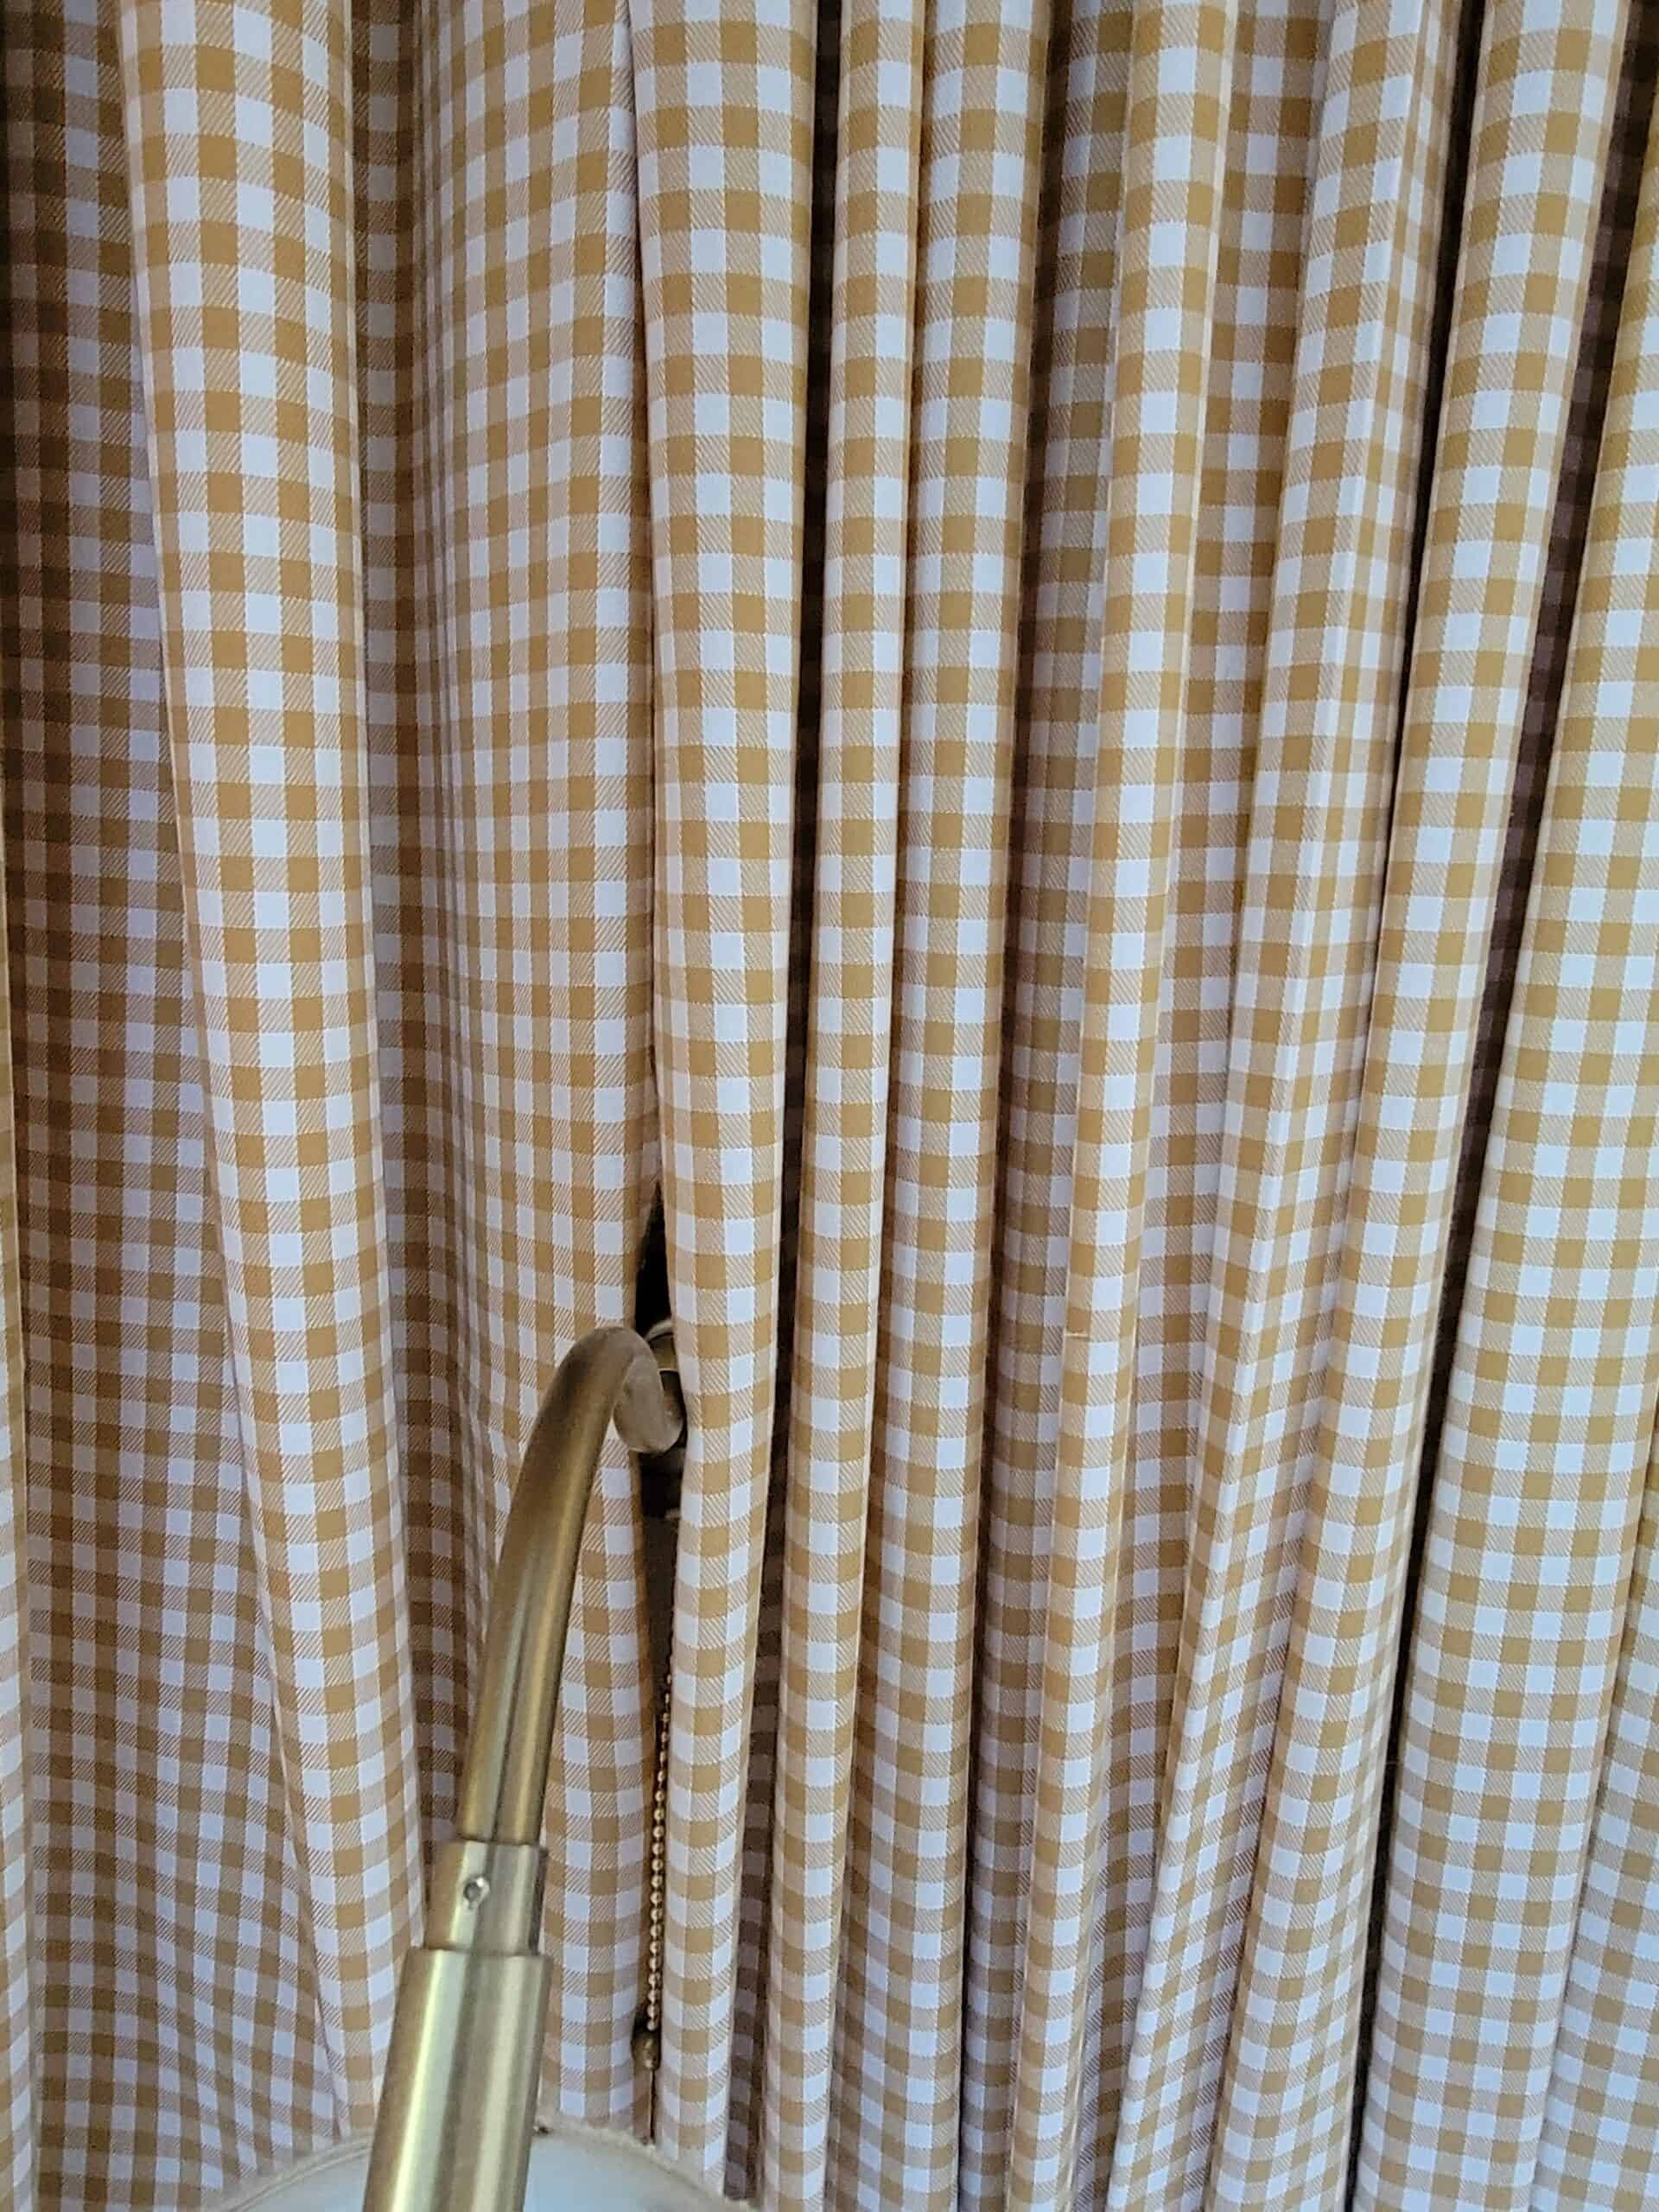
When I installed the sconces, I simply hot glued the fabric around them together so the edges wouldn't show. It took five panels of gingham fabric to span the width of Noelle's canopy, and I did sew three of them together in the middle. Again, this step is up to your interpretation as to how you execute it.
If you want your headboard canopy to be sewn together from side to side and front to back, without any breaks in the fabric, that's totally fine too.
6 | Create the Valance
This valance is a similar style to the box pleat bed skirt I made for Hannah's bedroom. I like this style because it's clean but still interesting and beautiful.

To create the valance, you'll need to measure the left side, front, and right side lengths of the headboard canopy frame. Add them together and that's the finished length of your valance after you create the pleats. For the pleats, you'll need to decide how wide you want each one to be and how many you want (you can have as many or as few as you like). Then, add that to the measurement of the sides and front. Don't forget to add one more inch to each side for the hem.
Did that sound confusing? Let me give you the breakdown of my measurements...
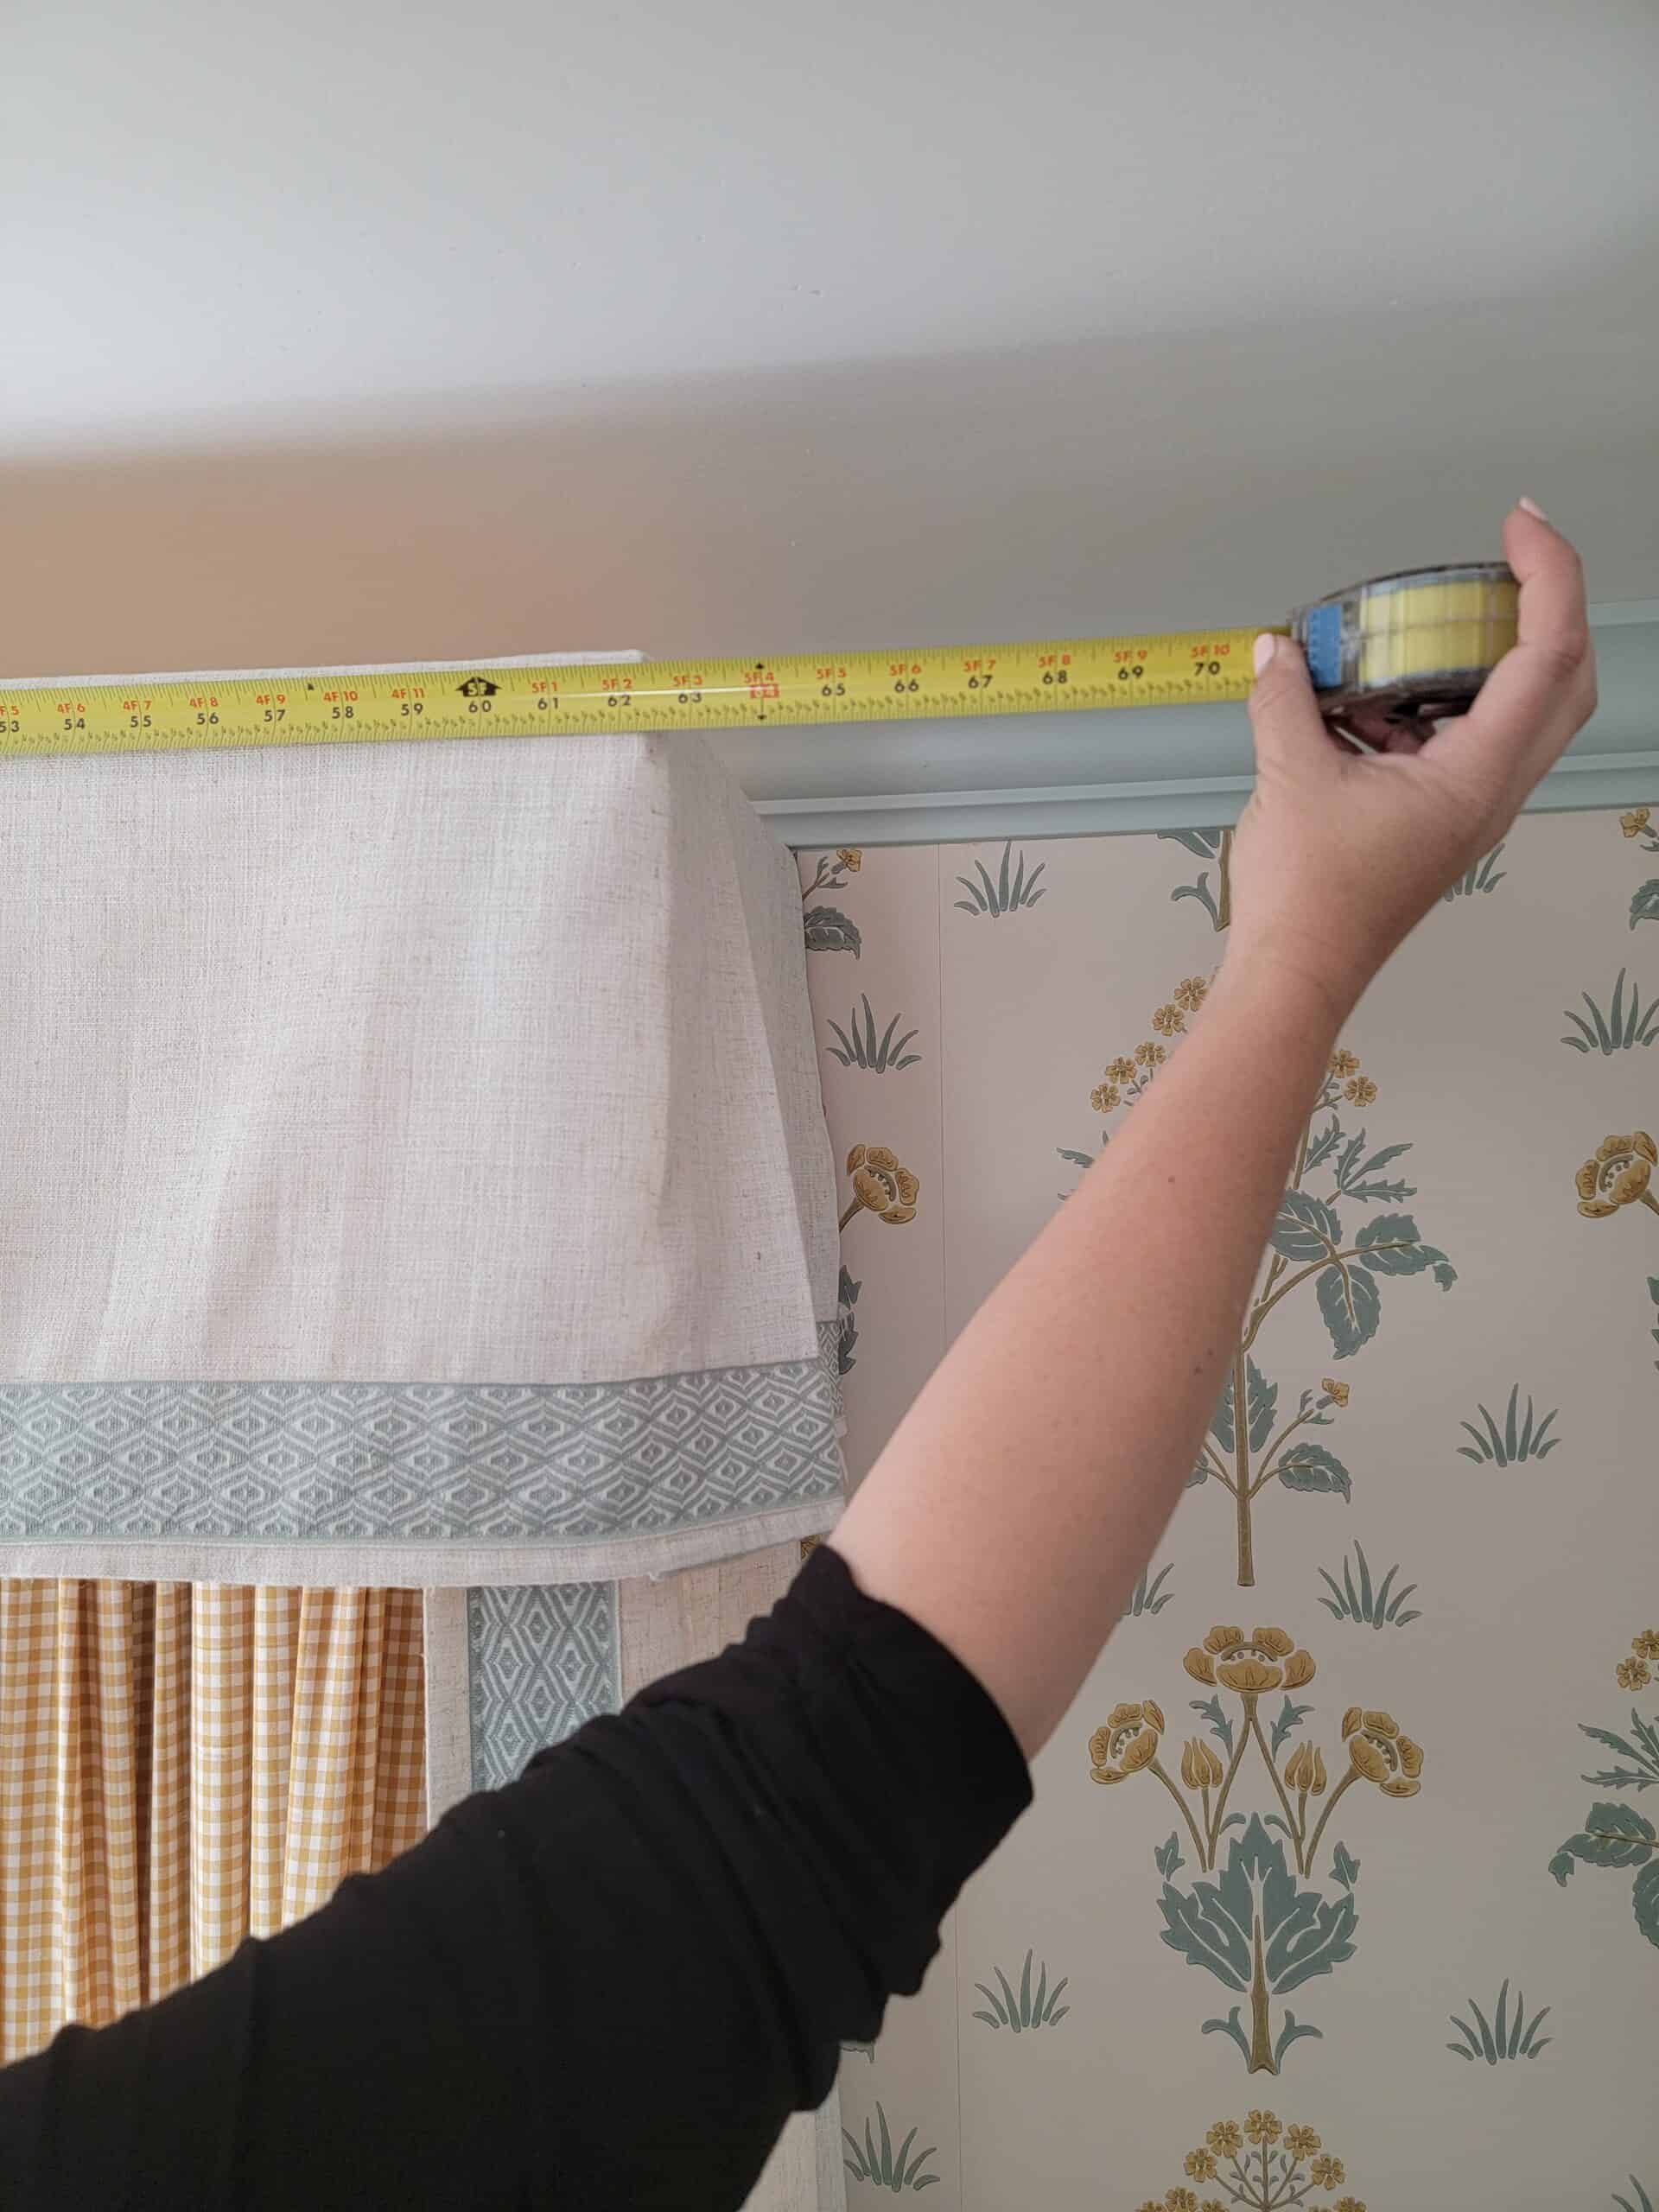
Please keep in mind that the camera angles make these measurements look distorted, but trust me, I measured accurately.
Left and Right Side Measurements: 13.75 inches
Center Portion: 62.25 inches
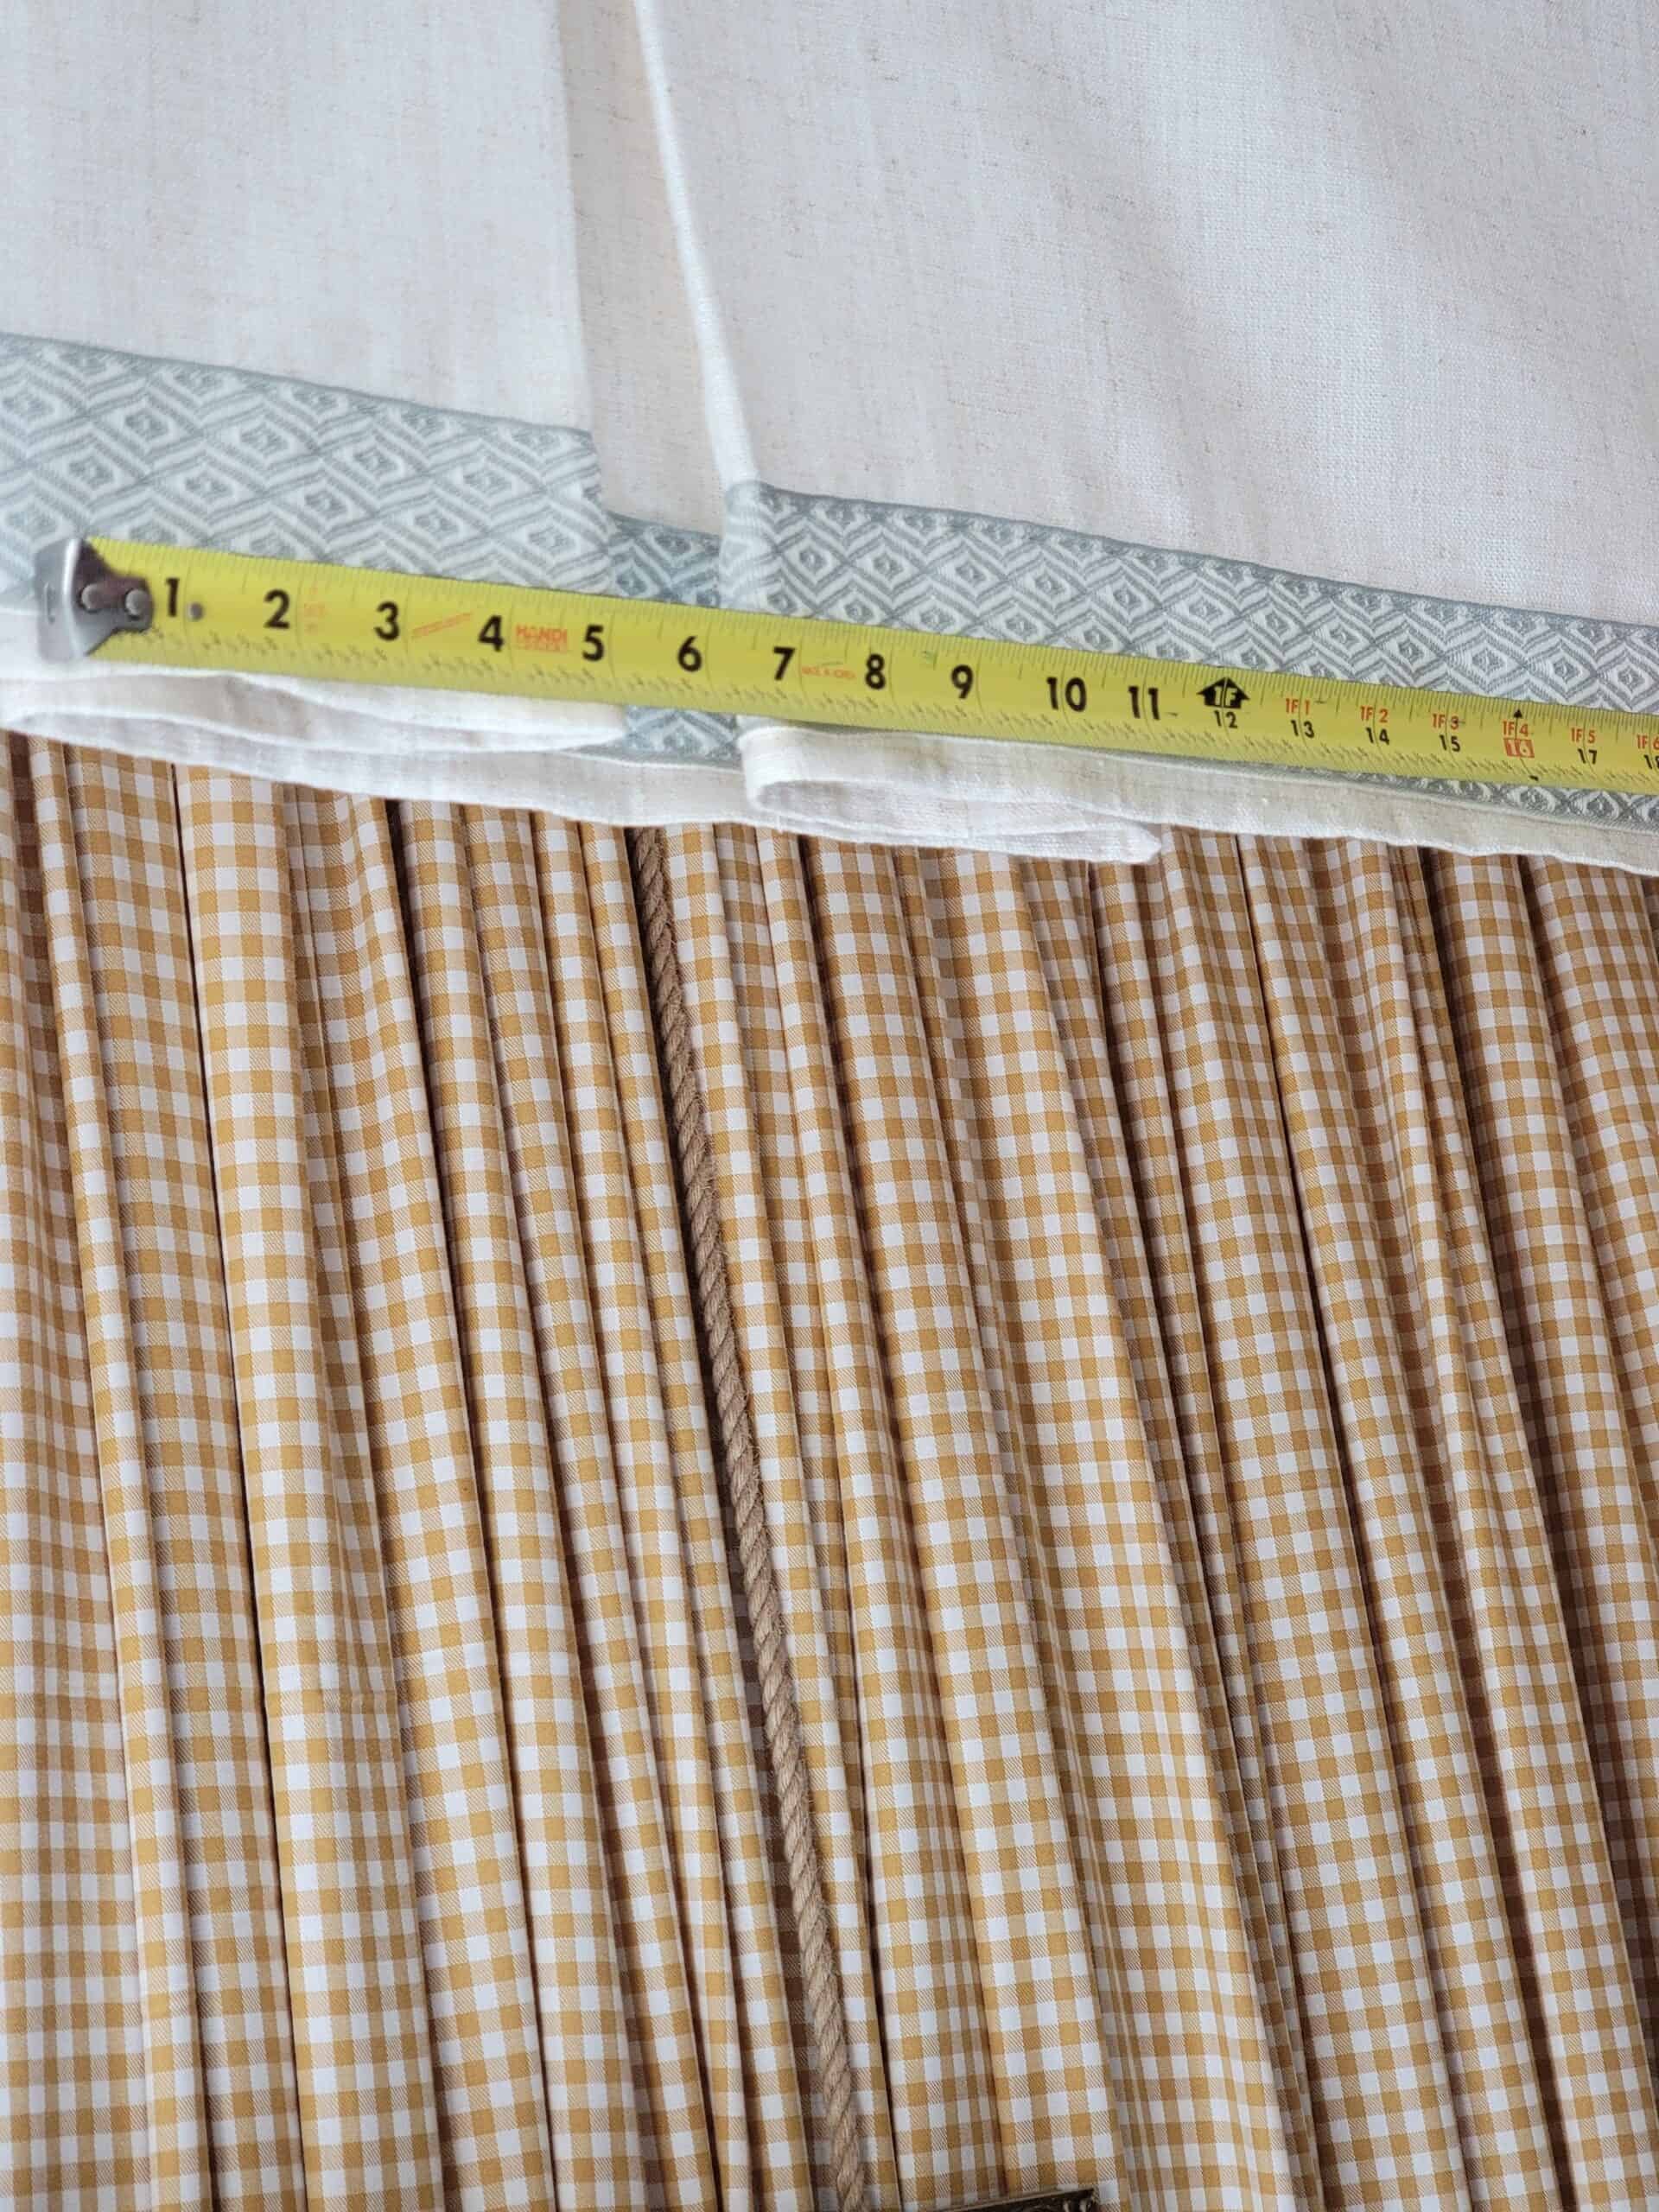
Center Pleat: 12 inches
For each pleat, you have to double the measurement to account for the folds. So, this pleat would add a total of 24 inches to my overall length.
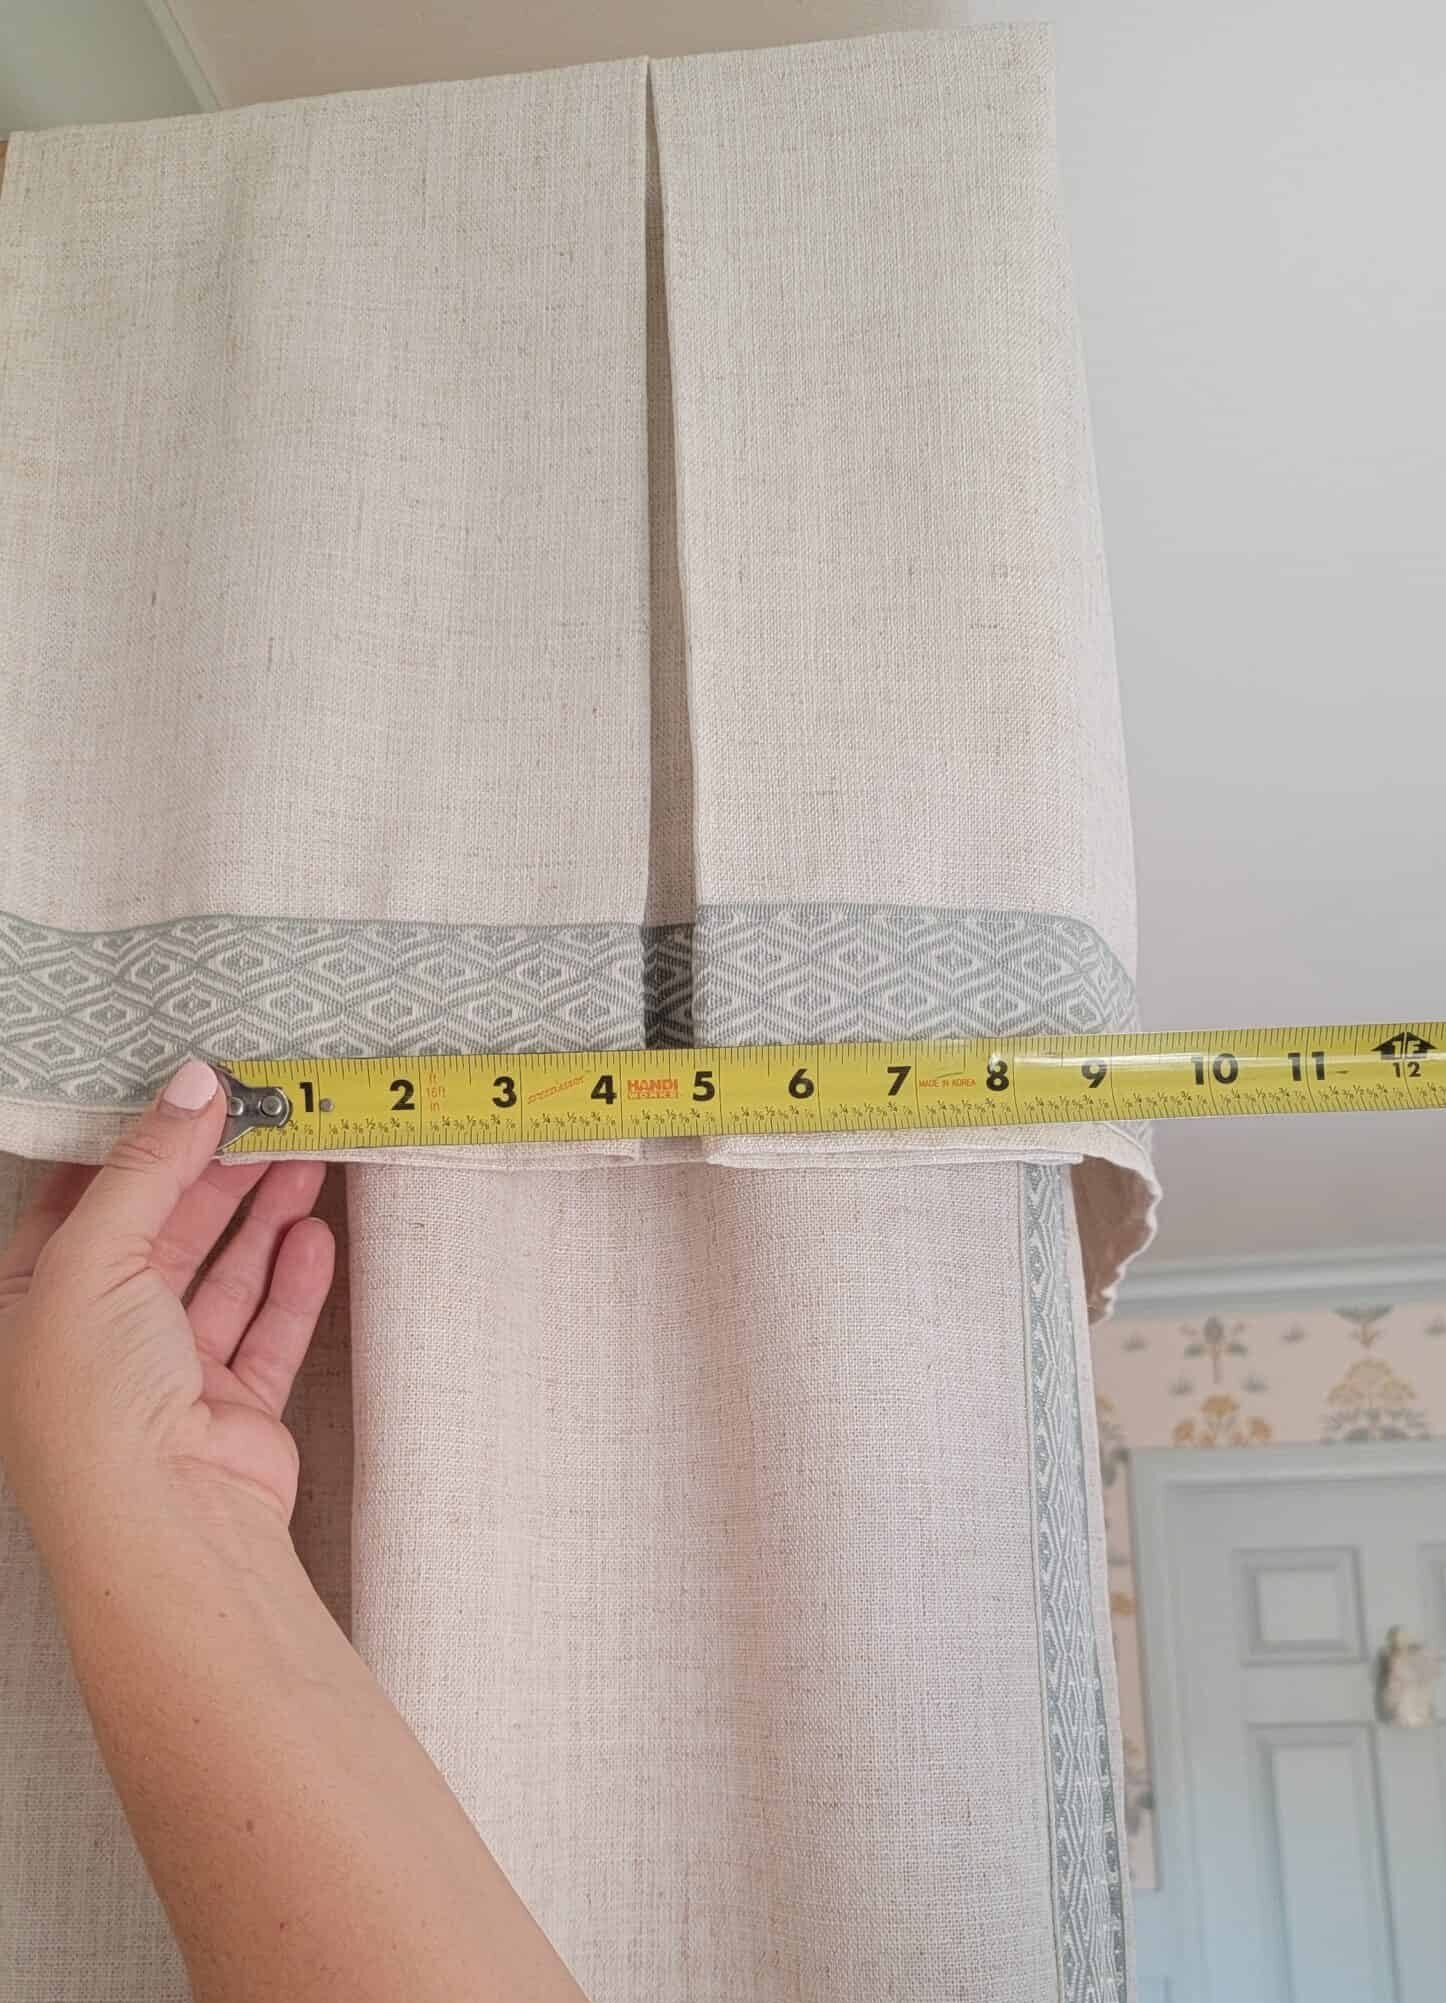
Side Pleats: 9 inches
Again, the pleat measurements have to be doubled, so each of these pleats add 18 inches to the overall length. Together, that's an additional 36 inches.
Valance Calculations
Sides - 13.75 x 2 = 27.5 inches + Center - 62.25 inches = TOTAL FINISHED LENGTH of 89.75 inches.
Center Pleat - 24 inches + Side Pleats - 18 x 2 = 36 inches + Side Hems - 2 inches total (1 for each side) = TOTAL AMOUNT OF FABRIC NEEDED BEFORE PLEATS and HEMMING - 151.75 inches.
Now, you've got the total amount of fabric you'll need to make the valance. The height of the valance is completely up to you, but don't forget to add about 4-6 inches for the hem allowance and another 2-3 inches for the top to fold over and attach to the frame. Noelle's valance is 14 inches tall.
If you don't have a length of fabric long enough, simply piece fabric together, but make sure your seams fall on the inside of the pleats so they're hidden. Reference the photo below to see how I hid my seams.

Next, you'll want to hem the bottom and sides of your valance fabric. Press your seams and now you're ready to pleat.
Once you've figured out how wide you want your pleats and you have your fabric cut and pieced together (if necessary), you can start folding and pinning. I like to press my pleats before pinning so they stay put and have a nice, crisp edge.
Repeat for the side pleats, keeping a close watch on your final length to make sure creating your pleats doesn't shorten your overall measurement.
Once your pleats are created and pinned, sew along the top edge to keep everything in place.
7 | Attach the Back and Sides of the Headboard Canopy
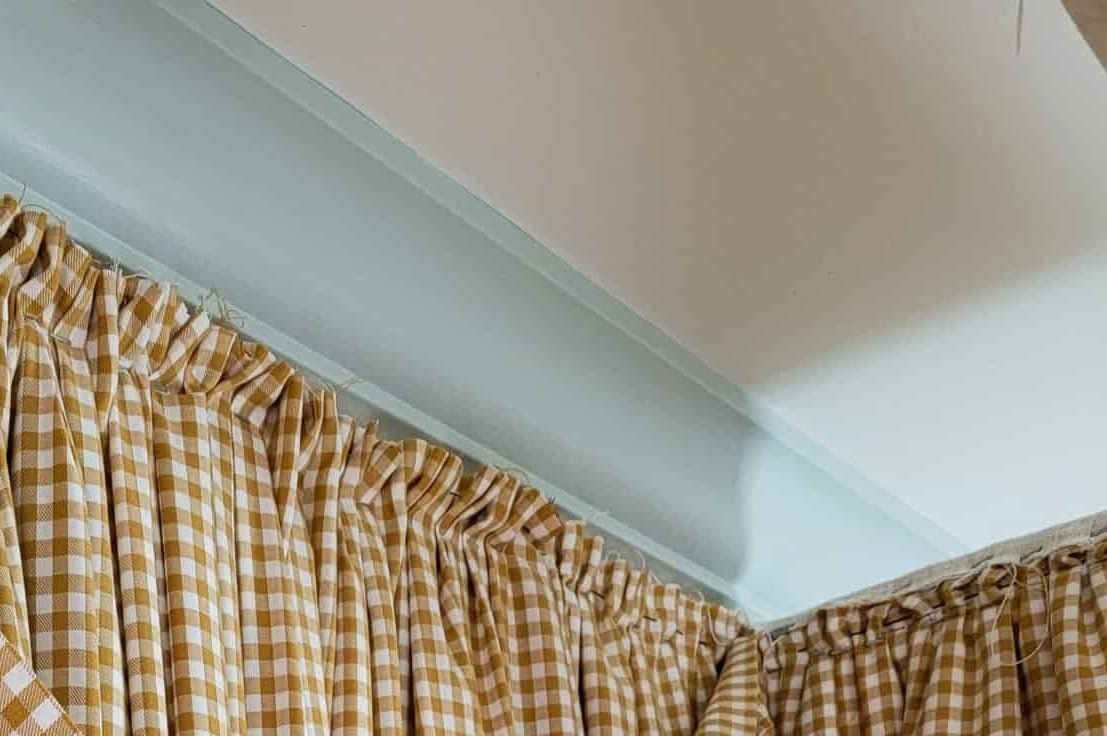
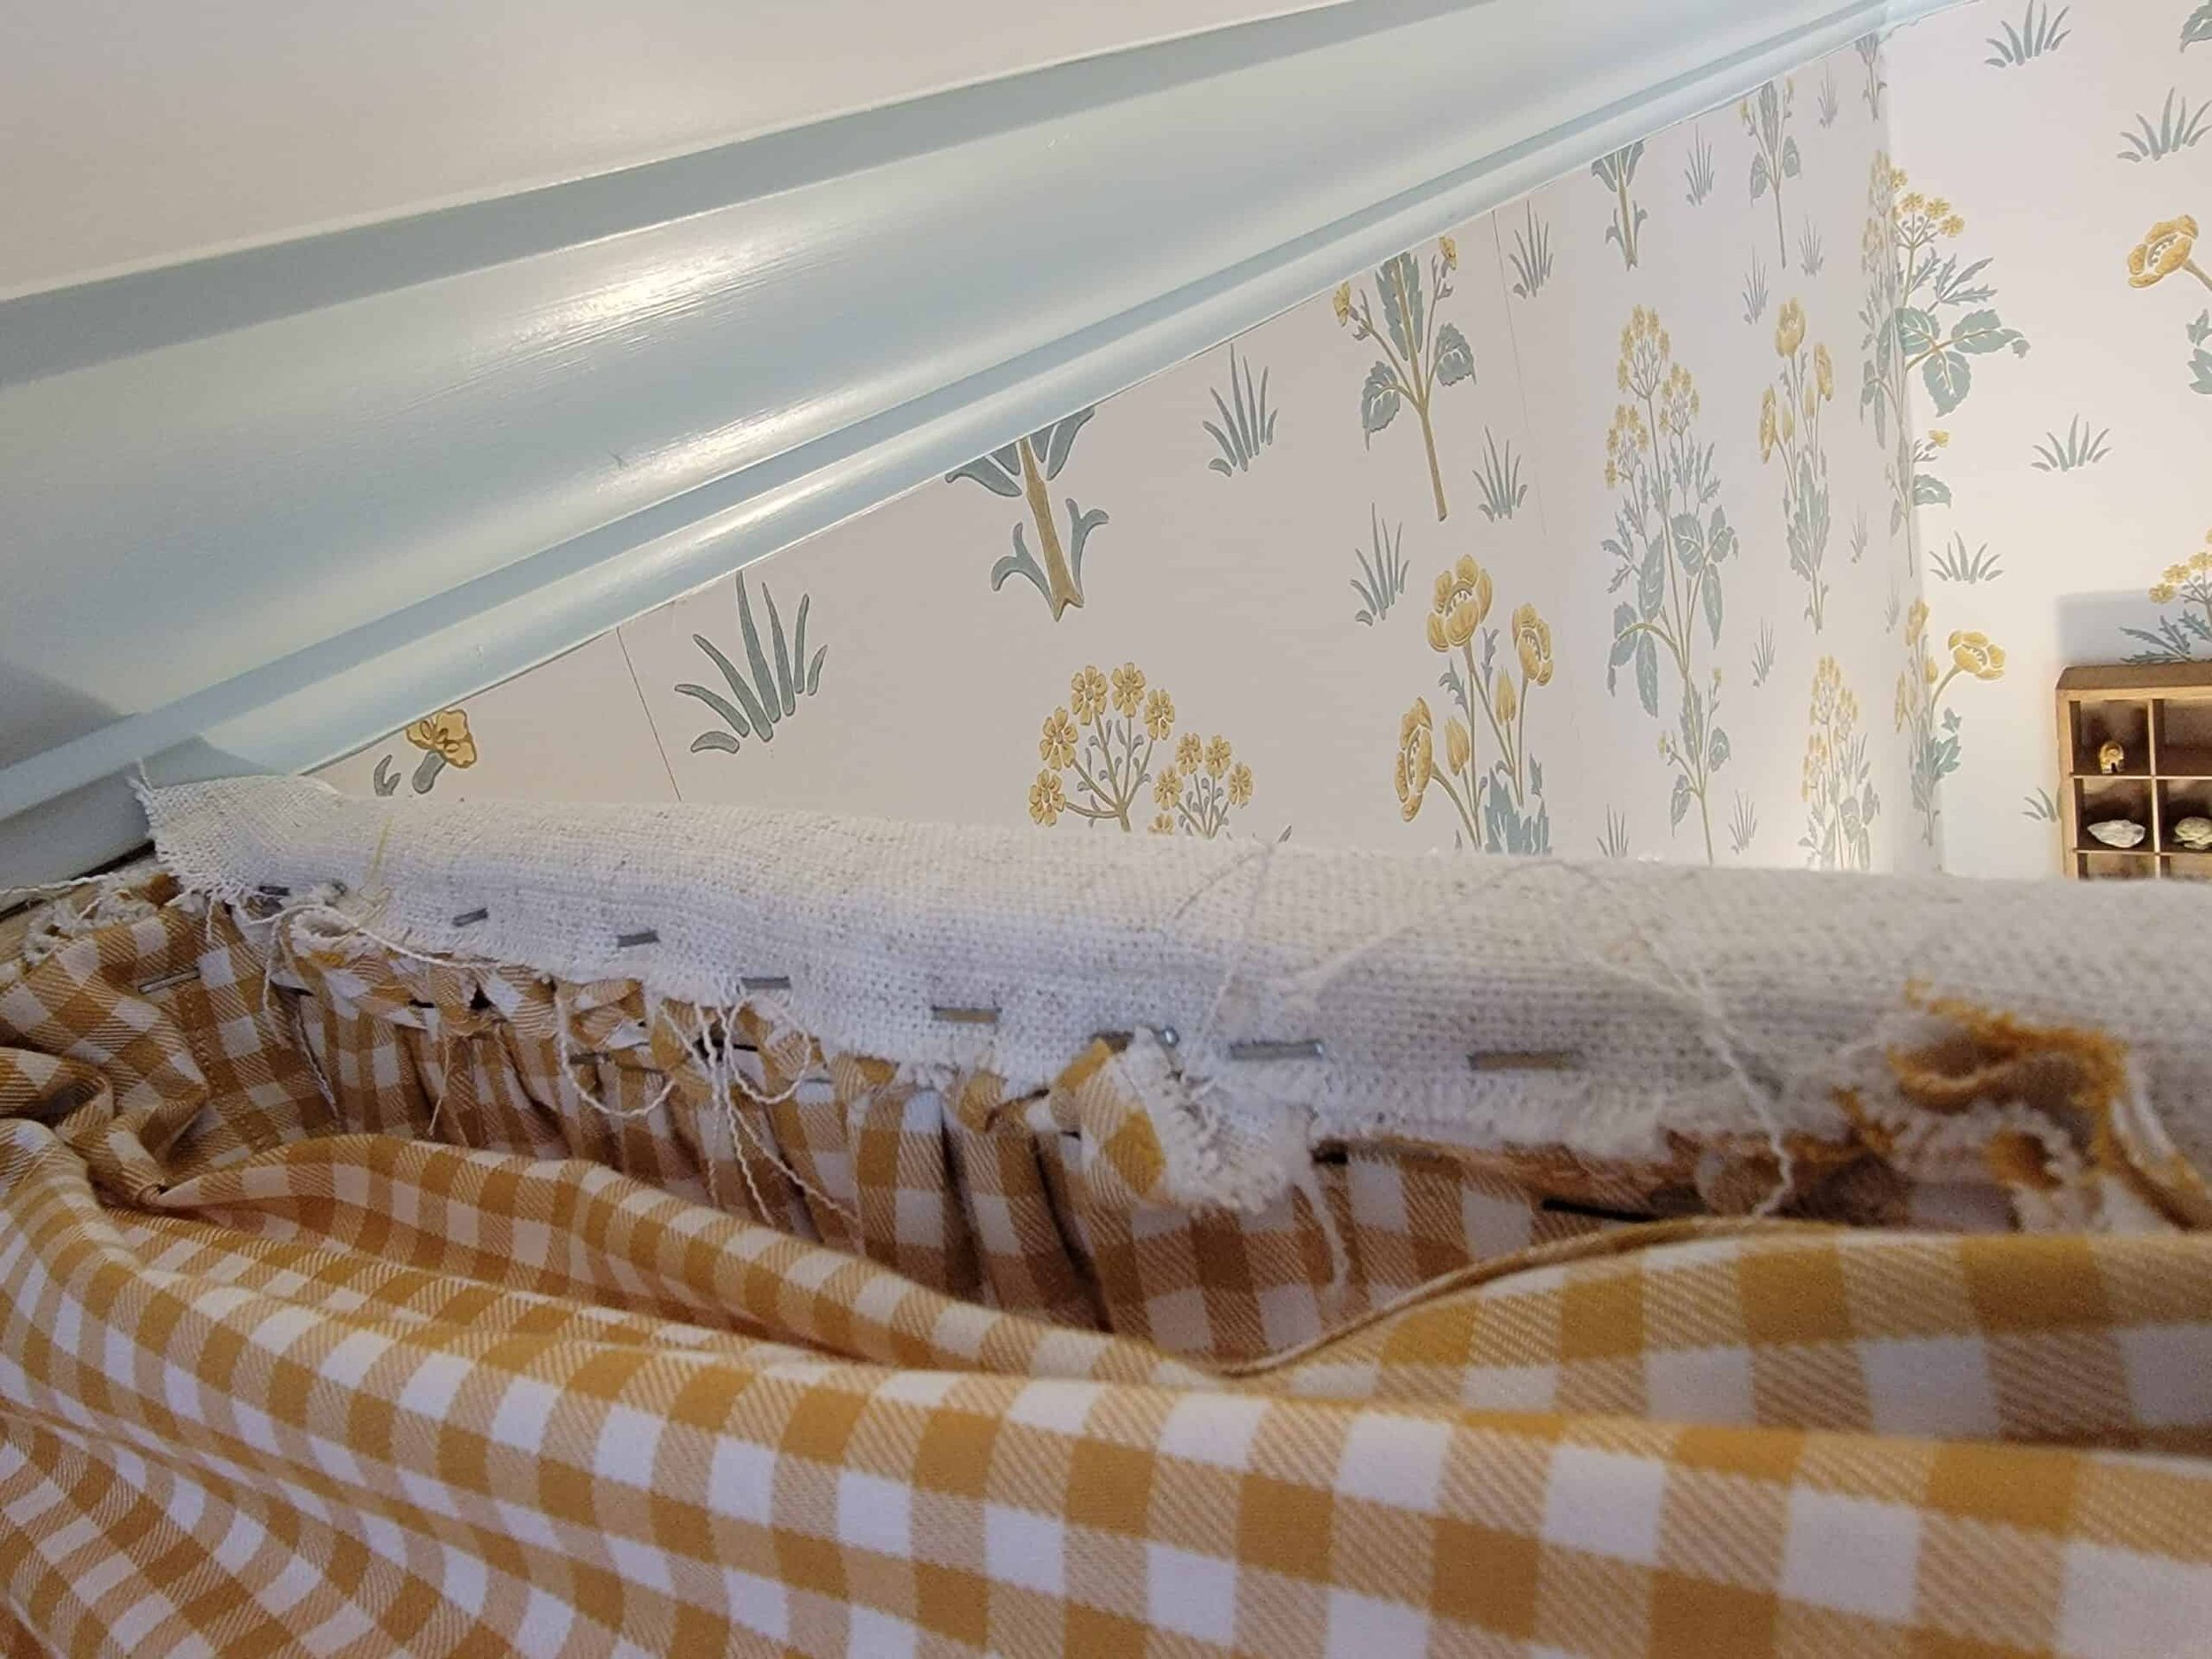
What made sense to me for this step was to simply gather my fabric using a large needle and heavy-duty thread, and then staple it to the inside of the frame. This way, the frame doesn't show from underneath, and the outside of the frame will be covered by the valance. You can certainly gather the entire canopy on your sewing machine, but since I sort of pieced this together as I went, gathering it by hand made the most sense.
8 | Attach the Valance
The proper way to attach the valance is probably to create a "lid" for it that's sewn on and then just set it on top of the canopy frame. Most of the time though, I get going on a project and just figure it out as I go or do what makes sense in my head. What made sense to me while I was working on this was to staple the valance over the top and on the inside of the frame. I really liked the idea of being able to pull it tight around the frame and keep it in place with staples. I'll show you how I created a "lid" in the next step.
9 | Cover the Open Top With Fabric
The fabric I used to cover the open top of the headboard canopy was actually from recycled curtains. I made them to cover the bottoms of Noelle's built-in bookshelves, but when I decided to use cabinet doors instead, I ended up with some spare gingham fabric. Making a ruched or gathered "lid" out of that fabric was the best use of materials, and it was the easiest method.
In order to get the ruching pretty even, I stapled each end on first.
Then I put one staple directly in the center to divide the length in half. After that, I put one staple directly in the middle of each side.

From there, it was just a matter of eyeballing the ruching and getting it all stapled onto the frame.
And you can see that once I pulled the fabric up and over the front of the canopy frame, the "lid" is ruched/gathered and flouncy, which is what I wanted.
That was the backside where I could hide the staples. As for the front side, I decided to hot glue the ruching since I couldn't get up and over the frame to staple it. It worked great!
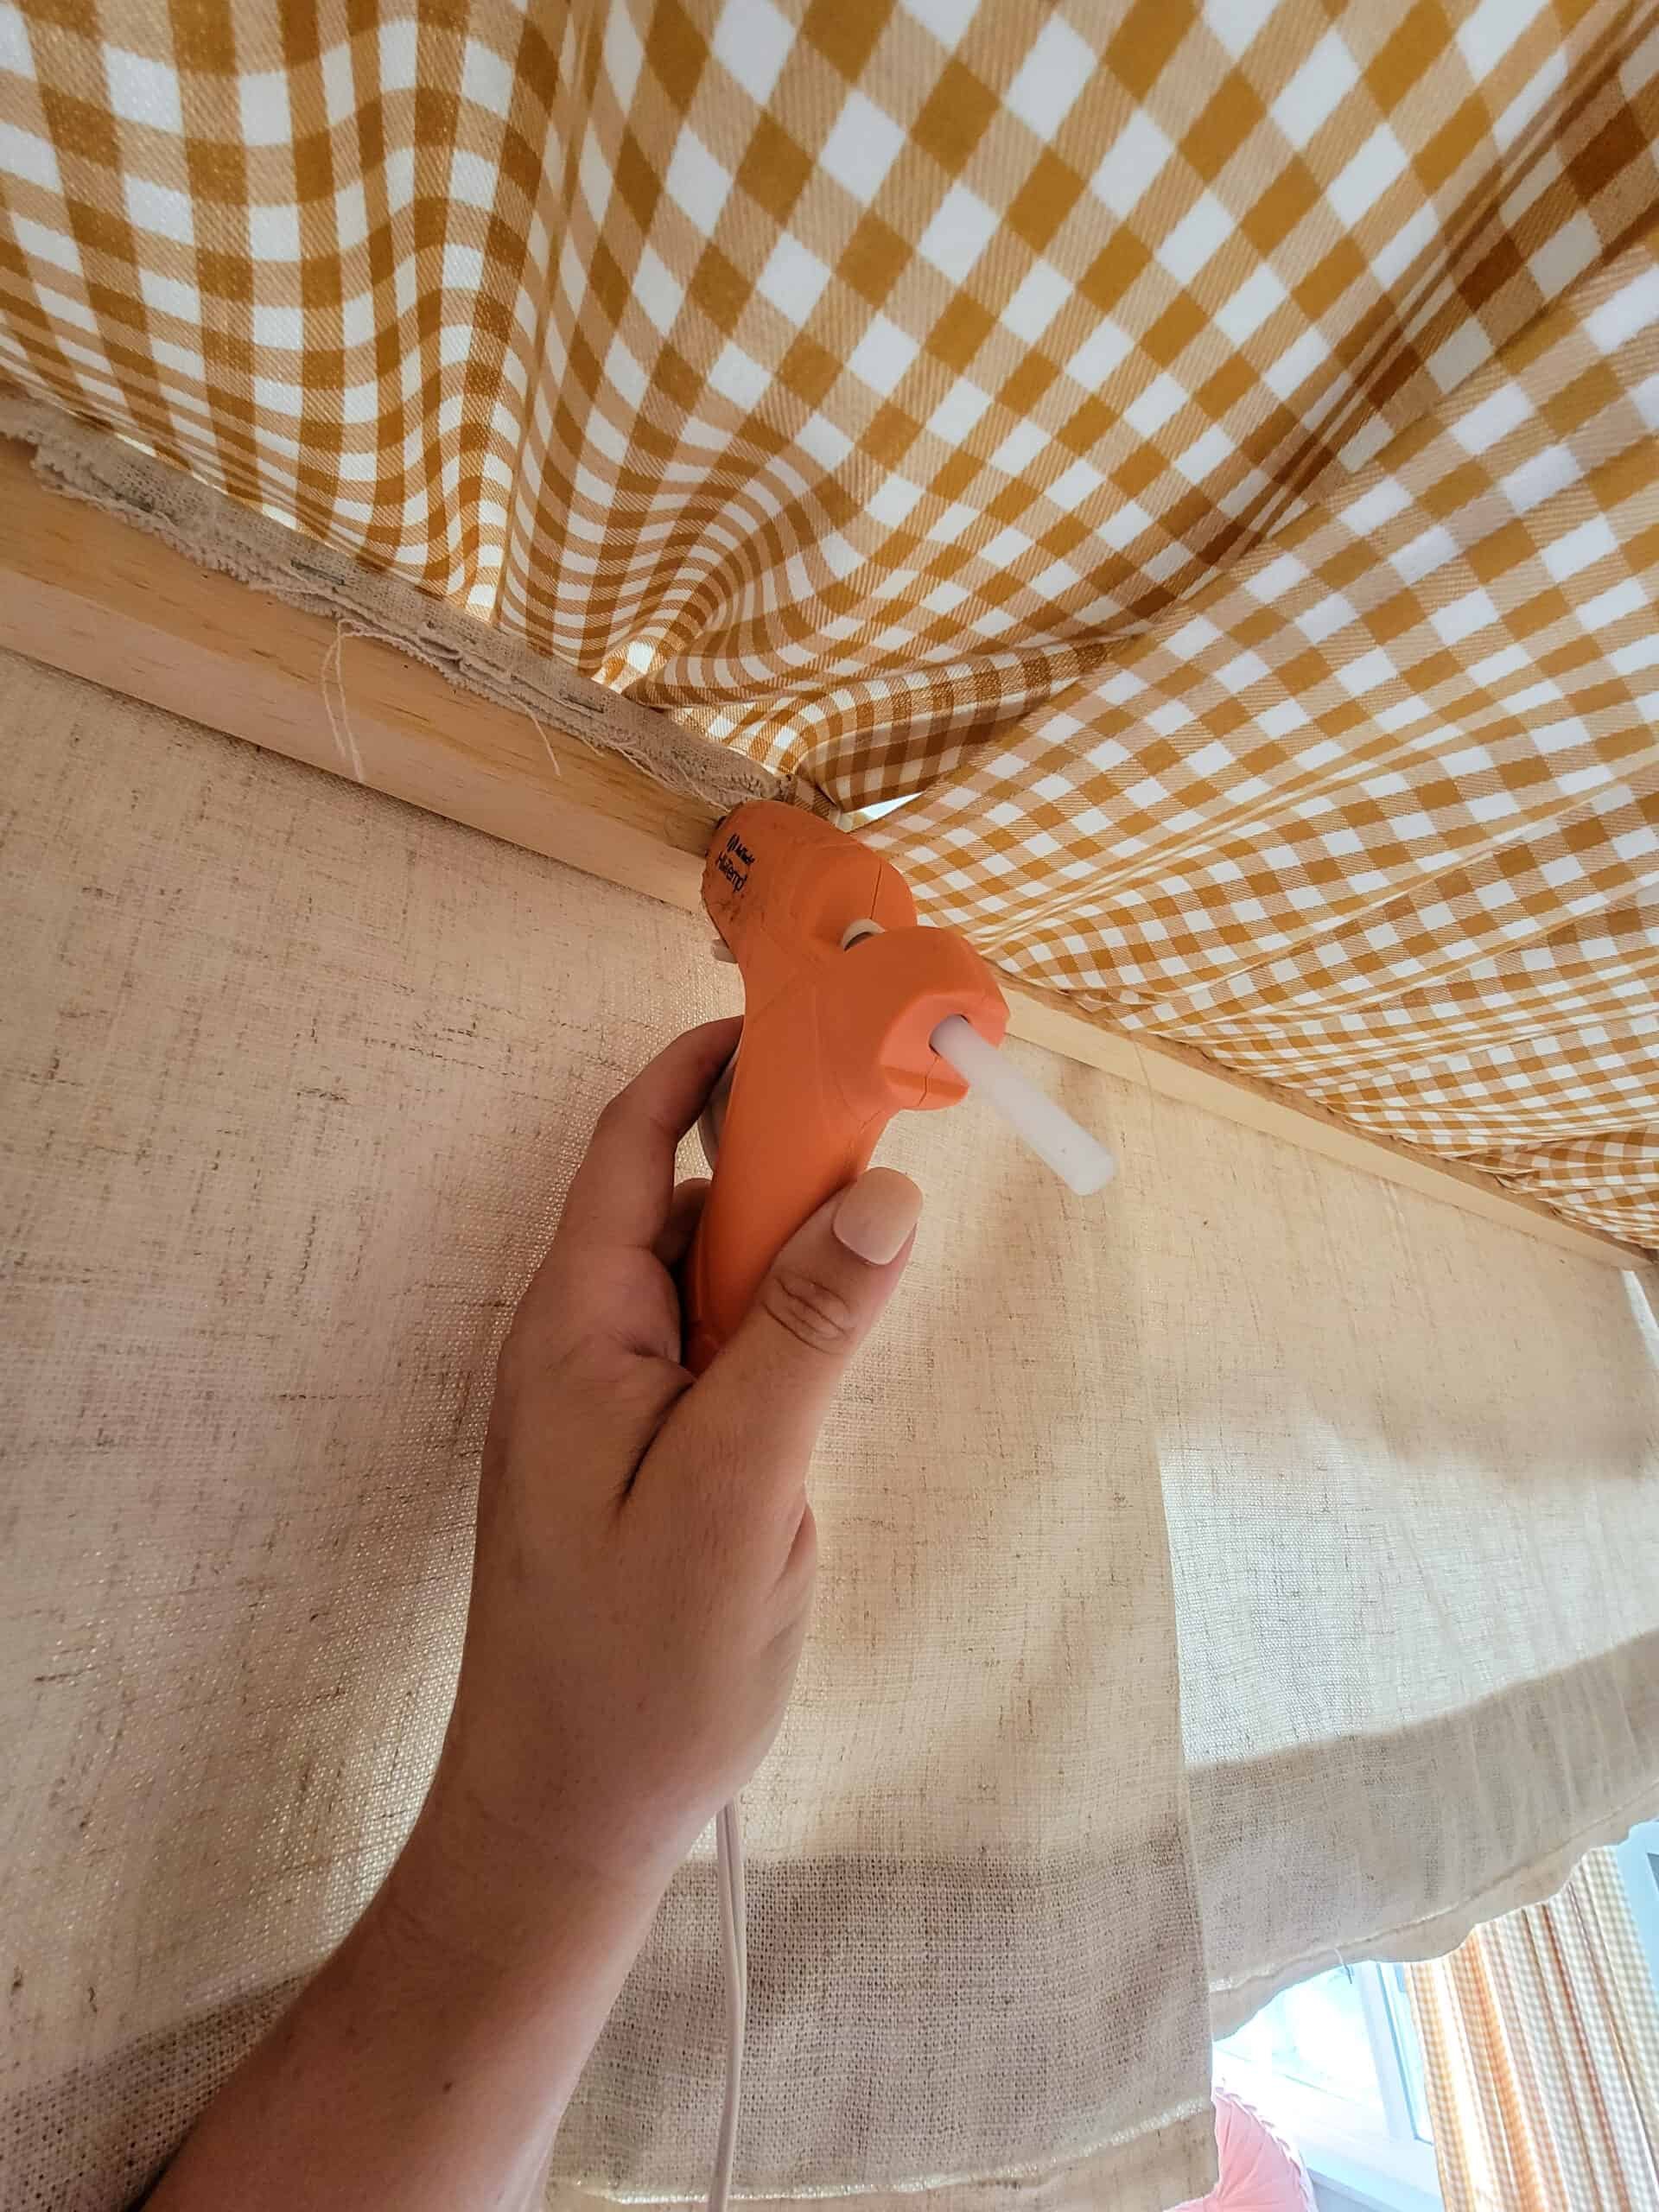
After both sides were attached, I trimmed off any excess that was still hanging over the front. Then I laid underneath it and admired the cute, poofy "lid".

I also laid there admiring the entire headboard canopy because it turned out so stinking cute!
So there you have it...my process for creating Noelle's DIY fabric headboard canopy. It's probably pretty evident from this tutorial that my approach to projects is to figure it out as I go. Part of that comes from my confidence in my sewing and DIY skills, but it also comes from only being able to work on things in small chunks of time while homeschooling, working, and managing my household.
My goal in sharing my projects is not to create a professional, planned-out guide, but rather an approachable, real-life process that works for me and will hopefully be helpful to you. DIY doesn't have to be intimidating or only for the talented. I believe that literally anyone can create anything they put their mind to.
Thank you for your patience as it has taken me many months to put this blog post together. One of these days I'll learn to photograph my projects every step of the way. What can I say though? I love the process so much that I get swept away and completely forget about blogging. In any case, I truly hope that sharing how I created Noelle's fabric headboard canopy is helpful to you if you're planning to make one.

You Might Also Like: