
Realistic Faux Cedar Garland
I live for real, fresh cedar garland at Christmastime, but I do not love the mess it makes as it dries out. I will probably always use fresh greenery in my seasonal décor to some extent, but with all the carpet I'm contending with on our stairs, I knew I needed to go faux for our banister garland. I searched high and low (and almost invested several hundred dollars for realistic faux cedar garland from other sources), but ultimately found that this Hearth and Hand garland made the most sense financially as well as aesthetically. It looks so real that my husband asked whether they were real or fake. Mission accomplished! I have a lot of banister to drape with cedar garland, so I had to weigh out the cost carefully. This garland made the most sense because it looks so realistic and it's a full 72" (six feet) in length for $20. All other cedar garlands I've seen either cost an arm and a leg for this length, or are shorter, which would mean using more of them. This one ended up being the perfect realistic faux cedar garland for my needs.Since this post was written, this garland has been discontinued from Target's seasonal line.
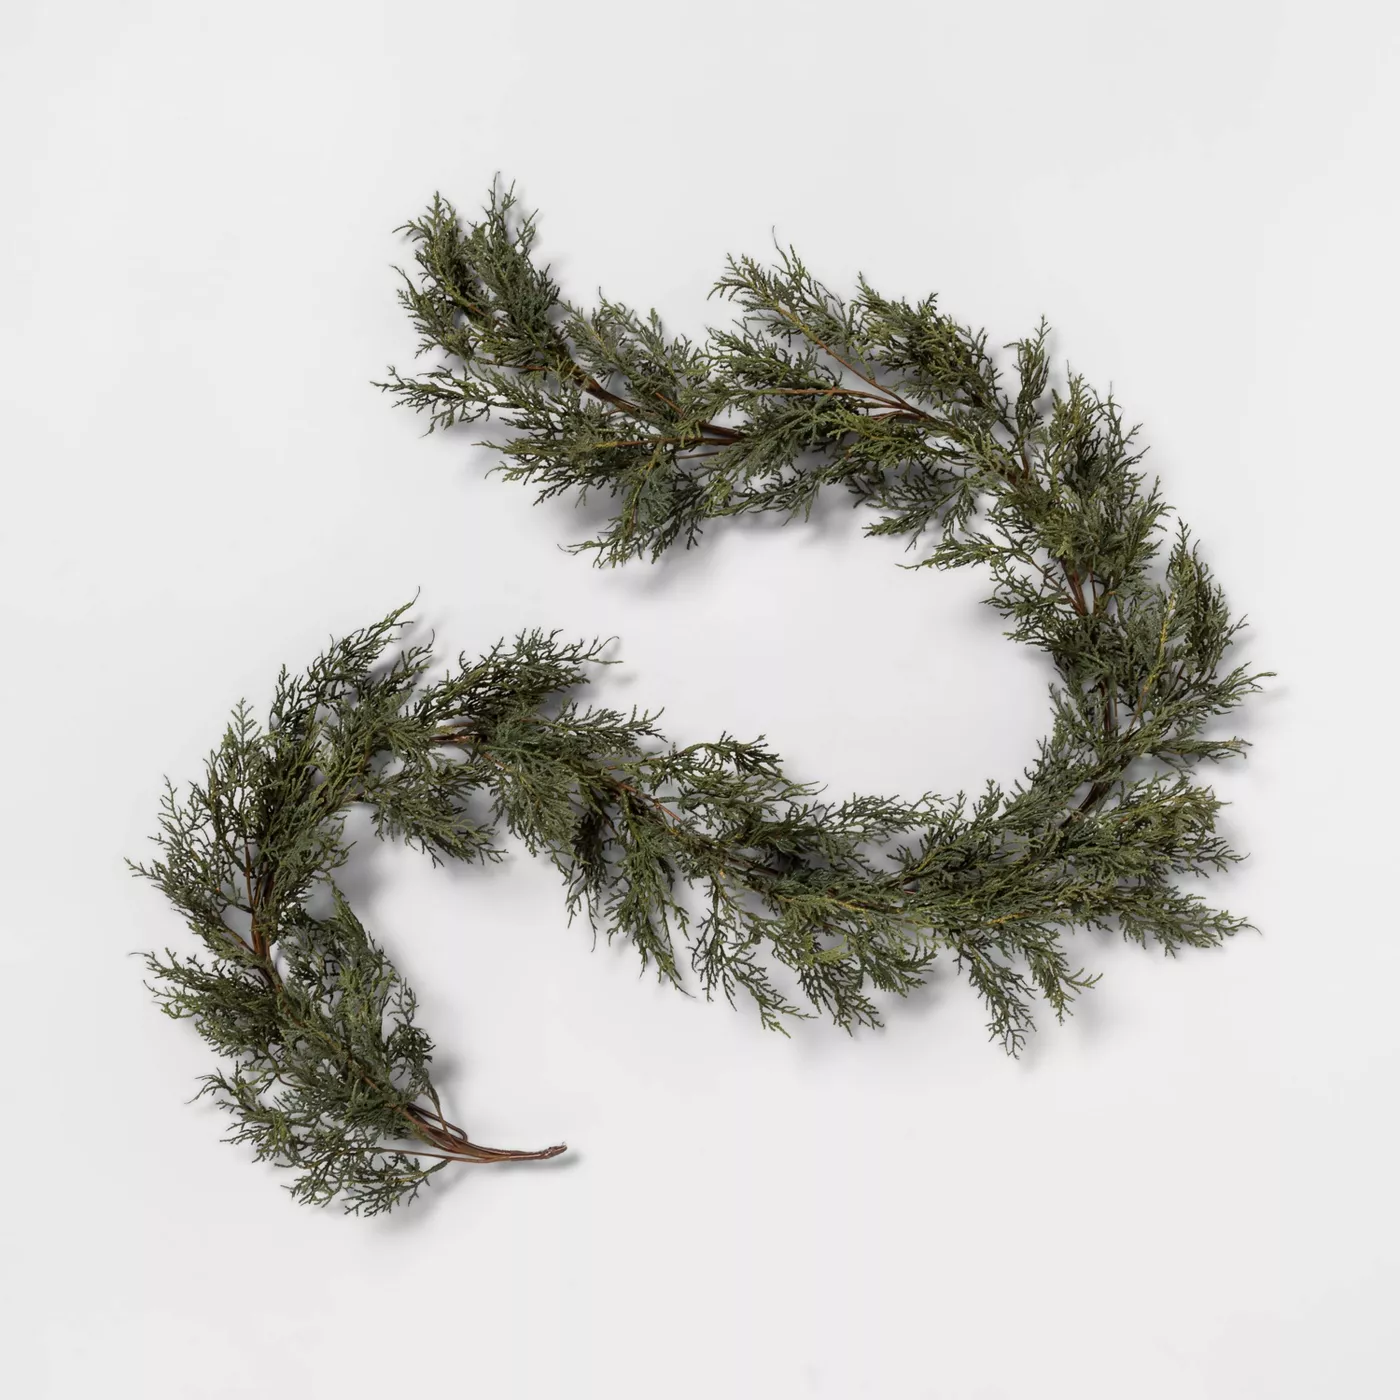
How to Achieve a Realistic Faux Cedar Garland
Materials Needed:
- Several 72" Hearth and Hand faux cedar garlands (measure your banister to see how many you'll need)
- Green floral wire
- Scissors or wire cutters
- Zip ties
[show_shopthepost_widget id="3794151"]
*Affiliate links are used throughout this post, which allow this stay-at-home mom to earn a small amount off of each purchase at no additional cost to you. Thank you for your support!
 1. Lay the garlands out and stagger them so that the fuller parts of one garland will fill in the empty areas of the other garland.
 2. The next step is to weave the garlands together to achieve a full look. I shared a few stories of how I do this over on Instagram, and saved it in my highlights if you'd like a video tutorial.
 3. Once you like the way your garland looks, use green floral wire to attach the garlands to each other in several different places.
  That's it! You should have a nice, full, realistic faux cedar garland at this point. You can see how much of a difference it makes to double up on garlands, and it's still only $40.Rug linked here.
 Once you're done creating your full garlands, use the zip ties to attach them to your banister. You can weave lights through the garland or leave them unlit, like mine. I don't have an outlet anywhere near my banister so my garland will not have lights, and that's okay.
 I added these beautiful paper stars that look like they're made of wood wood, but collapse fully for storage. I love the Scandinavian look they give to the garland.
 The final touch was a wide white ribbon tied into bows at four different points along the banister. I thought I was going to use more color, but I'm crushing hard on this black, tan, green and white color palette.
 I thought the doubled-up garlands looked great, but at the last minute I decided to beef them up even more by placing a cheaper faux garland behind them (it was one I already had...not another cedar garland). I sort of just laid the cedar garlands on top of it. You can't really see it, but it adds a good amount of fullness, and mine is pre-lit, so the whole banister is sparkling for Christmas. If you don't have any extra garland on hand, you can purchase cheap garlands at Michael's or Walmart.
 I'm in love with the finished look. I also love my new King of Christmas 6' King Noble Fir tree that I plan to use in our loft but placed here temporarily. Stay tuned for the fully decorated version of this cute tree!
[show_shopthepost_widget id="3794175"]
I hope you enjoy this realistic faux cedar garland as much as we do. It's so affordable, looks amazing, and can be used for years to come. What's not to love?Happy Decorating, You can shop all of my Christmas finds on my Like To Know It page here.