
Painted Kitchen Floors (An Update)
Every week I get questions in my inbox about how our painted kitchen floors are holding up. It's been nearly three years, and I have so much to say.
If you're new here or need a refresher, you can see the whole floor painting process in this post.
Before I get into the nitty gritty of our painted kitchen floors update, let me preemptively say that wear and tear is to be expected on any painted surface that gets a lot of traffic. Also, I knew the risk of painting tile floors and am honestly not surprised by their current state.
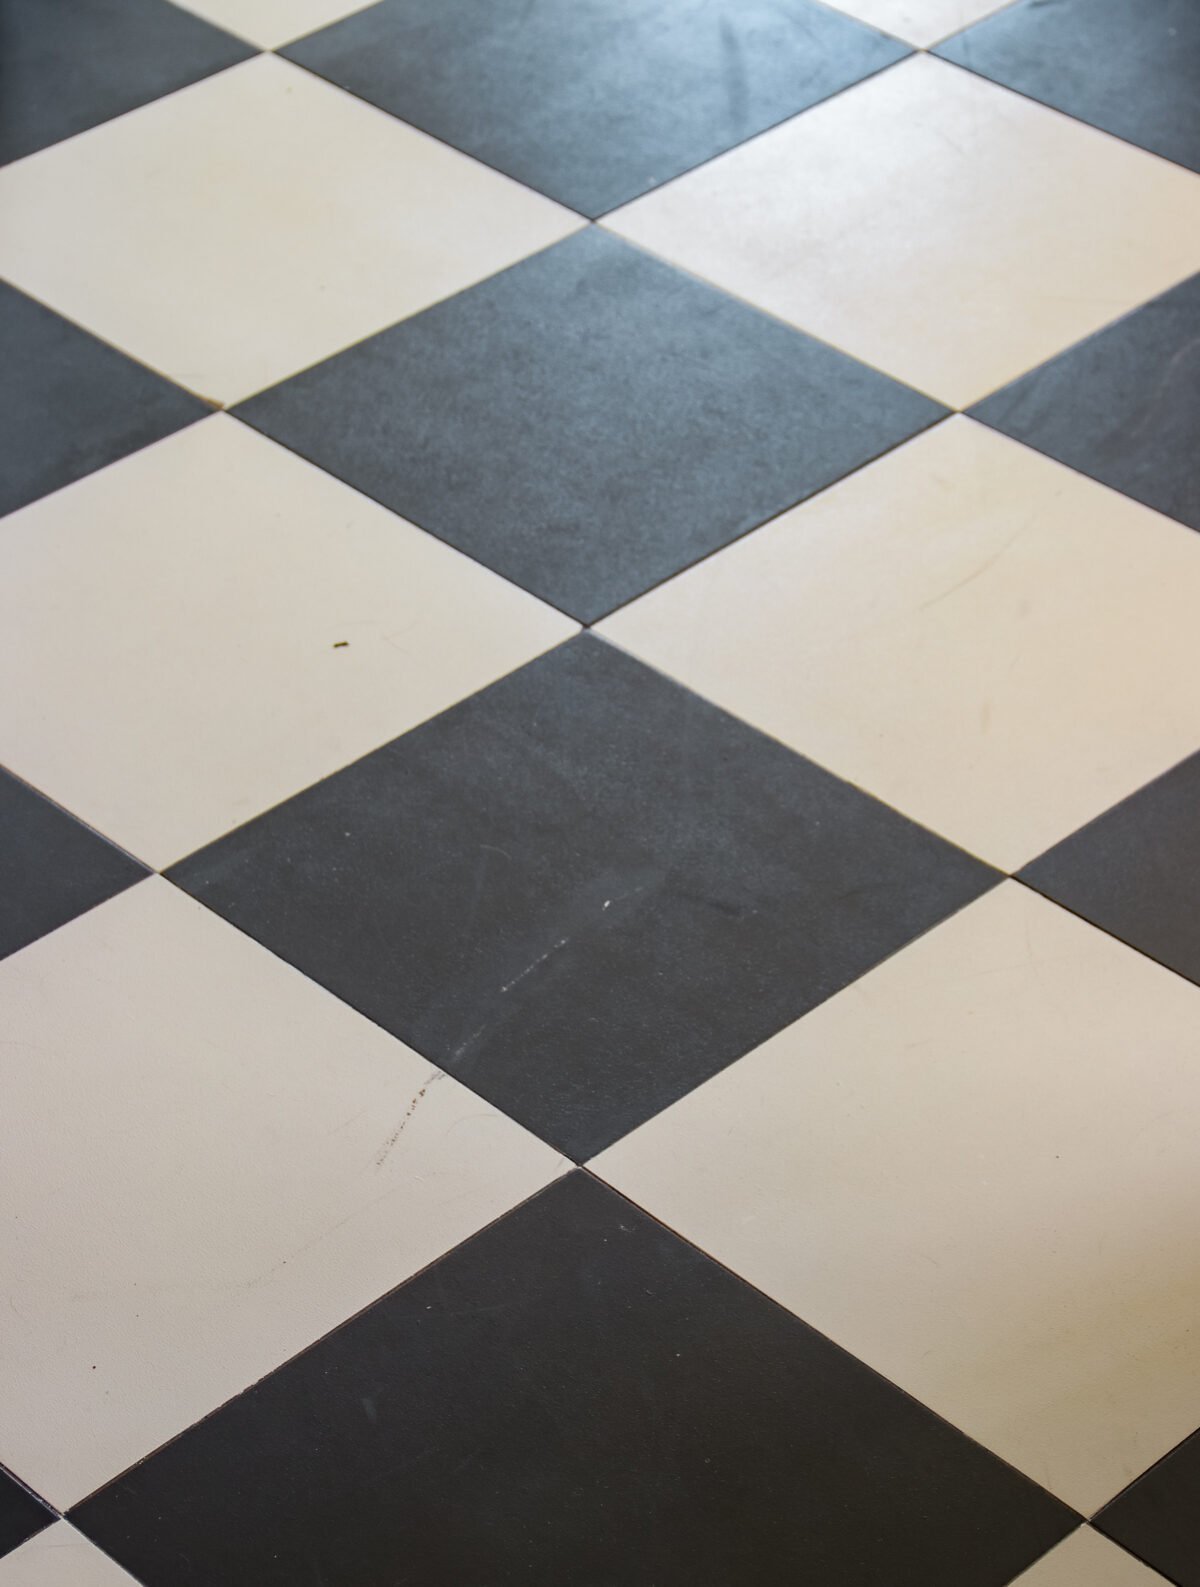
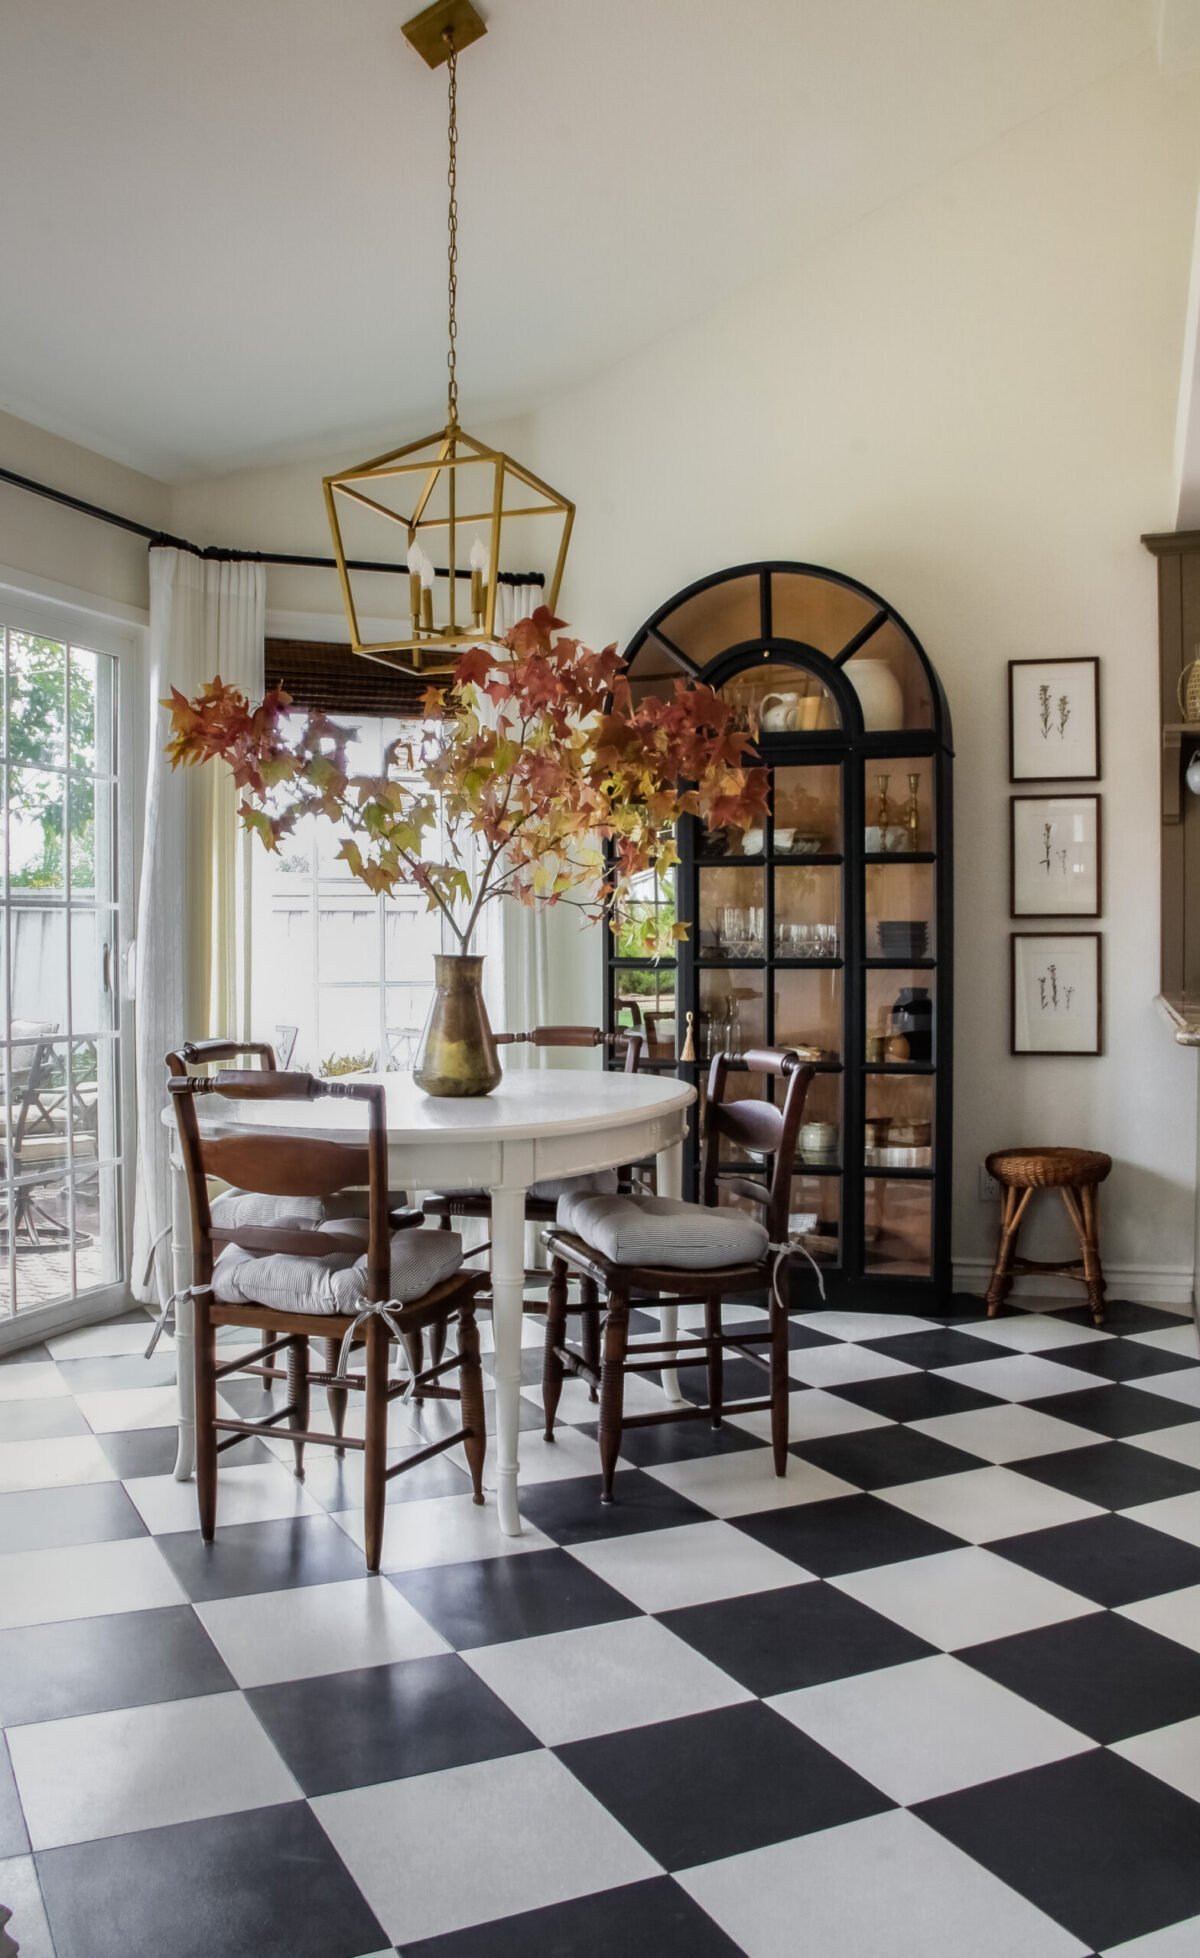
This is how you're used to seeing my painted kitchen floors...

But this is what you don't see...

Scratches and Chips
Most of the surficial scrapes and scratches are under the kitchen table. They're from the chairs sliding in and out, on top of the paint when someone is sitting in them, even though I put felt pads on every single leg.
And the photo below is right in front of the kitchen sink. I'm sorry about the rogue hair in the photo (ewww), but I wish that was the worst thing in the photo. These two big spots, I'm assuming, are from water that sat on the painted floor. The garage floor sealer I used was supposed to be water resistant, but perhaps I needed another coat or two for it to prevent these spots.

This is the best area of the painted kitchen floor because it gets the least amount of traffic. If the entire floor looked like this, I would be thrilled.

That was hard to share, but I feel like I just went to confession. It's freeing to be completely transparent with you, even though I'd love to pretend the floors are in perfect condition.
Of course, closeup pictures with the light just right show everything, so it's not like we see all of this every day. I wanted to show you the worst of the worst of it, but I can promise you it still looks nice as a whole.
However, I do have a few strong suggestions for those thinking of painting their floors.
Don't Go Rogue
Part of my problem was that I sort of made things up on the fly. This project was happening mid-pandemic, so there weren't any floor-painting kits available in my area. I was too impatient to wait for a kit specifically designed for floors, so I took a chance on the products I used.
Also, I knew this would be temporary, so I was willing to risk it.
Be better than me.
My blogger friend, Allie Lundeen used this Rust-Oleum Floor Coating Kit with great success. She said she has not had any scratches or dents, and the coating is rock solid. I desperately wanted to use this product to paint my kitchen floors, but during the pandemic I could not even get it shipped to me.
So, I made up a formula for painting my floors, and while it did work, and it has held up okay, I can't in good conscience recommend the original method to anyone. Not when there's an-almost guaranteed way to paint your floors and have them stay looking nice long-term, even permanently. I had an inclination, right after finishing these floors, to add one more coat of garage floor sealer, and now I wish I had done that. I think that would have helped tremendously.
This photo was taken right after the floors had cured enough to walk on them.
Protect Your Floors
No, I don't mean protect your floors, as in seal your floors. I mean protect your floors from unnecessary scratches and scrapes. In other words, learn from my laziness.
I put felt pads on the bottom of our kitchen chairs and thought I was being careful. Well, the weight of a person sitting in those chairs, pushing down on those felt pads was enough to still cause abrasions to the finish. I noticed it early on, but sort of brushed it off.
They kept getting worse over time.

By the time I decided I should do something about it (put something different on the bottom of the chairs), it was too late...the damage was done. They're strange marks because they don't go through the paint...just the top layer of sealant. But, any time I've tried to clean them with Goo Gone or Goof Off, they won't go away. In fact, I've scrubbed so hard in some places that I did end up going through the paint a bit...oops. All that will help now is laying a rug down or repainting.
Expect Life to Show
It's a painted tile floor. It's going to get scratched and chipped with everyday life.
Again, I think using a floor coating kit will greatly reduce the amount of blemishes on your painted floor. But the amount of life that takes place in a kitchen just makes keeping a painted floor perfect nearly impossible.
Expect life to show on your painted floors. Nobody notices except you anyway.
C'est la Vie
Paint your floors if you don't like them. I'm so glad I did, scratches, chips, and all. I love my floors, and I'm happy to have been a guinea pig for so many who want to paint their tile floors. I believe in just doing things and living and learning, and that's exactly what I did.

Between you and me, I'm planning to repaint these floors now that I can access the floor coating kit. I just know it's going to be a few more years until we can renovate the kitchen, and I also know our painted kitchen floors will probably get worse. I can live with them, but why do that when I can use a better product and have nicer-looking floors until we renovate?
After I repaint, I'll report back on the differences between the two processes and how they're holding up.
Like I said earlier, I always knew this would be a temporary solution, so the scratches and chips don't matter that much. But if you are planning to paint your kitchen floors as a permanent or long-term solution, please use the Rust-Oleum floor coating kit or some other system designed specifically for painting tile.
Now that you know the real story, I'd love to know what you think about painting tile floors. Would you attempt it?
In any case, thanks for letting me get that off my chest!
You Might Also Be Interested In:
https://wildflowerhomeinteriors.com/kitchen-and-breakfast-nook-budget-breakdown/
https://wildflowerhomeinteriors.com/our-new-kitchen-pantry-cupboard/
https://wildflowerhomeinteriors.com/home-thoughts-how-to-design-around-carpet/