
10 Tips for Hanging Wallpaper
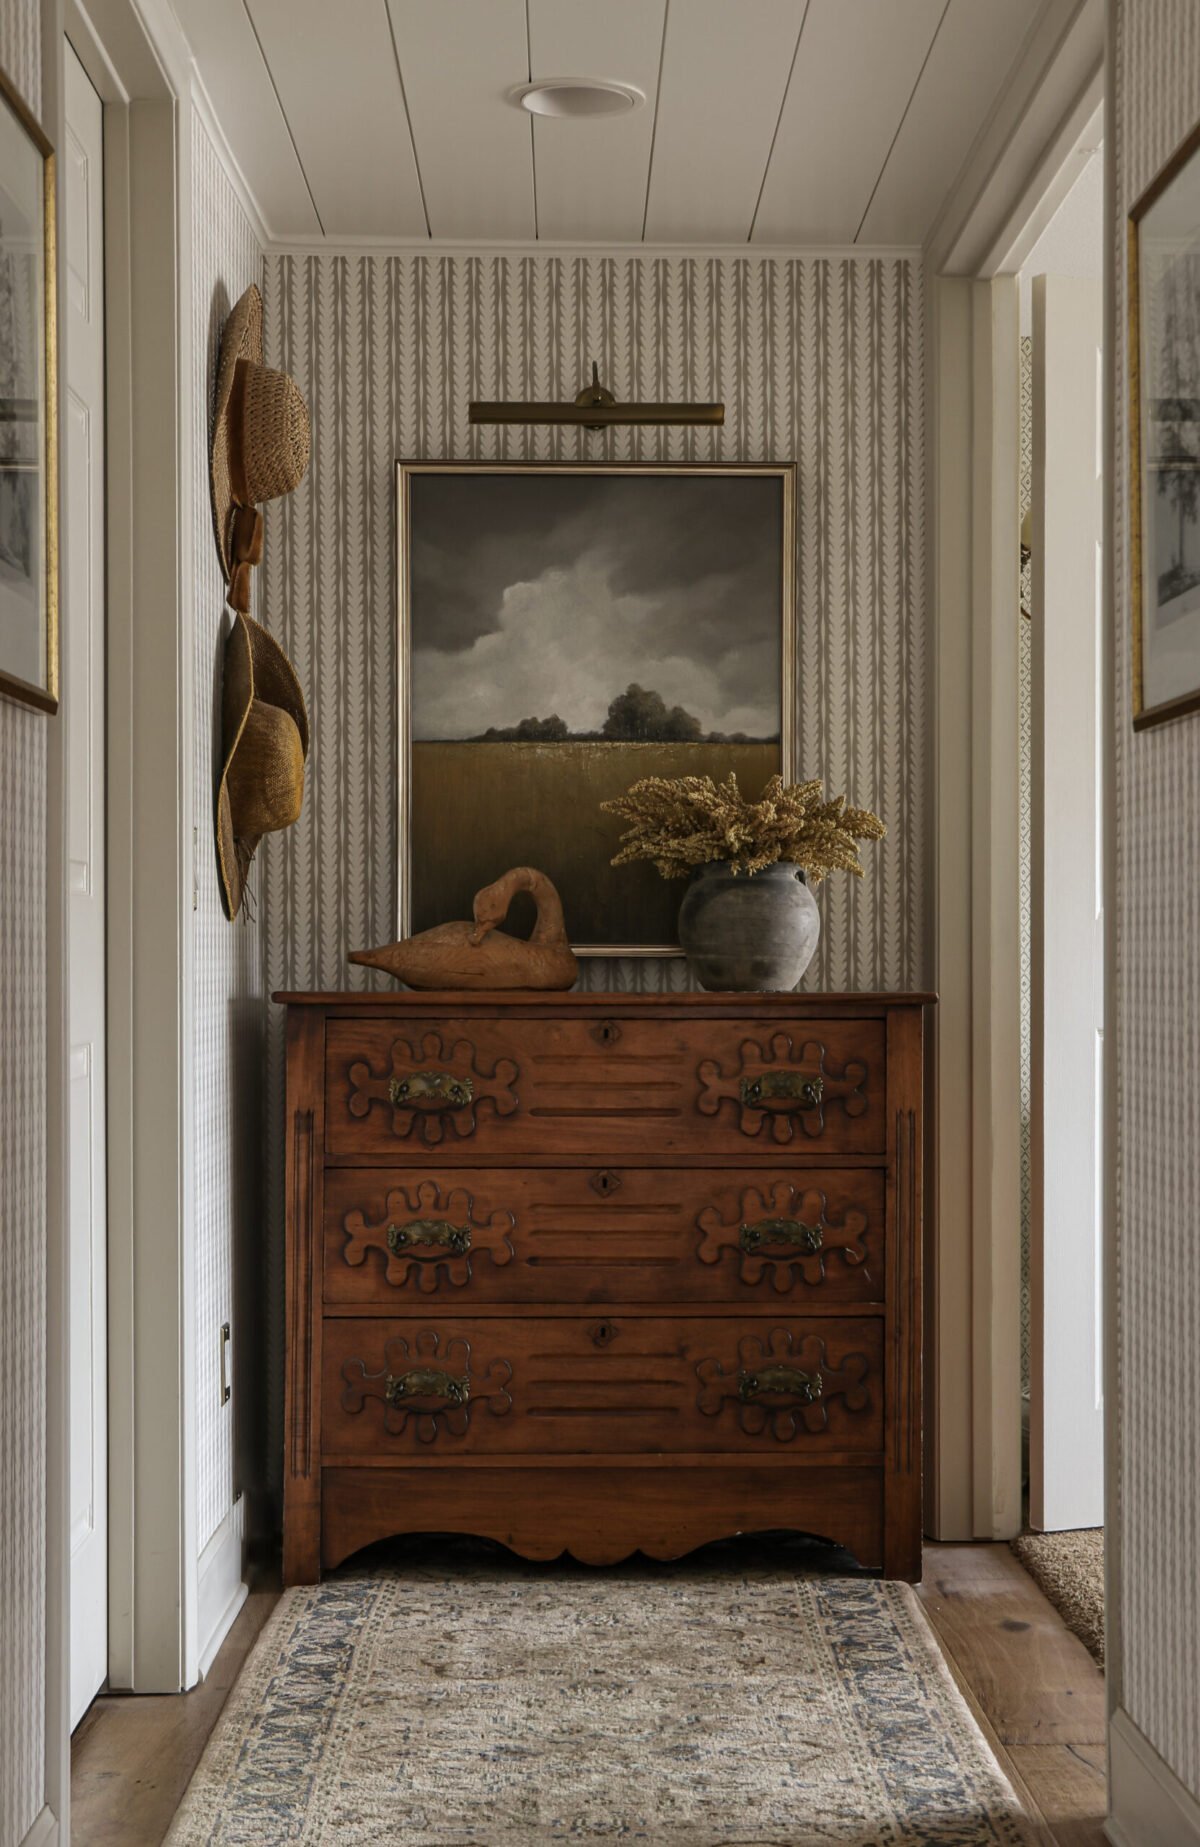
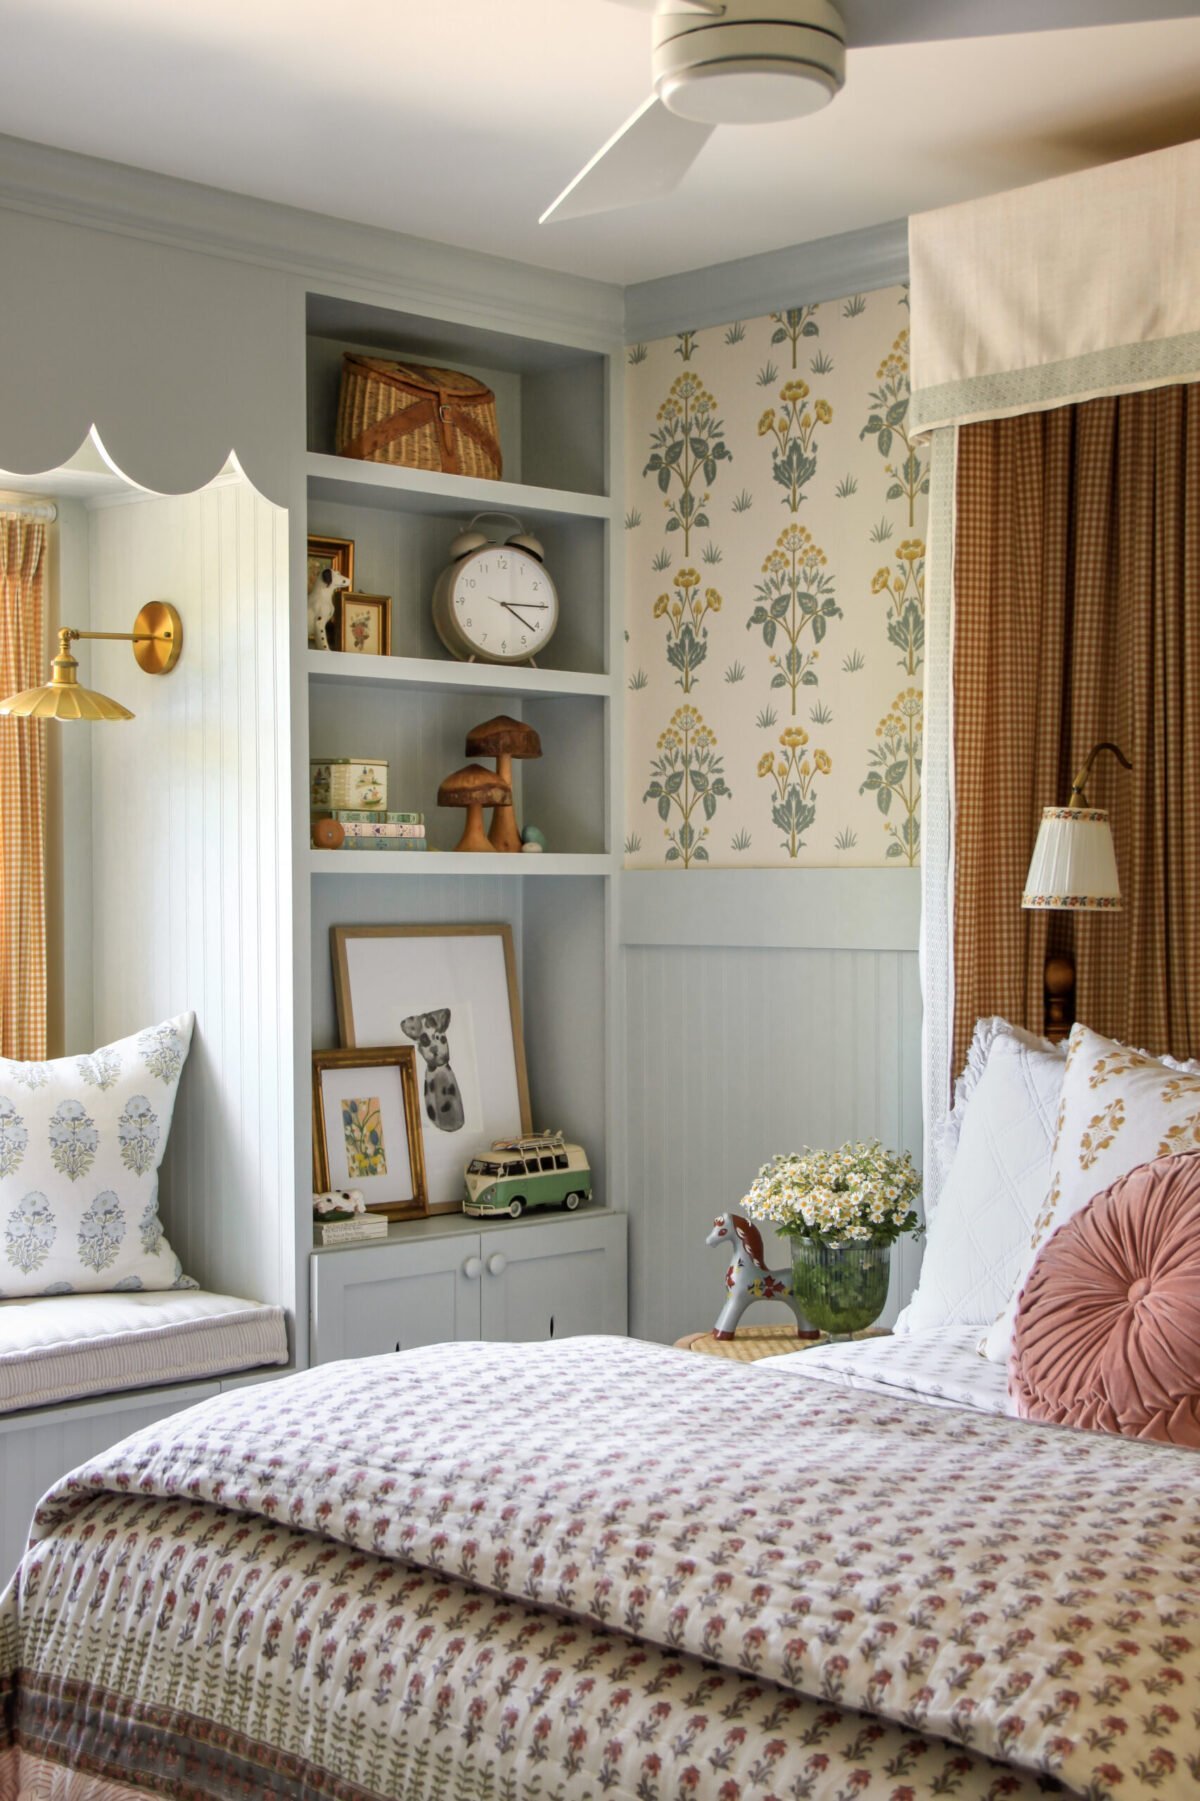
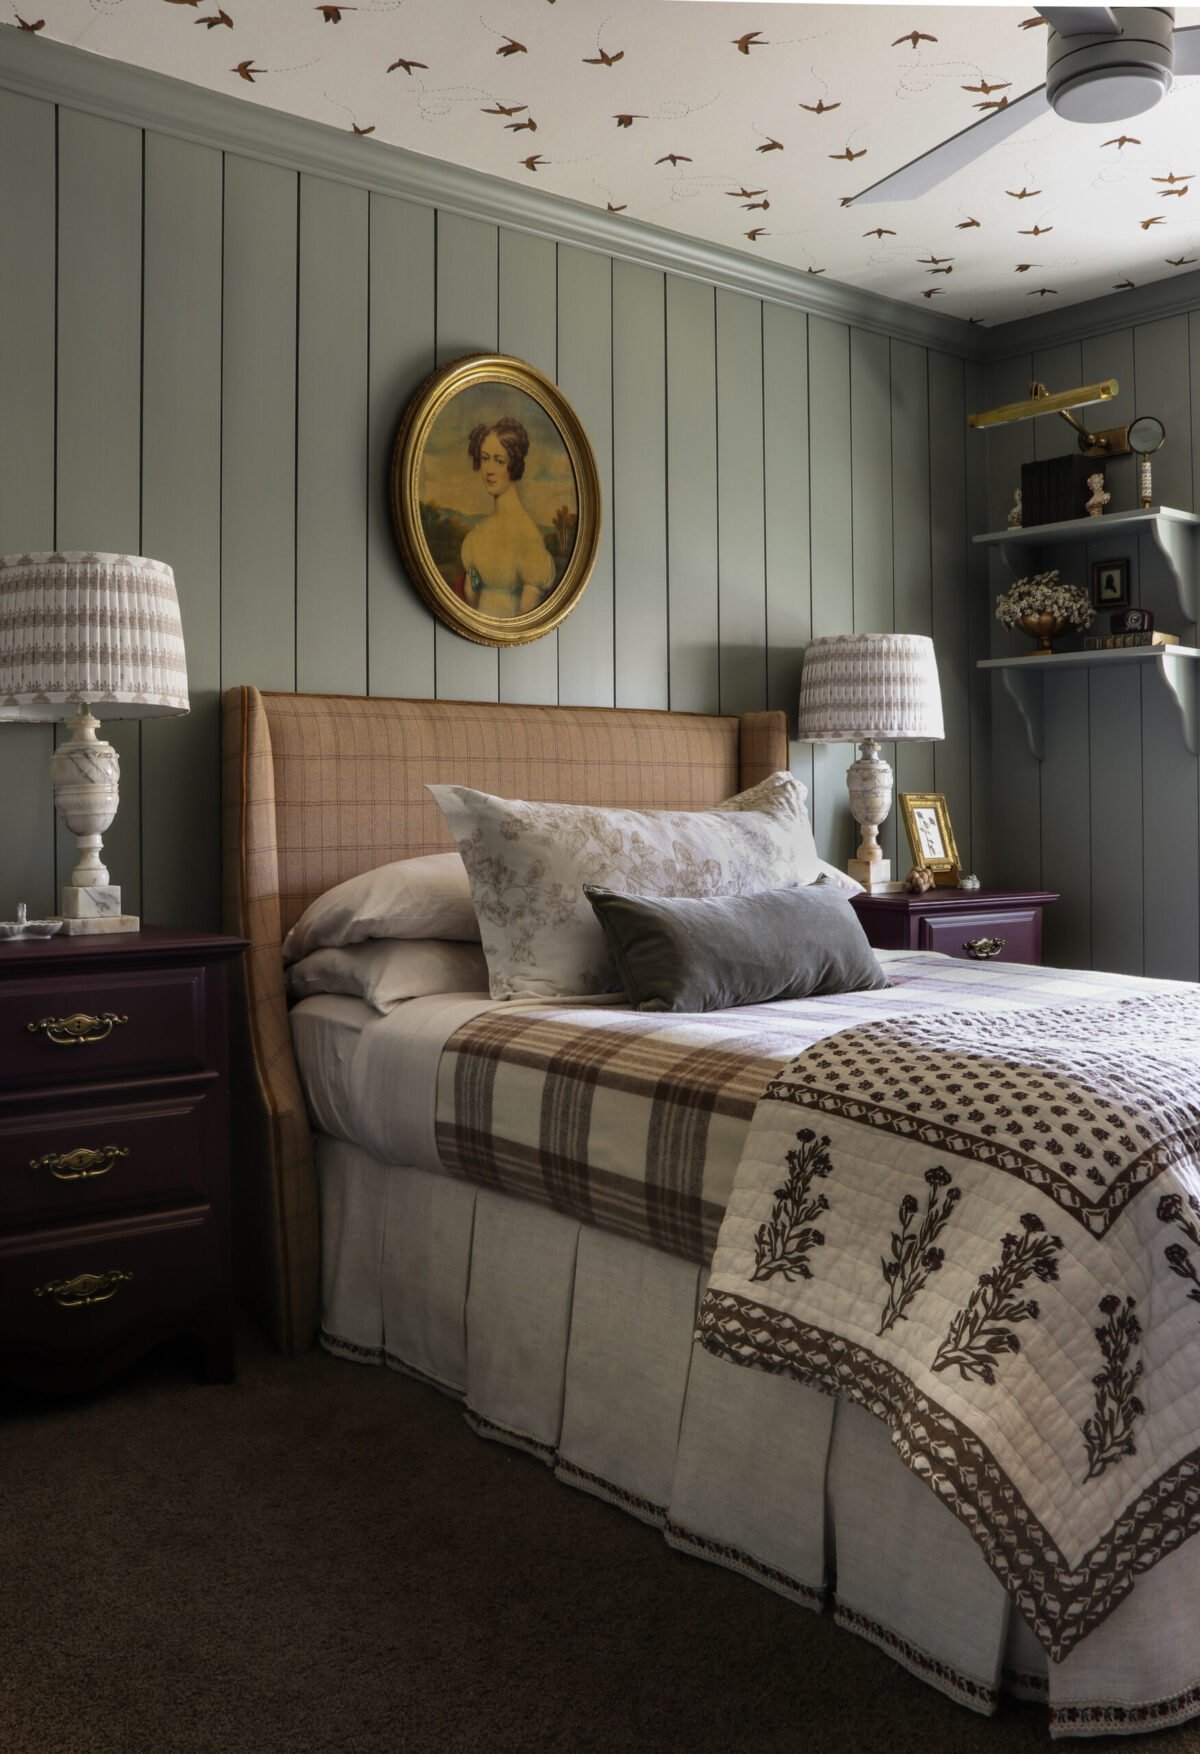
It's no secret I love wallpaper. I have seven wallpapered spaces in my house, and if I could have more, I would. Sadly, I've just papered my last room for awhile, and after ten wallpaper projects, I thought it was about time to share my top tips for hanging wallpaper.
Before I share specifics, I want to give you my biggest tip about wallpaper overall...or any DIY for that matter. Refuse to have a limiting mindset. If you really want to learn to wallpaper, you can. Begin with an attitude that each difficulty is just a stepping stone to learning something new, and wallpapering won't seem so intimidating. It's not hard, but it is a skill to be learned.
Now, let me share with you what I've learned over the years...
#1 Use High-Quality Wallpaper
The quality of your wallpaper matters if you want it to hang well and look nice for a long time. There's no way around the fact that wallpaper is an investment, so if you're going to do it, do it right. Plus, prepping your walls properly is no small task (Tip #3), and you don't want to do all that work only to hang cheap, thin paper. Wait for a sale, save on other elements in the space you are wallpapering, and go for the good stuff so you can enjoy your wallpaper for many years.
My favorite brands/suppliers and ones that I can wholeheartedly recommend are:
- Borastapeter
- Morris and Co.
- Cole and Son
- Sandberg
- A Street Prints
- Serena and Lily
- Colefax and Fowler
#2 Order Enough
I know it's tempting to order juuuuuust enough wallpaper for your project, but buying overage is necessary, especially if you are new to paper hanging. Depending on the pattern you choose and how tall your walls are, it will seem like there is a lot of wasted paper, but that's the nature of the beast and one reason you need overage. The other reason you need overage is because you will mess up. I've installed wallpaper ten times now, and I still mess up.
[show_shopthepost_widget id="5026709"]
For both of those reasons, I recommend using an online wallpaper calculator. Usually the site you're buying your paper from will provide one. Allow them to tell you how much you need. If you don't order enough and have to buy another roll at the end of your project, you run the risk of it not matching the dye lot of your first order.
"It's better to have it and not need it than to need it and not have it." Woodrow F. Call
#3 Prep Your Walls Properly
People ask me all the time if it's okay to wallpaper over textured walls. The short answer is "No." I will almost always encourage you to skim coat and prime any walls you're hanging wallpaper on. The only exception would be if you are installing heavily-textured grass-cloth like I did in our primary bedroom. I did not skim coat those walls, but you would never know there was texture underneath because the grass-cloth is so thick. However, if I lived in a humid climate, I would have skim coated and primed the walls.
Wallpaper is expensive and you don't want it falling off the walls a few weeks or months after installation...or ever for that matter. If the paper doesn't have a properly-prepared surface to grip onto, it won't win the fight against gravity, and you'll lose all the time and money you put into it.
Watch this tutorial for skim coating instructions, and don't forget to prime your walls!
#4 Read the Installation Instructions
This seems obvious, but you'd be surprised how many people watch someone like me hang wallpaper and assume that's how all wallpaper is installed.
I almost exclusively use paste-the-wall wallpaper because it's the easiest to install. You simply roll paste onto the wall like paint and hang the paper. I've hung non-pasted paper one time and that was the grass-cloth in our primary bedroom. It wasn't difficult, but I did have to pre-cut each length, which would have been really tricky with a detailed pattern. I've also used peel-and-stick paper one time and I'll never do that again. It's impossible to reposition, shows every bump, blemish and bit of texture underneath, and in my opinion comes off looking cheap.
Many professional wallpaper hangers like to book wallpaper, which is a process of pre-pasting the back of each length of paper or activating pre-pasted paper with water, and folding it onto itself so the paste can soak in before hanging. This is not necessary with paste-the-wall papers and peel-and-stick...only with non-pasted or pre-pasted. Just be sure to check the installation instructions before choosing your paper if you plan to install it yourself.
The different kinds of wallpaper installations are:
- Paste-the-Wall
- Non-Pasted or Pre-Pasted
- Peel-and-Stick
#5 Use a Brush and Roller to Apply Paste
Make sure you're prepared with both a brush and a roller so you can apply paste around doorways and windows and right up to the ceiling and baseboards easily, but also cover larger areas quickly.
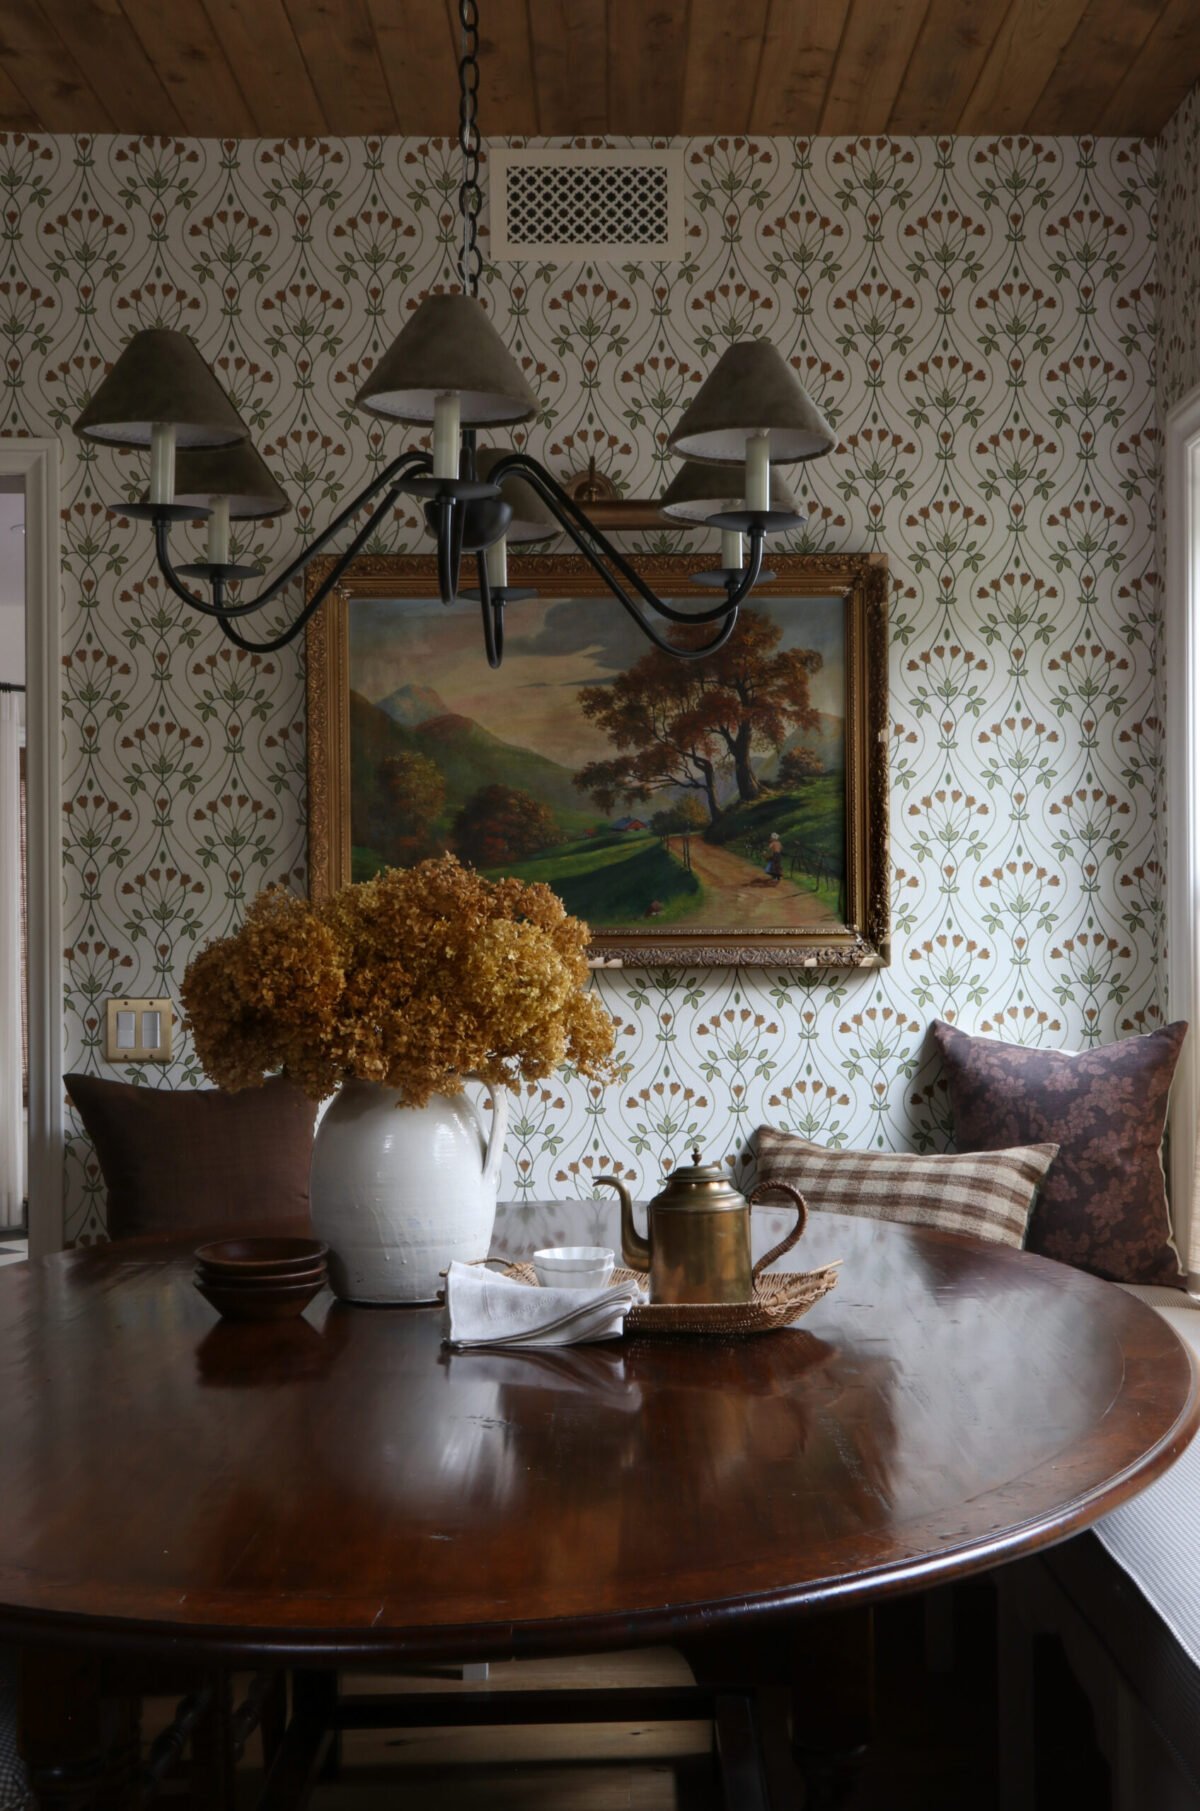
Noelle's Block Print Wallpaper
I apply wallpaper paste the same way I paint...cut in with a brush before rolling paste onto the wall. Doing this helps keep the mess of dripping and excess paste at bay, and just makes sense. I find the edges always need a bit more paste in order to lay down and stay put, so this extra step really helps with that adhesion.
You can see the full installation of Noelle's cottage wallpaper (first round) in this post.
#6 Make Sure the First Piece is Level
I cannot overstate how important this step is when hanging wallpaper. And yet, you don't need to overthink it. I've seen DIYers fret and make a big deal over every single piece of wallpaper being completely level, and they set up the laser level for everything. I'm confident those wallpaper projects are perfect, and if using a laser level and checking for complete straightness makes you feel safe and comfortable, go for it.
But here's what I do...
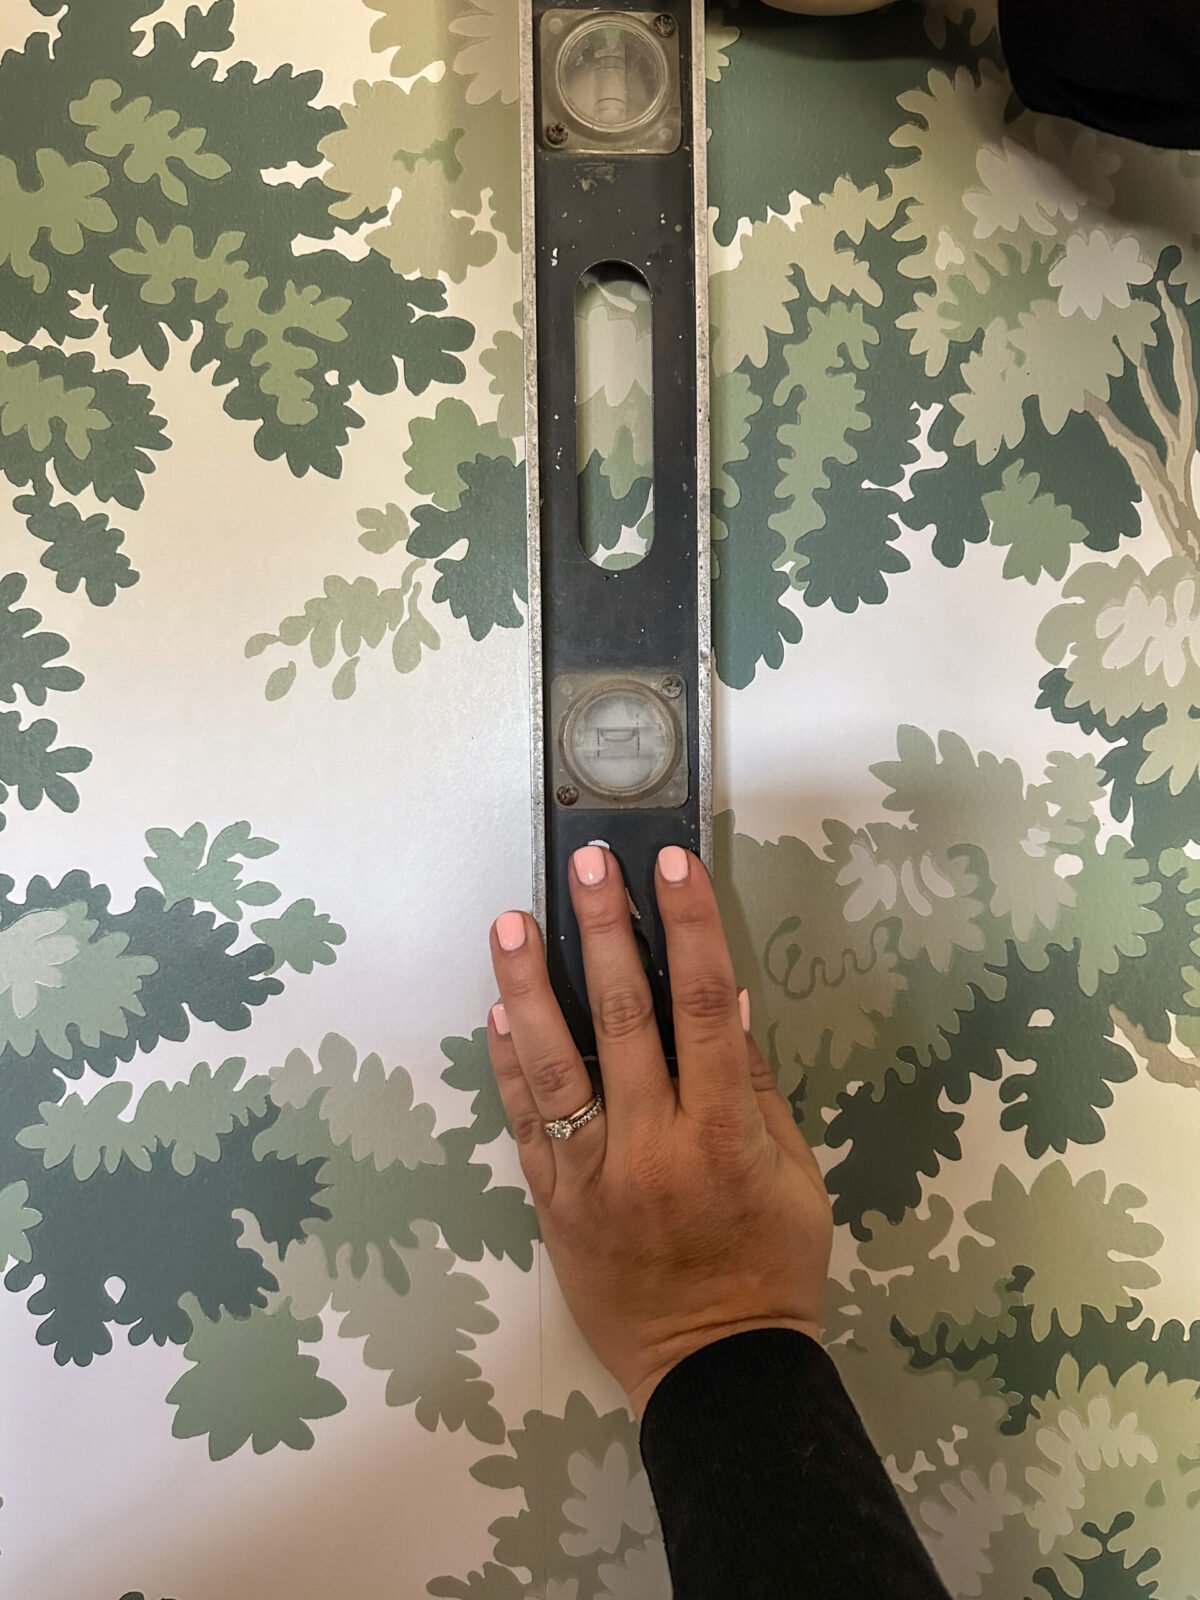
I paste the wall, hang up the first piece of wallpaper loosely (no smoothing yet), grab my old fashioned level and check for straightness on one side. If it's not straight, I'll reposition it until it is straight. Once you have your first piece of wallpaper level and straight, you're good to go. No need to stress over every piece. Repeat this process for every wall because as we all know, there's no such thing as a straight wall.
#7 Use a Ladder
It's important to be eye-level with your wallpaper when you're making cuts. Standing too low or too high could result in a wonky cut because you can't see what you are cutting properly.
Don't ask me how I know.

[show_shopthepost_widget id="5026712"]
#8 Keep a Wet Rag or Sponge Handy
I prefer to blow through an entire roll of paper towels when installing wallpaper, but if you're a bit more eco-conscious than I am, keep a wet rag or sponge handy to wipe off excess paste. The reason I use paper towels is because I find that rags and sponges need to be rinsed off in order not to spread more paste around, and paper towels can just be tossed. I usually can get through two or three lengths of wallpaper with one wet paper towel, so it's really not that wasteful.
Whether it's a roll of paper towels, a rag, or a sponge, just make sure to have something on hand to wipe off excess paste so you don't have shiny spots after it dries. Oh, and don't be afraid to get your wallpaper wet...it won't mess it up or hurt it at all.
To see more of Hannah's bedroom and wallpapered ceiling, read this post.
#9 Use a Fresh Blade to Cut Each Piece
Seems like overkill but this might be the most important tip when hanging wallpaper.
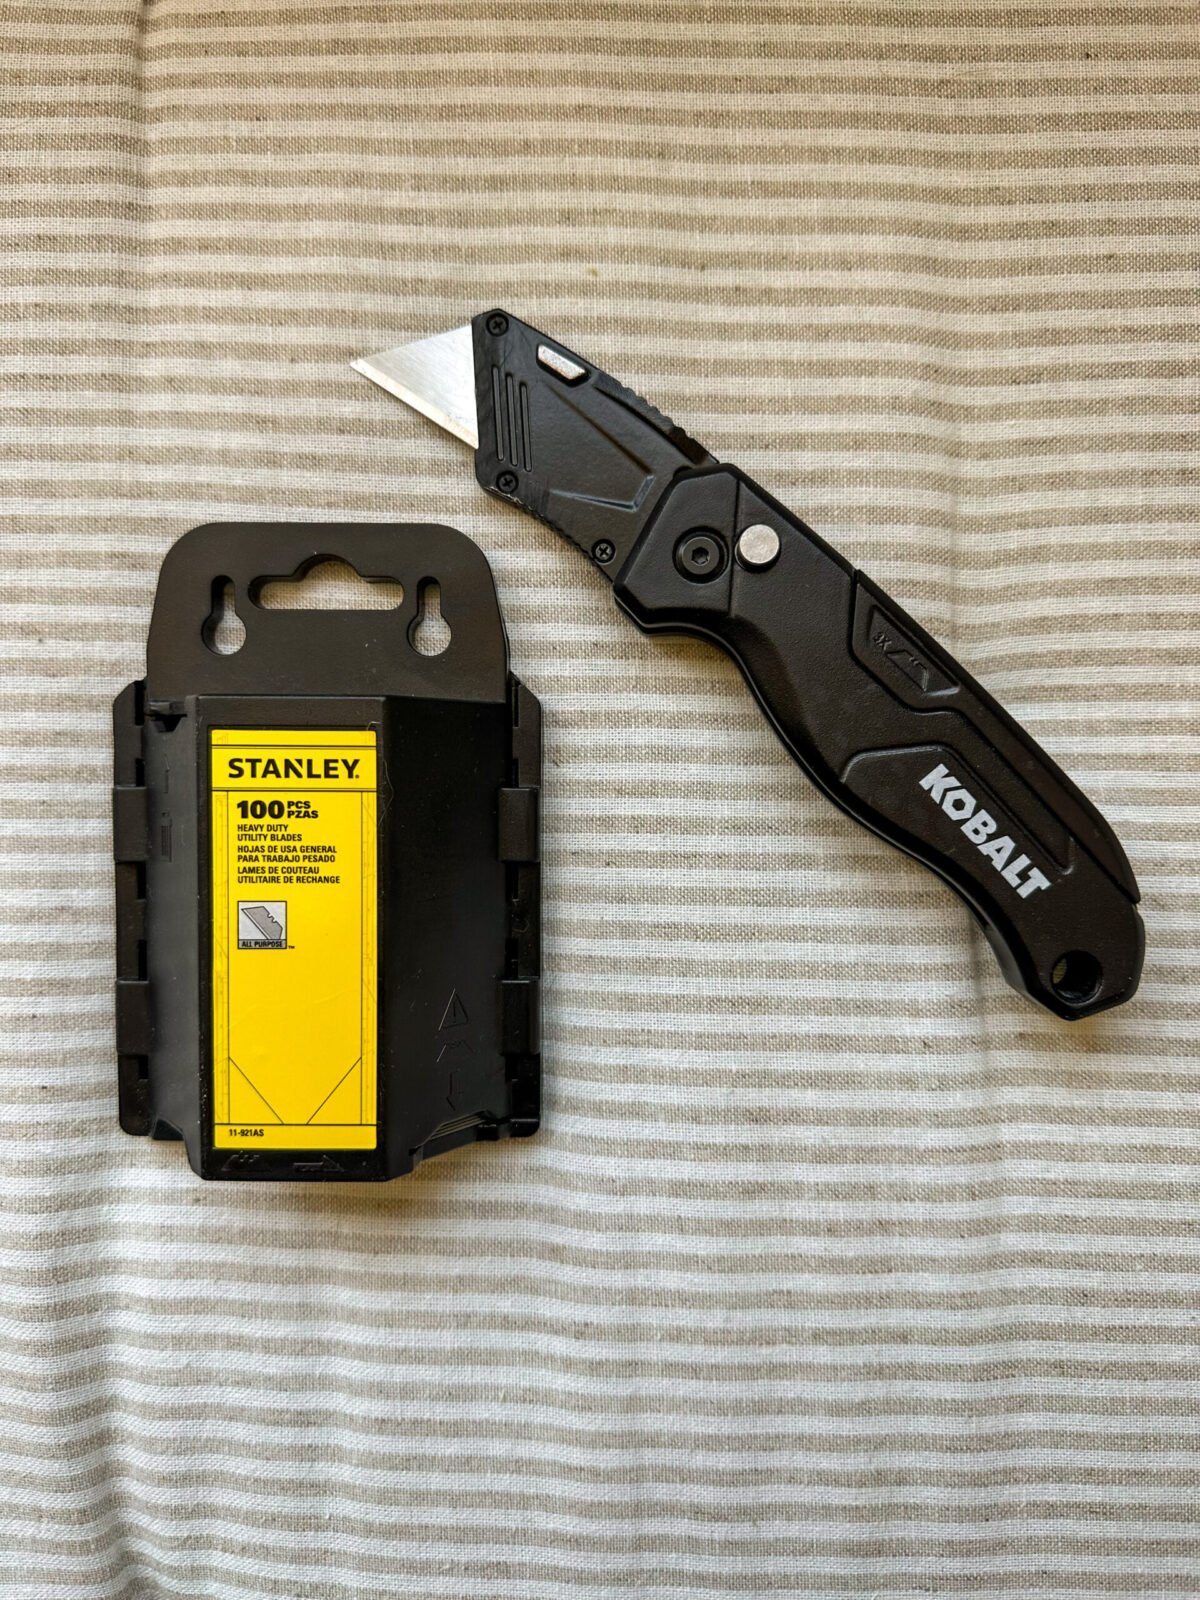
Trust me when I say you want to change your blade every single time you put up a new piece of paper. You'll get a clean cut with no dragging if you do this. If you choose to ignore this advice and try to stretch one blade over two or three lengths of wallpaper, you run the risk of tearing your paper or dragging the blade, which will cause a jagged edge. It's not pretty and can cause you to have to waste an entire length of wallpaper.
Just buy the big pack of blades and change them often.
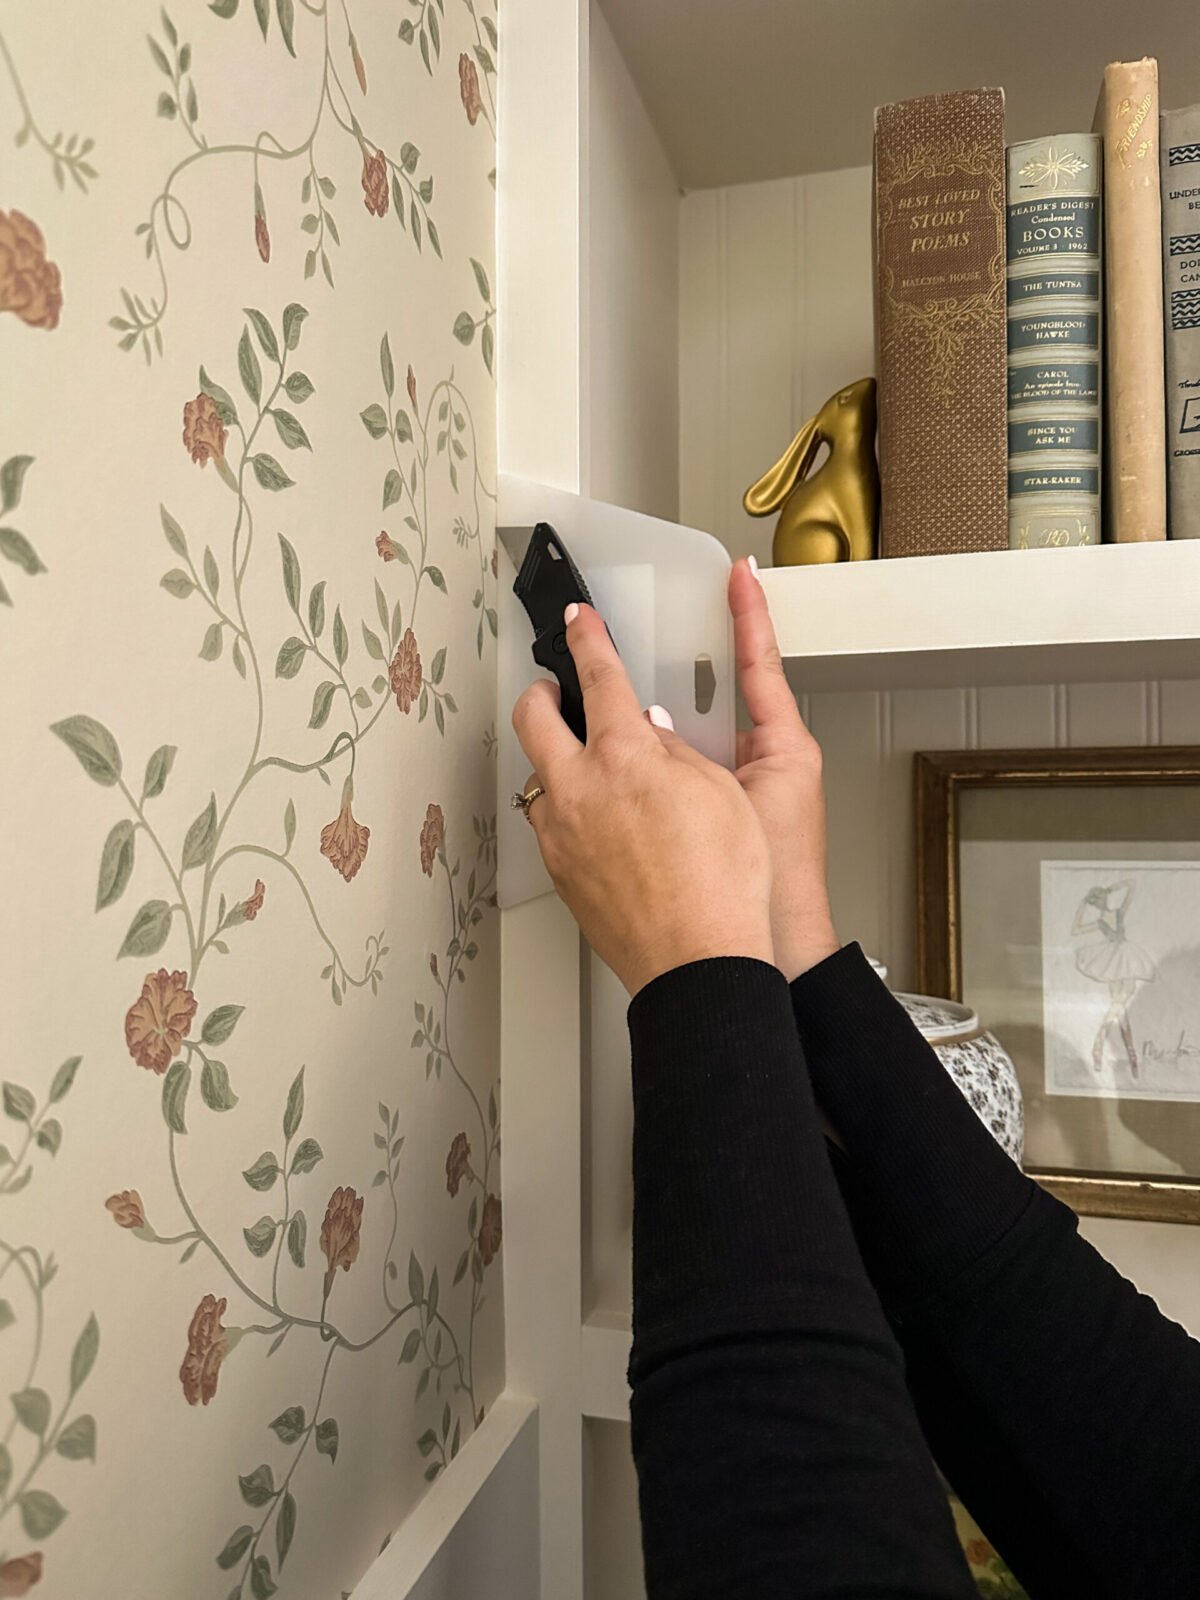
#10 Use Your Smoothing Tool When Making Cuts
The fewer tools, the better, I say. There's no need to have a smoothing tool and a straight edge for making cuts. This is another reason to have a wet rag on hand. Wipe of any excess paste that got on your smoothing tool, then use it as a guide for your blade. I like to drag my blade and smoothing tool across the wall at the same time, putting pressure on the blade so it acts like it's attached to the smoother. This way, my hand can't go rogue and cut a wonky line.
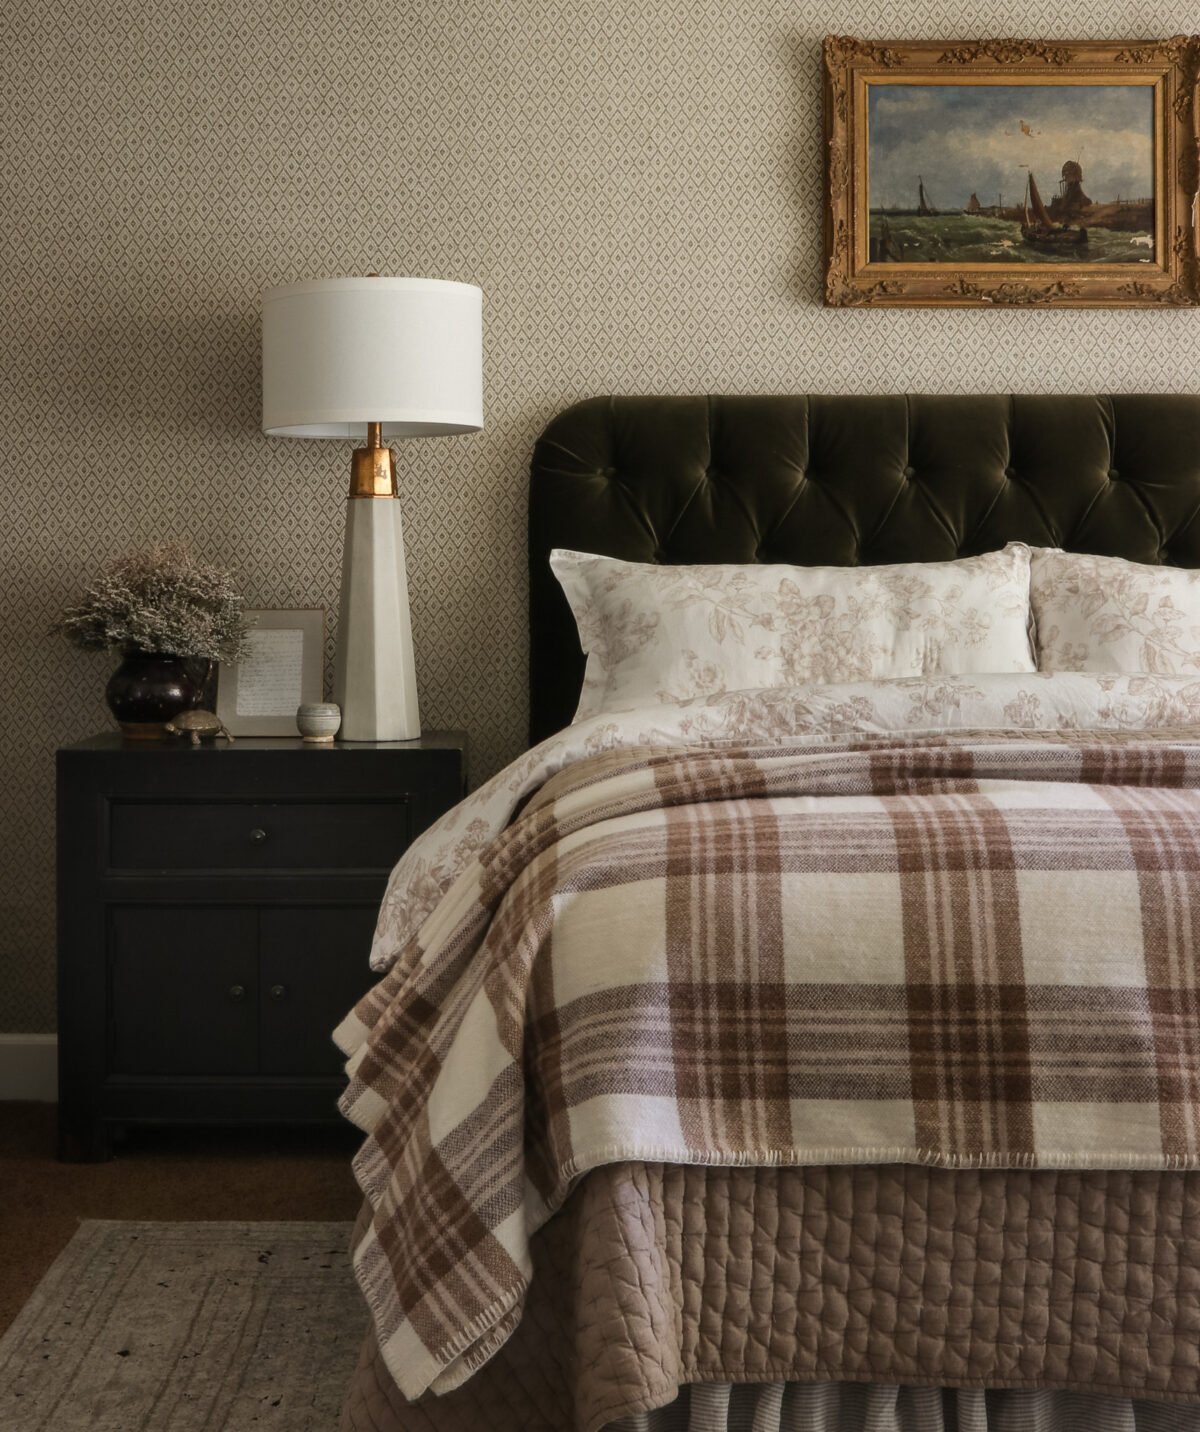
Noelle's English Floral Wallpaper
This is just my preference because I think overwhelm can happen when you think you need a different tool for every job.
There are so many different ways to approach hanging wallpaper, and this is simply mine. If you are the type who likes to do everything by the book, then by all means, do that. You aren't going to mess it up by doing more than is necessary. These are just the tips and tricks I've picked up over the years that make wallpapering less of a big deal, more efficient, and actually fun!
I hope these tips help you feel more confident about your next (or your first) wallpaper project. If you have any questions, feel free to drop them below. I'm always happy to help.
You Might Also Be Interested In: